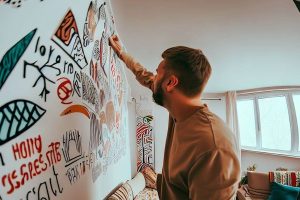
Making Plaster Cast Wall Art at home is an inexpensive and creative way to decorate your walls. These unique pieces add visual interest and texture to any room. As a long-time home decor enthusiast, I love experimenting with plaster to create artistic accents.
Here’s everything you need to know to make stunning plaster cast pieces for your walls from Nousdecor.
Key Takeaways
- Making plaster cast art utilizes simple materials like plaster and molds.
- With some creativity, you can design countless shapes and textures.
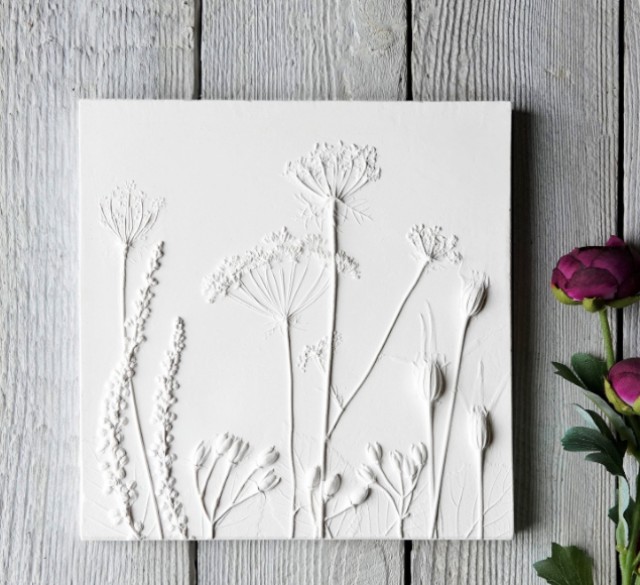
- My favorite option is to press real objects into the plaster for natural patterns.
- Once dry, plaster wall art offers a rustic, textured look on your walls.
- The process is budget-friendly and achievable even for beginners.
- With practice, you’ll be able to create custom wall art out of plaster in no time.
Gather the Right Supplies for Plaster Cast Wall Art
The basic supplies for plaster wall art include plaster, molds, and acrylic paint or stains. Here’s what you’ll need to get started:
- Plaster of Paris – The base material that will harden into the finished piece. Look for bags labeled “plaster” at any hardware store or online.
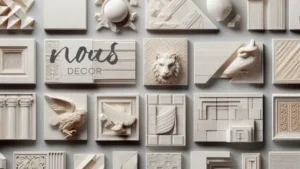
- Molds – Choose flexible molds like silicone to easily remove the finished plaster piece. Look for interesting shapes like circles, waves, abstract shapes, etc. Or make your own molds.
- Mixing container – A bucket, pitcher, or large bowl for mixing up the plaster.
- Stir sticks – Popsicle sticks or paint stirrers work well.
- Water – To mix up the plaster.
- Acrylic paints or stains – For adding color after the plaster has dried.
- Sealant (optional) – An acrylic sealant can be applied for added protection.
Follow the Step-by-Step Plaster Cast Process
Creating plaster wall art Canada takes some trial and error, but following these basic steps will set you up for success:
- Prepare the mold. Apply a thin layer of vegetable oil or petroleum jelly so the plaster won’t stick.
- Mix the plaster. Pour the plaster powder into your mixing container. Add water little by little, stirring continuously to avoid clumps. Stop adding water when the mixture reaches a thick, smooth consistency.
- Pour the plaster. Carefully pour the plaster into the greased mold, filling it about 2/3 full. Gently tap the mold to release air bubbles. Insert any objects for patterns now if desired.
- Allow plaster to set. Drying time depends on plaster thickness, but expect at least 2 hours. Don’t disturb the mold during this time.
- Unmold the plaster. Once completely dry, flex the mold gently to pop out the plaster piece. Trim any rough edges with a utility knife or sandpaper.
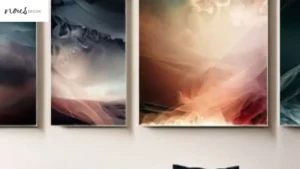
- Add color. Brush on acrylic paints or use a sponge for stippling effects. Consider layering colors for added dimension.
- Seal the piece (optional). Use an acrylic sealant if you’d like a glossy finish and added protection. Allow sealant to fully dry before hanging.
- Mount on the wall. Use strong adhesives like construction adhesive or epoxy to affix your plaster art to the wall securely. Allow adhesive to cure fully before releasing.

Get Creative with Unique Plaster Textures
One of the best parts of making homemade large plaster wall art ideas is experimenting with textures. Here are some of my favorite techniques for adding interest:
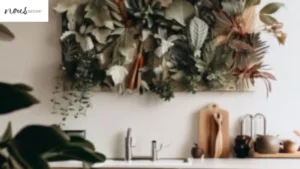
- Press flowers, leaves, ferns, or other natural objects into the plaster while still wet (see step-by-step guide for plaster floral art). Remove them after the plaster dries to reveal beautiful imprints.
- Use burlap, lace or other fabrics to line your mold before pouring in plaster. The texture will transfer.
- Add sand to your plaster mixture for a gritty, stone-like look.
- Imprint designs by pressing rubber stamps, cookie cutters, plastic meshes, bubble wrap or other items into the wet plaster.
- Carve patterns like stripes, circles or squiggles into the semi-dry plaster using clay tools or kitchen utensils.
The options are endless! Layer lines, patterns and textures for even more visual impact.
Troubleshooting Common Plaster Wall Art Problems
Like any DIY project, you may encounter some hiccups with your plaster wall art. Here are some common issues and how to avoid them:
| Problem | Solution |
|---|---|
| Plaster won’t release from the mold | Ensure the mold is greased well first. Tap firmly on the sides and flex the mold to help release the plaster. |
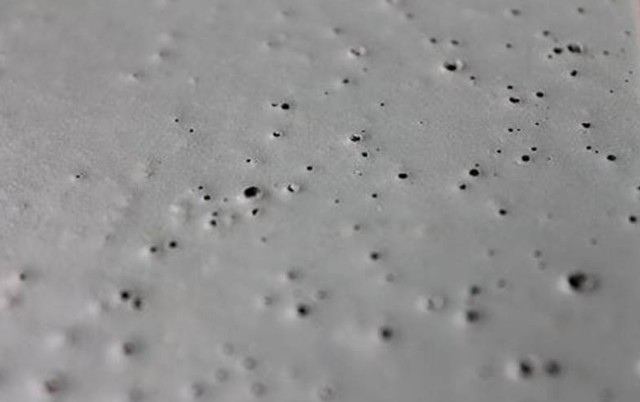
| Air bubbles in the plaster leave holes or weak spots | Gently tap the mold while the plaster is wet to release the bubbles before they form. |
| Plaster dries too fast or too slow | Adjust the water amount as needed to get the ideal smooth, thick consistency. |
| Paint won’t adhere to the plaster | Gently sand the plaster first to help the paint grab hold. Use a primer before painting. |
| Wall art falls off the wall over time | Only use strong adhesives meant for heavy objects. Allow full curing time before hanging. |
Don’t get discouraged by any failed attempts! Part of the fun with plaster is perfecting your technique over time when finding inspiration in Sense of Art wall art.
Frequently Asked Questions
Conclusion
Creating unique plaster cast art is a fun and fulfilling DIY project for all skill levels. With some simple molds and plaster of Paris, you can make inexpensive wall hangings to display around your home. Experiment with textures by pressing objects into the plaster for organic patterns and designs. Finish off your pieces with colorful paints or stains to really make them pop.
Troubleshoot any issues as you learn. In no time, you’ll be making professional-looking plaster wall decor options for your home to admire. Let your creative spirit run free!