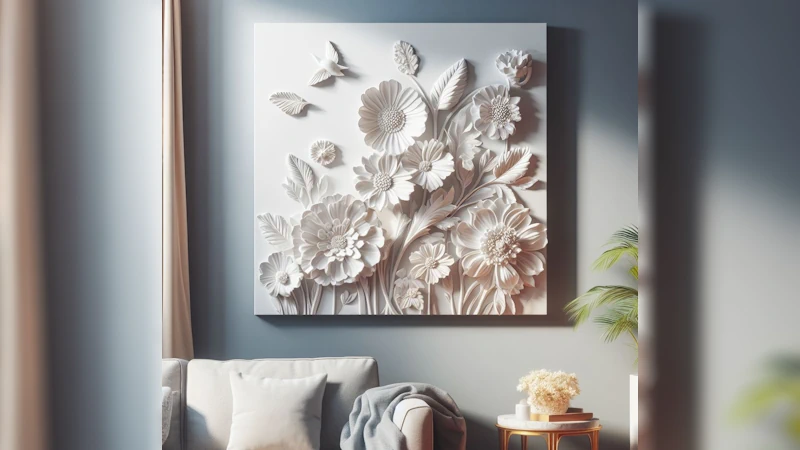
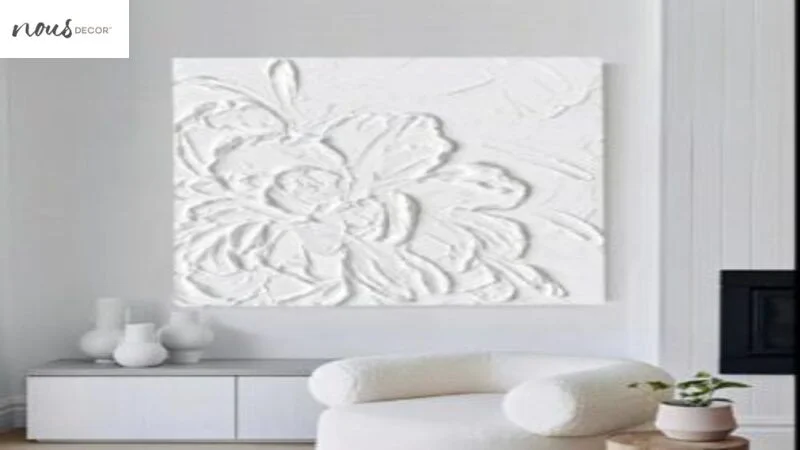
Making beautiful cement floral wall art is an enjoyable weekend project that allows you to create a customized floral work of art for your home. With just a few simple supplies and some basic techniques, you can craft unique cement blossoms and artfully arrange them on a coarse to create a lovely focal point for any room.
In this easy DIY cement tutorial, I’ll walk you through every step of the How To Make Plaster Flowers On Canvas process from start to finish using simple language and clear guidance.
You’ll learn how to make your own cement, use molds to cast delicate floral shapes, attach the handmade blossoms to a coarse surface, and add colorful acrylic paints to bring your floral artwork to life.
Follow along with Nousdecor to discover how simple and fun it can be to make sculptural cement wall art for your home in just a weekend. Let’s get started!
Key Takeaways
- Crafting cement molds modeled after real blossoms to cast delicate cement blossoms
- Gently taking out the molded blossoms and gluing on wire stems for arranging
- Strategically placing the cement blossoms on a coarse board and adhering them
- Bringing vibrancy and realism to the blossoms by painting them with bright acrylics
- Completing your floral masterpiece by framing the coarse and prominently displaying it
How To Make Plaster Flowers On Canvas Summary
Creating beautiful cement blossoms and decorating a coarse is an easier DIY project than you might think. Here are the key steps:
- Make cement molds from real blossoms and cast delicate cement blossoms.
- Cautiously remove the blossoms and attach wire stems for arranging.
- Affix the handmade cement blossoms onto a coarse board.
- Paint the blossoms and background with lively acrylic colors.
- Frame the finished floral artwork and proudly hang it in your home.
With the right supplies and techniques, you can craft gorgeous cement floral wall art using this easy tutorial. Discover how fulfilling it feels to make art for home.
Supplies and Material Categories to Prepare
Before you begin this cement craft project, you’ll need to gather some basic supplies. Here’s an overview of the materials you’ll need:
Helpful Tools and Equipment
- A large plastic or metal bowl to mix the cement
- Spoons or sticks for mixing and stirring the cement
- Plastic knives or small trowels for smoothing the cement
- A craft brush for painting
- Scissors for trimming floral stems
- Pliers for bending wire
- An apron to protect your clothing
Plaster Casting Supplies
- Plaster of Paris powder
- Water
- Alginate or silicone putty for making molds
- DIY plaster bandage wall decor for casting and molding shapes
Canvas and Paint Supplies
- A stretched coarse or coarse board
- Acrylic paints in your desired colors
- Paint brushes in small and medium sizes
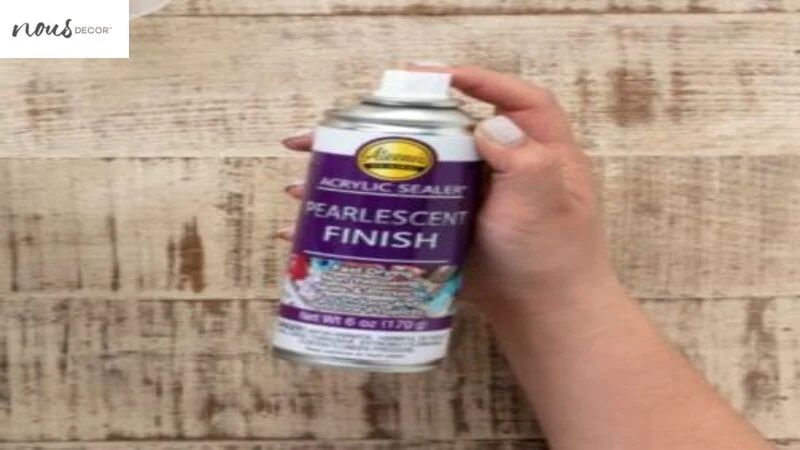
- A sealing spray or varnish
Helpful Extras
- Fake floral stems to use for molds
- Floral wire for floral stems
- A frame to display your finished coarse
With the items on this list, you’ll have everything you need to create beautiful cement blossoms and artfully decorate a coarse. The total cost will range from $30-$50 depending on the size of your coarse and supplies.
Creating DIY Plaster Dipped Flowers Art Project
Before you can start casting the cement blossoms, you need to prepare your work surface and make sure you have the right cement materials. Here are a few key steps:
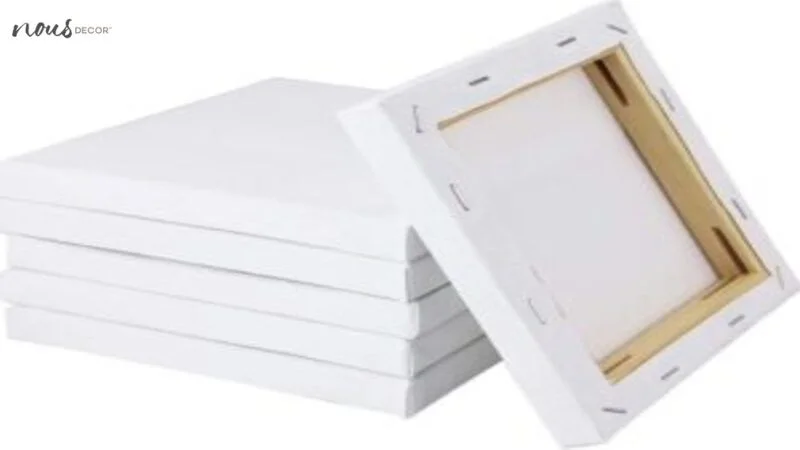
Choose and Prepare the Canvas
Select your preferred coarse size and prime it with gesso to create a textured surface the cement can adhere. For this project, I’m using a standard 8″ x 10″ coarse board primed with two coats of white gesso.
Mix the Plaster of Paris
In a bowl, combine cement of Paris powder with water, following package instructions to create a smooth consistency similar to pancake batter. The exact ratio can vary, but generally use 1 part powder to 2 parts water.
Use Quick-set Plaster for Best Results
Opt for a quick-set cement formula that will harden in 30 minutes. This allows you to work swiftly when molding the cement blossoms before it dries.
Add Alginate to Make Flexible Molds
Mix a small amount of alginate putty into the cement to create more flexible molds. This prevents cracking and makes it easier to remove the delicate cement blossoms after casting them.
With your cement mixed and coarse prepped, you’re ready to create molds and cast gorgeous cement blossoms like black plaster wall art for modern interiors!
Crafting Plaster Molds for the Flowers
To form the cement blossoms, you’ll first need to make molds using real blossoms as models. Here’s how to do it:
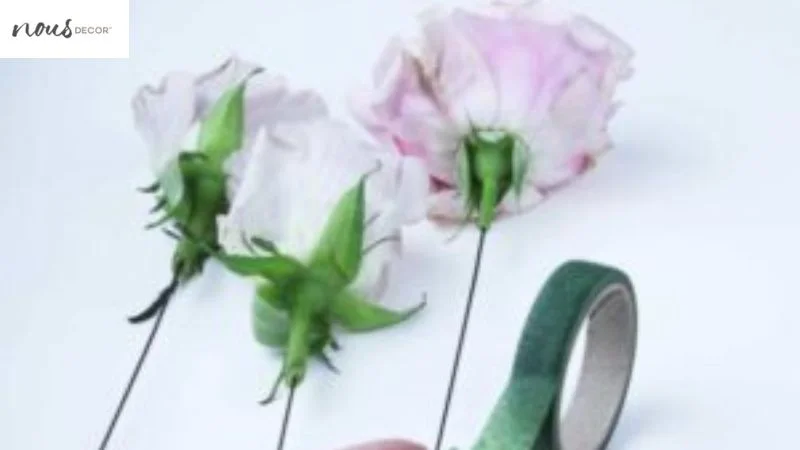
Choose Flowers and Remove Stems
Select an assortment of fake blossoms in the varieties and colors you want. Carefully use scissors to remove the stems so just the blossoms remain.

Cover Flowers in Plaster Bandages
Dip strips of cement bandages in water and use them to cover each blossom, pressing gently to capture the details. Let them fully dry overnight.
Mix Flexible Plaster for Casting
In your bowl, combine 2 cups cement of Paris, 1 cup water, and 1 tbsp alginate powder. Mix well until smooth.
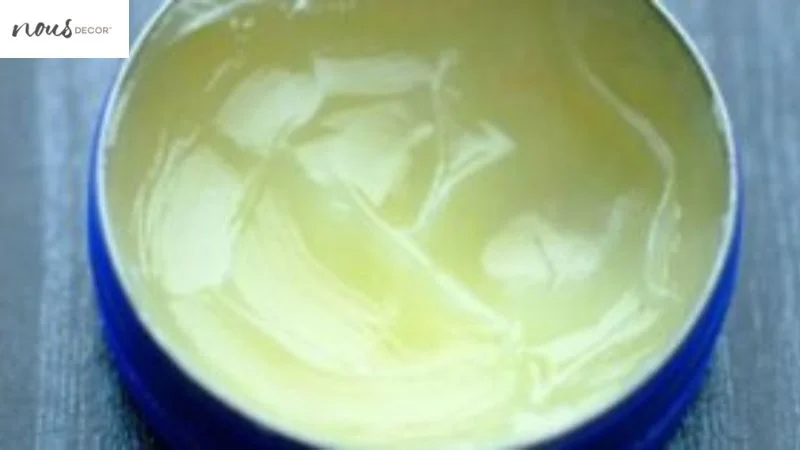
Brush Molds with Petroleum Jelly
Before casting, coat the dried cement bandage molds with petroleum jelly. This helps separate the casted blossoms later.
Pour Plaster into Molds
Holding the stem end closed, slowly pour your prepared cement into each mold to encase the blossoms. Tap gently to remove air bubbles.
Let Flowers Dry Completely
Allow the cement-filled molds to sit undisturbed overnight so the blossoms can fully harden and cure before removing them.
Attaching the Flowers to the Canvas Plaster of Paris
Once the cement blossoms have dried in their molds, it’s time to cautiously remove them and attach wire stems so they’re ready to arrange on your coarse.
Carefully Remove Flowers from Molds
Start by gently flexing the cement mold to loosen the casted floral inside. Slowly peel away the mold, handling the floral gently to avoid breaking delicate petals.
Trim Excess Plaster if Needed
Use a craft knife to gently trim away any excess cement or imperfections so each floral has a smooth, refined shape.
Attach Stems Made of Floral Wire
Cut lengths of floral wire and use hot glue to attach a “stem” to the bottom of each cement blossom. Bend or curl the wire to adjust the shape.
Let Flowers Dry Fully Before Arranging
Allow the newly formed cement blossoms to dry another 24 hours so the bases are hardened before you arrange and attach them to the coarse.
Affixing the Flowers to the Canvas Surface
Once your handcrafted cement blossoms are prepped, it’s time to position them on the coarse background. Use this method to arrange and adhere to them artfully:
Apply Adhesive to the Back of Each Flower
Use a glue gun or strong adhesive like E6000 to cover the wire stem and base of each floral. This will securely attach them to the coarse surface.
Arrange and Position Flowers on Canvas
Referencing a real floral arrangement, play with positioning the cement blossoms on your coarse crumb until you’re happy with the layout of your sense of art wall decor.
Press Flowers in Place Until the Adhesive Sets
Once arranged, gently press each floral in place while applying firm pressure, holding for 30-60 seconds as the adhesive sets.
Allow Time for a Strong Bond Before Painting
Let the cement blossoms cure on the coarse for another 24 hours to fully adhere before moving on to painting your artwork like boho-inspired plaster wall decor.
Flower Painting Instructions with Acrylic Paints
Once your blossoms are securely attached, add color, depth, and detail with acrylic paints to really make your cement floral composition pop.
Choose Complementary Paint Colors
Select acrylic paint colors that complement each other and represent the floral varieties in your arrangement. Mix colors to create custom shades.

Paint Each Flower Realistically
Use small brushes to delicately apply paint to each floral. Try to recreate natural color variations with highlights and shadows for a realistic look.
Define Details with Paint
Add veins on leaves, flecks on petals, pale colors inside blossoms, and other details with paint to add depth and dimension.
Deepen Shadows Under Flowers
Paint the coarse darker under each blossom to make the blossoms appear more three-dimensional and lifelike.
Seal Paint with Varnish When Done
Once you finish painting, spray the entire coarse with a clear acrylic sealing spray. This protects and preserves the art.
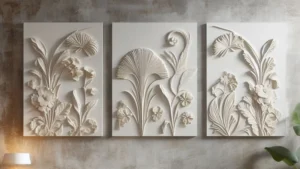
Finishing and Drying the Framed Plaster Casted Artwork
For the final step, frame your artistic coarse to complete your unique floral focal piece and get ready to display it.
Allow Paint to Dry Completely
Give the acrylic paint plenty of time to fully cure before framing, at least 24-48 hours.
Insert Canvas into Frame of Choice
Slide your painted artwork into the frame, securing it in place with provided hardware or frame clips.
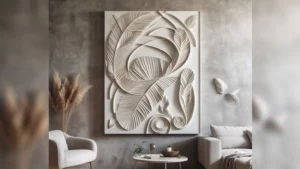
Find the Perfect Spot to Hang Your Flower Art
Look for a prime spot in your home to mount your finished framed floral coarse – above a bed or sofa, in a hallway, or anywhere that needs a pop of art.
Enjoy Your Handmade Creation!
Stand back and admire your handcrafted cement floral art and enjoy knowing you made an original piece filled with custom creative touches. Share photos online or with friends and inspire others with this easy DIY cement tutorial!
Frequently Asked Questions
Conclusion
I hope this easy DIY cement tutorial gives you the inspiration and knowledge to create your own stunning cement floral wall art decor. With a few simple supplies, some creativity, and these step-by-step techniques, you can craft gorgeous floral artwork from scratch.
The process of making cement molds, hand-casting the blossoms, arranging them on coarse, and painting the lifelike colors is deeply satisfying. Your finished piece will bring true artistic joy and become a cherished focal point for any room.
So gather your cement and paints and get ready to spend an enjoyable, creative weekend making art for home. Just imagine how proud you’ll feel admiring your one-of-a-kind cement floral coarse every day. With the right guidance and spirit of adventure, you can do it!
Now that you know how to make this beautiful home decor project, what will you create next? The possibilities are endless!