As someone who has decorated homes for decades, I’m always on the lookout for new and creative ways to liven up boring walls. Plaster bandage art offers an innovative option that allows you to easily design personalized wall hangings with a 3D, textured look.
In this Nousdecor article, I’ll share my tips for making unique Plaster Bandage Wall Art that will instantly elevate your space.
Key Takeaways
- Plaster bandages create textured, handmade wall art when shaped over forms and layered.
- Design ideas include abstract shapes, silhouettes, faux landscapes, botanicals, words, and more.
- Dampen the bandages in water, then smooth over a base form like cardboard or foam.
- Paint and seal the dried plaster art with acrylics and polyurethane for decorative finishes.
- Mount the lightweight plaster art using strong adhesives and hanging wires for support.
Into Plaster Bandage Wall Art
Plaster bandages, also known as plaster cloth or casting bandages, are traditionally used to create medical casts. But these bandage strips coated in plaster also make fantastic DIY canvases for artistic creations.
With some creativity, you can use plaster bandages to craft abstract wall hangings, sculptural bas-relief pieces, and more. The end results have an organic, handmade aesthetic that feels chic and modern.
For me, the appeal of plaster bandage art is that it requires minimal artistic skill. As long as you can envision the overall design, the plaster does most of the work to create beautiful 3D textures. I’ll walk through the simple process so you can start embellishing your walls with customized plaster creations.
Step-by-Step Process for Making Plaster Bandage Art
Here are my tips for crafting unique plaster bandage art:
Choose a Base Form
First, select a form to shape your plaster bandages around. Good options include:
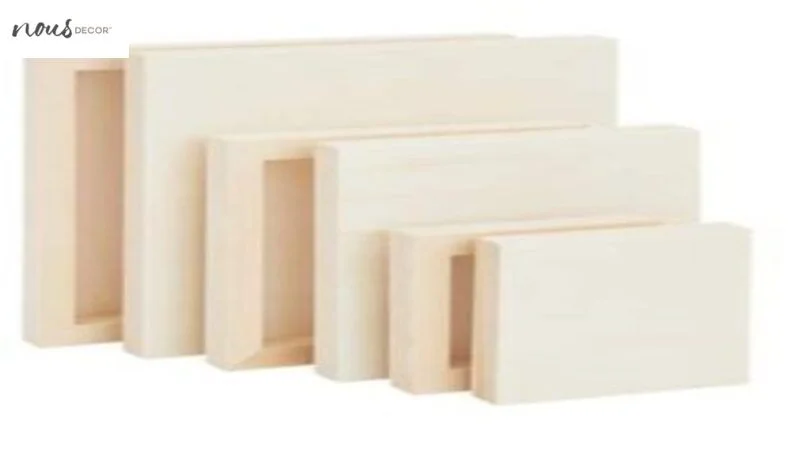
- Canvas or wood blocks
- Bowls, vases, or other vessels
- Balloons
- Cardboard or plastic forms
- Foam sheets
- Found objects like driftwood, seashells, etc.
Make sure the form is sturdy enough to hold the plaster bandages as they dry. Avoid fragile items that may break under the weight.
Prepare the Workspace
Cover your work surface with a plastic tablecloth or newspaper to protect it from drips and spills. Have all your materials and tools nearby before you start. Be sure to wear old clothes and have paper towels on hand.
Dampen the Plaster Bandages
Submerge the plaster bandages one at a time in a bowl of lukewarm water. Let them soak for 30-60 seconds until pliable. Don’t leave them too long or the plaster will start to dissolve. Gently squeeze out excess water.
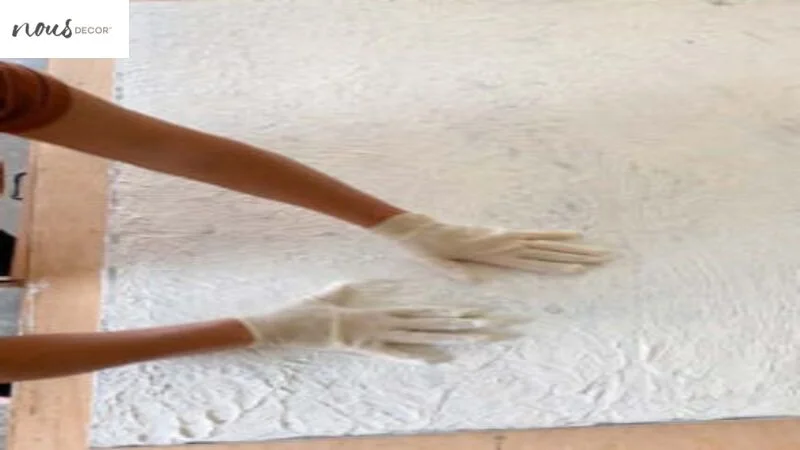
Apply Bandages to the Form
Drape the soggy plaster strips over your form, smoothing out wrinkles and air pockets as you work. Overlap the edges slightly for stability. The wet plaster will begin hardening in 5-10 minutes as it dries.
Build up layers until you reach the desired thickness. Keep dampening new strips as needed. Mist with water occasionally if the plaster seems too dry.
Refine the Shape
Once your basic form is complete, refine the contours while the plaster is still pliable. Add lumps, indentations, or texture for visual interest. Shape freeform abstract sculptures, or mimic the curves of a vase. Get creative with the possibilities!
Allow to Dry
Let your plaster creation dry completely, which takes 30-60 minutes. Carefully remove it from the base form. If needed, fill any cracks with additional plaster. Then let it finish drying before decorating.
Paint and Seal (Optional)
For plain white plaster wall art, you can stop after drying. But I recommend painting it with acrylic craft paints for bold hues. You can see more about how in our painting tips for plaster walls.
Seal painted pieces with a spray sealer like polyurethane. This protects the finish and makes wiping off dust easier.
Unique Design Ideas for Plaster Bandage Wall Decor
Now for the fun part – coming up with inspiration for your own plaster bandage art pieces! Here are some of my favorite ideas:
Abstract Shapes
Craft free-form sculptural shapes, circles, or waves. Layer the plaster strips at different angles to make the piece multi-dimensional. Paint in bold patterns for an eye-catching pop of color.
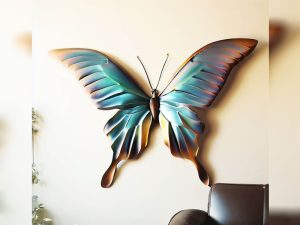
Silhouettes
Cut out a silhouette shape from cardboard, then cover it in plaster strips. Try florals, animals, letters, or meaningful shapes. Use metallic paints for added glamour.
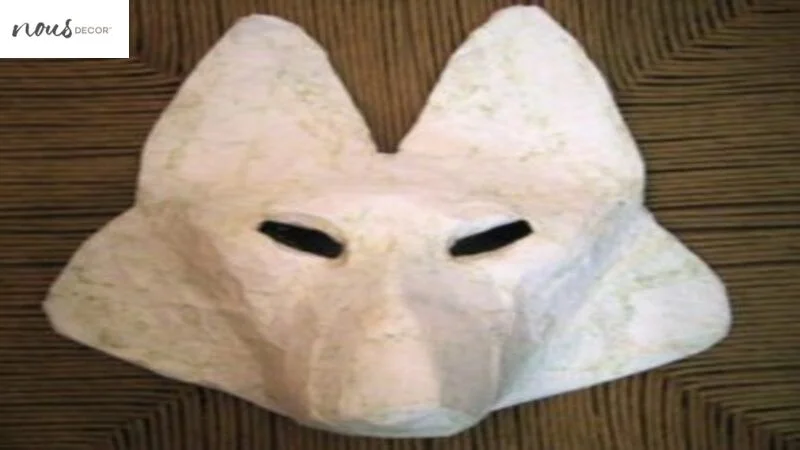
Faux Taxidermy
Mimic trendy taxidermy mounts with faux animal heads made from plaster bandages. Shape strips over a foam base, build up the snout and ears, then paint with realistic details.
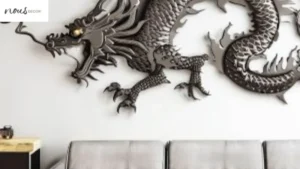
Faux Metal
For industrial chic, make geometric abstract wall hangings with a faux metal look. Paint on metallic silvers, coppers, bronze, and distress for a rusted patina.
Word Art
Spell out meaningful words, lyrics, or phrases with rolled plaster coils. Arrange them in an artful composition and paint in your favorite hues.
Landscapes
Sculpt a stylized plaster landscape to depict mountains, waves, desert canyons, forests, or more. Paint to match the scenery.
The options are endless! Let your inner artist run wild.
Tips for Mounting and Displaying Plaster Wall Art
Once your unique piece is complete, follow these tips for putting it on display:
- Allow the plaster to fully cure for 24-48 hours before mounting to prevent breakage.
- Use strong adhesives like construction adhesive or epoxy to permanently affix the piece.
- For weight support, attach hanging wires to the back at multiple points.
- When drilling into plaster, start with a small pilot hole to avoid cracking.
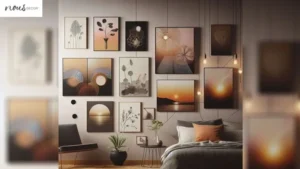
- Get creative with the arrangement – group pieces for a gallery-style wall or hang solo as an accent.
- Add LED lighting above or behind to create dramatic shadows and contours.
With the right mounting strategy, your plaster bandage art will transform any blank wall into a masterpiece canvas!
Shop Plaster Bandages and Supplies
To get started on your own plaster bandage art designs, pick up these essential supplies:
- Plaster bandages – Also called plaster cloth or casting bandages. Look for high-quality medical-grade rolls.
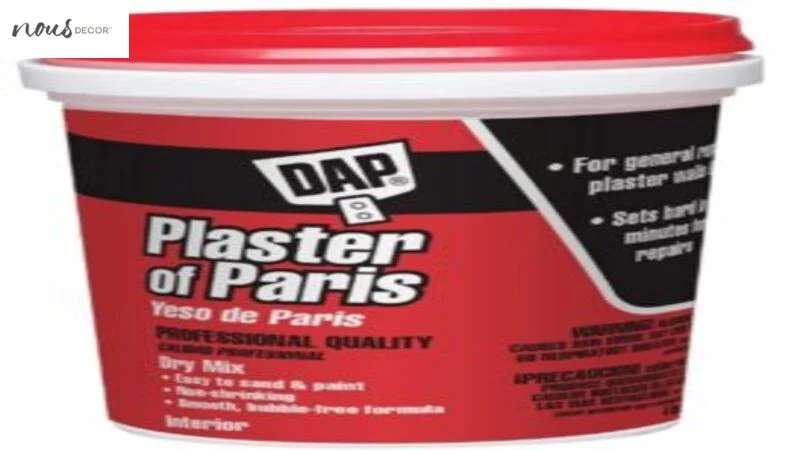
- Plaster of Paris – Mix with water to form a paste for filling cracks.
- Acrylic craft paints – Offer a huge variety of colors for decorating plaster.
- Paintbrushes and foam brushes – Essential for painting details.
- Adhesives – Use strong glues like epoxy or construction adhesive to mount the art.
- Hanging hardware – Secure hanging wires to the back at multiple points.
- Sealers – Spray with polyurethane or other sealers to protect painted finishes
- Mixing containers – Use plastic bowls for prepping plaster bandages.
You can find these supplies affordably at most craft stores, online retailers like Amazon, or medical supply distributors. With the right tools and materials, you’ll be ready to get creative!
Inspiring Examples of Plaster Bandage Decor
Need a little extra design inspiration? Here are some of my favorite examples of art created with plaster bandages:
- New York artist Naomi Clark creates stunning abstract wall sculptures from layered plaster bandages painted in bold colors. Her organic, textured style is very on-trend.
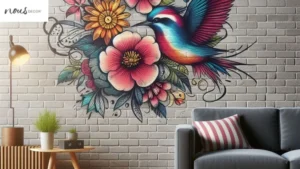
- Design studio Abilu Creations makes vivid botanical-inspired art from plaster, mimicking flowers, leaves, and more. Their colorful floral pieces are total statement-makers.
- Etsy shop PlasterArtSpecialty sells beautiful plaster bandage pieces like galloping horses, woodland creatures, and bas-relief sculptures in soft neutral hues. Their art has an elegant, sophisticated vibe.
- Minneapolis studio Galerie Atelier sells exquisite hand-crafted black plaster wall art that mimics Pottery Barn’s exquisite plaster tile wall decor. The subtle Moroccan patterns are beautifully detailed.
- Seattle artist Susan Zoccola creates fanciful plaster wall masks molded from real faces. She paints them in striking colors and metals for an avant-garde display.
Let these talented designers motivate you to create your own one-of-a-kind plaster bandage art for your home. Have fun with it and make it personal!
Frequently Asked Questions
Conclusion
Wall art made from simple plaster bandages allows anyone to design stunning, textured canvas art. With some creativity and my tips for shaping painting, and mounting, you can craft your excellent wall art for personalized spaces to display anywhere from living rooms to bedrooms.
The organic look of plaster bandage art makes it a chic option for both classic and contemporary spaces. So give this fun DIY project a try and create your own one-of-a-kind wall art – your home’s blank walls will thank you!
Or do you want to put wallpapers on top of your plaster art? Check out our article on wallpaper options for plaster wall surfaces now!