Alright, folks, picture this: you’re standing in front of a blank wall, longing to give it some pizzazz and personality. Well, fear not! I’m here to guide you through the world of wall décor decals and show you how to transform that ordinary surface into a masterpiece.
As someone who has dabbled in the art of decal application for years, I’ve learned a thing or two about the dos and don’ts. From preparing your wall surface to choosing the perfect design, I’ll walk you through each step with expert precision.
So get ready to unleash your inner artist as we dive into the wonderful world of How To Apply Wall Art Stickers. Whether you want to jazz up your living room or add a touch of whimsy to your child’s bedroom, I’ve got all the tips and tricks you need for a flawless finish.
Let’s roll up our sleeves, grab those decals, and let creativity take flight with Nousdecor!
Key Takeaways of How To Apply Wall Art Stickers
- Prepare the wall surface by cleaning and priming before applying the wall décor decals
- Choose wall décor decals that complement the space in terms of design, color scheme, and theme
- Look for high-quality vinyl decals that are easy to apply and remove
- Use proper technique and be patient when applying and removing wall décor decals to achieve a flawless finish

Preparing The Wall Surface For Applying Wall Stickers
Now, you’re ready to transform your blank wall into a stunning masterpiece with these easy-to-apply Home Decor Items! Before applying a wall decal, it’s essential to prepare your wall surface properly.
Start by cleaning the painted walls thoroughly to ensure there is no dust or dirt that could interfere with the adhesion of the decals. Use a mild detergent and a soft cloth or sponge to gently wipe down the entire surface. Once clean, allow the walls to dry completely before moving on to the next step.
After cleaning, consider priming your walls if necessary. Priming helps create an even base for better decal adhesion and can also help hide any imperfections on the wall surface. Choose a primer suitable for your specific wall type and apply it according to the manufacturer’s instructions.
With your clean and primed walls, you are now ready to move on to choosing the right wall décor decals that will perfectly complement your space.
Choosing the Right Wall Art Stickers
When it comes to selecting the perfect wall decals, it’s important to choose designs that speak volumes about your personal style and make a statement in any room.
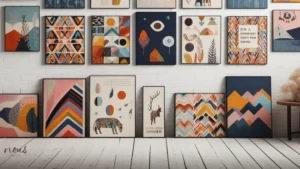
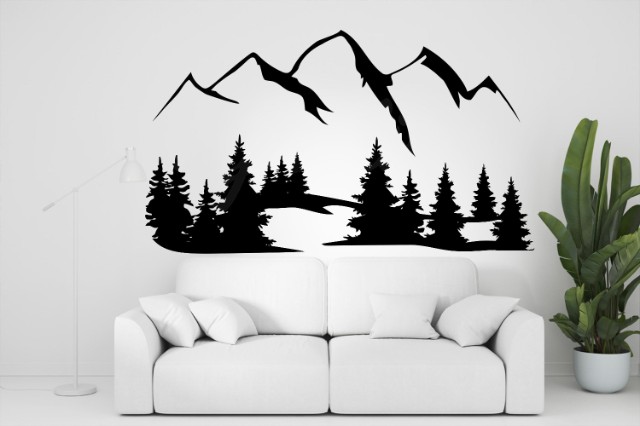
Wall Art Decor decal designs come in a wide variety of options, from minimalist patterns such as artistic car silhouette wall decals or Crossword Name Wall Art Generator products to vibrant landscapes like breathtaking mountain art or inspirational wall quotes.
Finding wall décor inspirations can be as simple as browsing through online galleries or visiting local home decor stores. Some unique sticker inspirations include shadow box wall art ideas, doily wall art inspiration, vintage syroco wall art, stunning wall art on Houzz, and more!
Consider the color scheme and overall theme of your space when making your selection, ensuring that the decals complement the existing decor.
Look for tips for installing vinyl wall art decals that are easy to apply and remove without damaging the walls. By choosing the right wall décor decals, you can transform any room into a visually stunning space that reflects your unique taste and personality.
Now let’s move on to properly applying these beautiful decals for a flawless finish.
Properly Applying Wall Decals: From Cleaning the Wall to Removing the Backing Paper
To ensure flawless results, it’s essential to master the proper techniques for applying these stunning decals. Applying the wall décor decals may seem simple, but there are common mistakes that can easily be avoided with a little know-how.
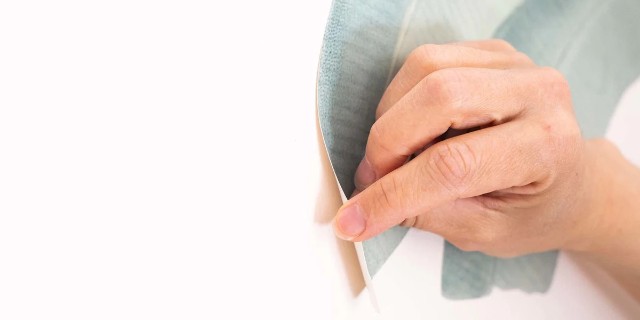
First and foremost, make sure the surface is clean and dry before starting. You can try to wipe with damp cloth as any dust or dirt can prevent the decal from adhering properly. Next, carefully remove the backing paper while being cautious not to damage the decal itself.
Slowly align and stick it onto the desired spot, smoothing out any air bubbles as you go along. If you encounter any stubborn bubbles or wrinkles, gently lift up the decal and reposition it until satisfied. Use masking tape on your freshly painted wall if necessary. Remember, patience is key!
Now that you’ve mastered applying the wall décor decals flawlessly, let’s delve into removing and replacing them without causing any damage.
Removing The Transfer Paper and Replacing Decals on the Wall
If you’re ready for a change, how can you safely remove and replace those eye-catching decals on your walls?
Well, fear not! I’ve got the expert knowledge to guide you through the process. First things first, removing wall décor decals requires patience and a gentle touch. Here’s what you need to do:
- Start by peeling off the decal slowly from one corner, using your fingernail or a plastic card.
- If there’s any residue left behind, use a mild adhesive remover or rubbing alcohol to gently wipe it away.
- To prevent damage to your walls, avoid using sharp objects that could scratch or gouge the paint.
Now that you know how to remove those decals without leaving a trace, let’s move on to tips and tricks for achieving a flawless finish in the next section.
Tips and Tricks for a Flawless Finish when Applying a Wall Sticker
Achieving a flawless finish on your walls is all about mastering these expert tips and tricks. When it comes to applying the wall décor decals, there are a few common issues that may arise. One of the most frustrating problems is air bubbles trapped underneath the decal.
To troubleshoot this issue, start by smoothing out the decal with a credit card or squeegee from the center outward, pushing out any air bubbles as you go. If you still notice some stubborn bubbles, gently puncture them with a pin and smooth over the area again.
In addition to troubleshooting, getting creative with wall décor decals can really transform your space. You can use multiple decals to create a collage effect or even combine them with other decorative elements like picture frames or mirrors for an eye-catching display. Another fun idea is to create a focal point in a room by applying a large statement decal on one wall.
By following these tips and exploring creative ideas, you’ll be well on your way to achieving a flawless finish with your wall décor stickers.
Frequently Asked Questions
Conclusion
In conclusion, applying stickers is a simple and creative way to transform your walls. By following the steps outlined in this article, you can prepare your wall surface, choose the perfect stickers, apply them with precision, and achieve a flawless finish.
With a wide variety of designs available, you can personalize your space and create a visually stunning environment. So, get ready to unleash your inner artist and make a statement with wall décor stickers!
By the way, if you’re interested in Christian-inspired decor, check out our articles on Bible verse wall art prints and how to create how great thou art wall art now!