Welcome to the wonderful world of vinyl-made wall décor! If you’re looking to add a touch of personality and style to your walls, then you’ve come to the right place. Applying vinyl-made wall décor is a simple and cost-effective way to transform any space into a work of art.
In this article, I will guide you through the step-by-step process of How To Apply Vinyl Wall Art like a pro. From gathering supplies and preparing your wall, to selecting the perfect design and size, we’ll cover it all.
But wait, there’s more! I’ll also share tips on removing air bubbles and ensuring a smooth application. Plus, we’ll discuss those finishing touches that really make your new wall art pop.
By following these easy to apply expert techniques, you’ll be able to effortlessly create stunning visuals that showcase your unique taste and style.
So let’s dive in and get started on this exciting journey of applying vinyl-made wall décor with Nousdecor!
Key Takeaways of How To Apply Vinyl Wall Art
- Clean the wall thoroughly before applying vinyl-made wall décor to ensure a smooth and long-lasting application.
- Measure and mark the desired placement of the vinyl design to ensure proper placement and alignment.
- Smooth out any air bubbles during the application process using a credit card or squeegee.
- Avoid placing vinyl-made wall stickers in areas with high humidity or direct sunlight to maintain its quality and longevity.
Gathering Supplies and Preparing Your Vinyl Decals
Now you’re ready to gather all the supplies and start prepping your wall for incorporating vinyl into wall decor! The first step in applying vinyl-made wall décor is to ensure that the surface is properly prepared. This involves cleaning the wall thoroughly with a mild detergent and removing any dirt or dust.
Once the surface is clean, it’s important to measure and mark where you want to place your vinyl design. Use a transfer tape measure and pencil to accurately measure the area, taking into account any furniture or fixtures that may be in the way. Marking the measurements on the wall will help guide you during the application process.
With your surface prepped and measurements marked, you can now move on to choosing the right design and size for your vinyl-made wall décor project.
Choosing the Right Design and Size for The Decals on The Wall
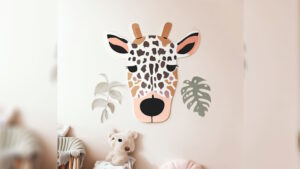
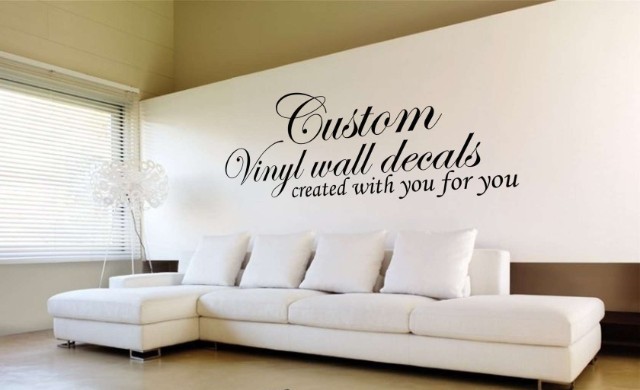
First, envision a design that complements your space and resonates with your personal style. Choosing the perfect color scheme is essential in creating a cohesive look for your vinyl-made wall décor. Consider the existing colors in your room and select shades that will harmonize well with them.
Additionally, exploring different Wall Art Decor styles such as behind-the-scenes artistic exploration can help you find the perfect design for your space. There are endless options available, from minimalist graphics to intricate patterns and typography.
Take into account the overall theme of your room and choose a style that enhances it. By carefully selecting both the color scheme and design, you can create a stunning visual impact on your walls.
Now that you have chosen the right design and size, let’s move on to applying the vinyl-made wall décor seamlessly onto your wall surface.
Applying Vinyl Wall Decals to The Wall Surface
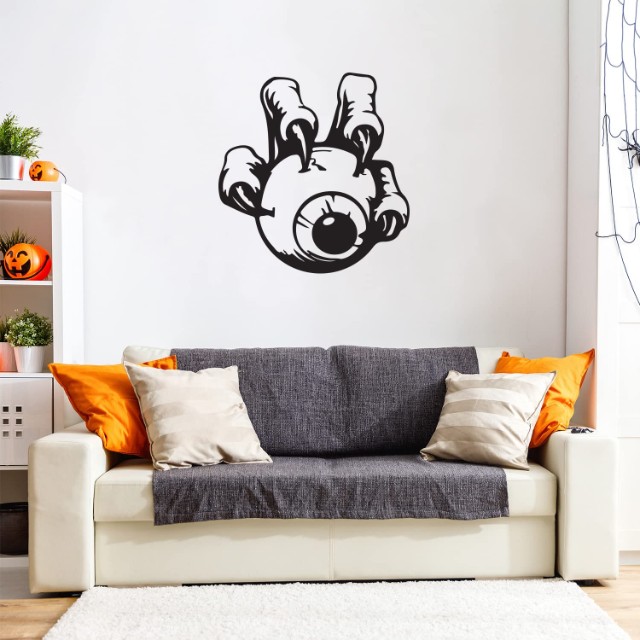
To seamlessly transform your space, start by carefully attaching the vinyl wall decals, which have been shown to increase the visual appeal of a room by up to 40%.
Here are three tips for a successful application:
Troubleshooting common issues: Before applying the decal, make sure the surface is clean and free from dust or grease. If you encounter any air bubbles during the application process, gently smooth them out with a credit card or squeegee.
Tips for long-lasting vinyl-made wall décor applications: To ensure your playful wall decals stay in place for years to come, avoid placing them in areas with high humidity or direct sunlight. Additionally, avoid using harsh cleaning agents that could damage the decal’s adhesive.
Removing air bubbles and smoothing out the design: After attaching the vinyl wall decal, use a credit card or squeegee to remove any trapped air bubbles and ensure a smooth finish.
- See our article on decorating slanted walls with art if you’re dealing with one now!
Now let’s move on to removing air bubbles and smoothing out the design without causing any damage.
Removing Air Bubbles and Smoothing Out the Design
Smooth out any air bubbles and create a flawless design that will leave you feeling amazed at the transformation of your space. Removing air bubbles is an essential step in applying vinyl-made wall décor.
To troubleshoot common application issues in such understated wall art style, start by using a wipe or credit card to gently press down on the vinyl, working from one side to the other. This will help push out any trapped air bubbles.
If there are stubborn bubbles that won’t go away, try pricking them with a pin and then pressing them down again. Be careful not to damage the design while doing this. Once all the air bubbles are gone, use the wipe to smooth out the entire design for a polished finish.
With this simple technique, you can achieve professional-looking results every time.
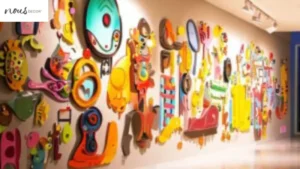
Now, let’s move on to adding finishing touches and enjoying your new vibrant pop art visuals seamlessly.

Adding Finishing Touches and Enjoying Your New Wall Art
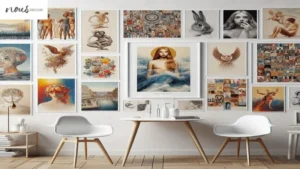
Now that you’ve successfully transformed your space, it’s time to add those final touches and fully immerse yourself in the beauty of your new masterpiece. Displaying vinyl-made wall décor creatively is a great way to showcase your personal style and enhance the overall aesthetic of any room.
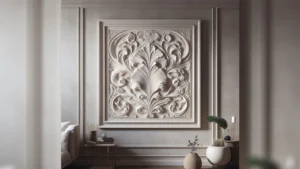
Consider arranging multiple pieces in a gallery-style display or creating a focal point with a large statement piece. Experiment with different layouts and arrangements until you find what works best for your space.
When it comes to maintaining and cleaning Home Decor Items, it’s important to follow some simple guidelines to ensure its longevity.
Avoid using harsh chemicals or abrasive materials when cleaning as this can damage the design. Instead, use a soft cloth or sponge along with mild soap and water to gently wipe away any dirt or dust. Regularly dusting the surface will also help keep it looking fresh.
By adding these easy to install finishing touches and properly maintaining your vinyl wall décor, you can enjoy its beauty for years to come. So sit back, relax, and admire the transformation you’ve made in your space!
For some other classy wall decor, check out our articles on personalized name wall art creator and automotive-themed wall art now!
Frequently Asked Questions
Conclusion
In conclusion, applying vinyl-made wall décor is a simple and cost-effective way to transform your space into a work of art. By following the step-by-step process outlined in this article, you can easily apply wall decals like a pro.
Start by gathering supplies and preparing your wall, ensuring it is clean and properly measured. Choose the right design and size that complements your space and personal style. Then, apply the vinyl-made wall décor carefully, troubleshooting any air bubbles and ensuring a smooth finish.
Remember to avoid high humidity and direct sunlight for long-lasting results. Finally, add the finishing touches and enjoy your new wall art by creatively arranging and properly maintaining it.
With these tips and techniques, you can effortlessly elevate the aesthetics of your space and create a stunning visual impact with vinyl-made wall décor.