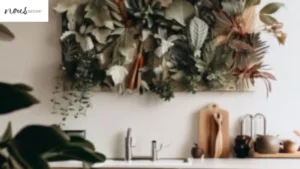
Looking to spruce up your home’s walls on a budget? Plaster Canvas Wall Art DIY is an easy, affordable DIY project that allows you to create stunning custom art pieces to display. With just a few simple materials and techniques, you can make beautiful three-dimensional artworks that add visual interest and personality to any space.
In this comprehensive DIY guide, I’ll walk you through everything you need to know to create your own plaster canvas wall hangings at home. From choosing the right supplies and preparing your canvas, to mixing plaster and sculpting effective textures, you’ll learn professional tips to make captivating works of art even if you’re not artistic.
Let’s get started on this enjoyable plaster canvas art journey with Nousdecor!
Key Takeaways
- Prime the plaster cast wall art canvas first for the plaster to properly adhere to the fabric. Use gesso or specialty acrylic primers.
- Mix the plaster well so it has a smooth, lump-free consistency for easy spreading and shaping. Allow proper hardening times.
- Consider basic shapes and textures when sculpting the plaster – circles, wavy lines, criss-cross patterns are great starting points.
- Add color with paints or inks on the dried plaster, using multiple layers for dimension. Define edges around sculpted areas.
- Seal and protect the finished piece with varnish sprays suitable for canvas and plaster materials.
Step-by-Step Instructions for Plaster Canvas Wall Art DIY
To begin your plaster canvas art project like when exploring plaster wall art in Canada, you’ll need:
- Canvas – stretched canvas or canvas boards work well
- Plaster of Paris – white Grade A plaster provides the smoothest finish
- Acrylic primer or gesso
- Paintbrushes and sculpting tools – silicone shaping tools are ideal
- Acrylic paints, inks, pigments
- Finishing spray – polyurethane or mod podge sealants
Prime the Canvas
It’s important to start by priming your canvas so the plaster will properly adhere. Gesso or heavy bodied acrylic primers specifically made for canvas work best. Apply 2-3 coats, allowing it to fully dry between each layer.
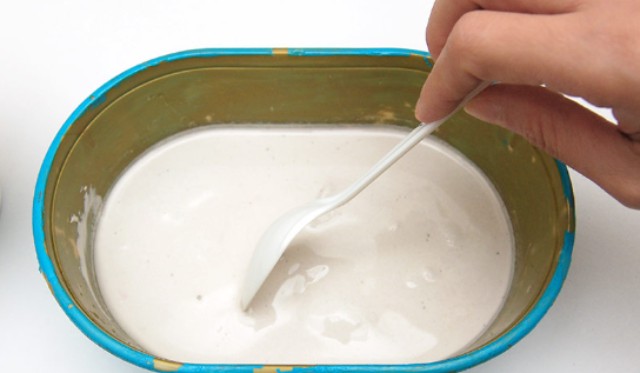
Mix the Plaster
For a smooth plaster that’s easy to shape and sculpt, always mix according to package directions. Avoid lumps. You can apply plaster directly over the primed canvas up to 1/4″ thickness in a single layer.
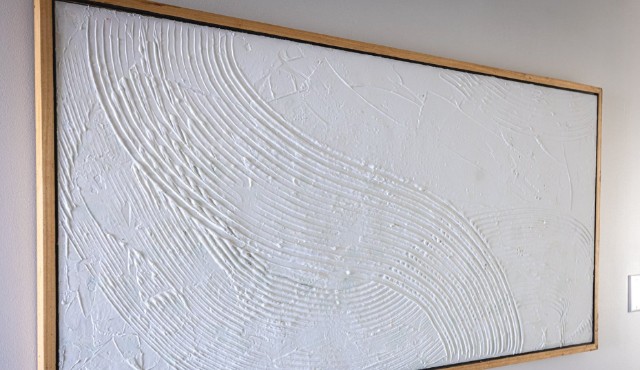
Sculpt the Plaster
This is the fun, creative part! Use your sculpting tools to carve lines, swirls and patterns into the wet plaster. You can scrape away areas to expose the canvas color beneath, leave raised sections, or shape dimensional molding-like designs. Let it fully cure first before moving to the next steps.
Add Color
Once cured, it’s time to bring your art to life with color. Apply acrylic paints, inks, mica powders or pigments on the plaster relief using brushes, rags or sponges. Dry brushing and layering multiple washes creates appealing color variations and depth. Outline sculpted edges for definition.
Seal and Protect
To complete creating textured flowers on canvas, apply an acrylic sealing spray like polyurethane or mod podge. This seals the plaster and creates a uniform glossy finish. Let the sealer fully cure before hanging for best durability. Now find the perfect spot to proudly display your handmade creation!

Frequently Asked Questions
Conclusion
Creating big plaster wall artworks is an enjoyable DIY project that allows you to make custom artistic pieces for your home. With the techniques covered here, you can sculpt dimensional plasters on primed canvas foundations and bring them to life with vibrant colors.
Experiment, have fun with your creative home wall art choices, and proudly display your artistic creations as stunning wall hangings sure to draw compliments.