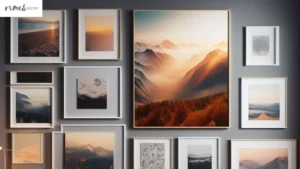
Adding wall art to your home can completely transform a space. But most art prints and paintings can be expensive, especially for large statement pieces.
A great budget-friendly alternative is making your own Plaster Wall Art Kit using simple DIY plaster kits. These kits provide creative materials that allow you to sculpt artistic 3D wall pieces that are totally customizable.
As an interior designer with more than 10 years of experience, I, Mark Decor, am here to show you just that. So read on with my Nousdecor guide to find out how!
Key Takeaways
- Plaster wall kits provide affordable materials to create unique 3D wall hangings yourself through sculpting, plastering, and painting.
- The process involves choosing a kit design, sculpting the shape from molding clay/ strips, applying plaster cloth strips, painting with acrylics once cured, and then mounting the finished piece.
- Benefits of making your own plaster wall art include customizability, inexpensive cost, quick weekend project, and calming creative activity.
- With some simple steps, you can make personalized wall art like geometric shapes, inspirational words, landscapes, animals, and abstract designs to display.
Into Plaster Wall Art Kit
Plaster wall kits contain molding clay or strips, plaster cloth strips, acrylic paints, brushes, and other tools to create textured plaster pieces. The process involves sculpting a design with clay or strips, applying plaster strips over it, and then painting the finished plaster.
Kits are available for various designs like geometric shapes, landscapes, wall plaques with words or symbols, animals, and more.
With the right kit, a bit of creativity, and some simple steps, you can start decorating with plaster wall hangings to display. The sculptural, layered look is quite unique compared to basic wall decor. And the DIY process can be a fun weekend project or a relaxing creative outlet after work. It allows you to produce personalized art at a fraction of the cost of buying it.
Benefits of Plaster Wall Art
- Inexpensive – Kits are affordable, usually under $30. The end result looks like high-end sculptural art.
- Customizable – Make exactly the design, colors, and size you want.
- Relaxing activity – Molding the clay and painting is meditative and calming.
- Quick weekend project – Smaller pieces can be completed in a few hours over a weekend.
- Unique additions – The textured, dimensional style stands out from basic wall prints.
Tips for the Best Results
To create impressive plaster wall decor items using a kit, keep these tips in mind:
- Carefully follow kit instructions for best results, especially for drying/curing times.
- Work on a smooth, protected surface to sculpt your design.
- Apply plaster strips smoothly without air bubbles or wrinkles.
- Let pieces fully cure before painting to prevent cracks or weak spots.
- Use high-quality acrylic paints and thin coats for a smooth painted finish.
- Consider adding a sealer as a finishing coat for added protection.
- Mount on walls using adhesive strips or hooks to properly support weight.
Step-by-Step Process for Making Plaster Wall Art
With the right supplies, making your own plaster wall art at home takes just a few simple steps:
1. Choose and Purchase a Plaster Wall Kit
First, browse the many kit options online or at craft stores and choose a design you like. Consider the size and complexity of the piece to match your skill level and available space on your wall. Purchase a kit with all the materials you’ll need, including molding clay or strips, plaster cloth, acrylic paints and brushes, adhesive, instructions, and any tools.
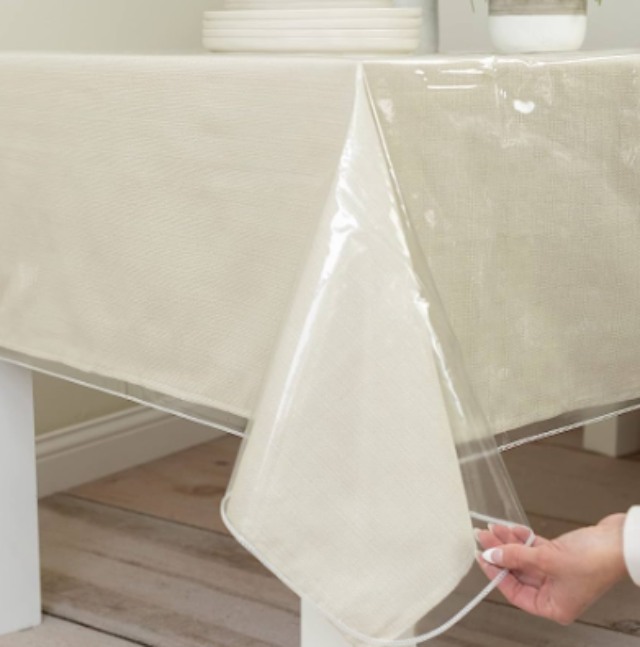
2. Prepare Your Work Surface
Cover your work table or other area with plastic, wax paper, foil, or such to protect it from plaster drips or paint. Ensure you have adequate space to lay out all materials and sculpt your design. Having your surface totally ready first makes the process smoother.
3. Sculpt the Base Form
Following kit instructions, mold the provided clay or plaster strips over the mold outline or contour template to sculpt your chosen design. Take your time to carefully shape the details and get the form just as you’d like. Let the form fully dry/cure as directed before continuing.
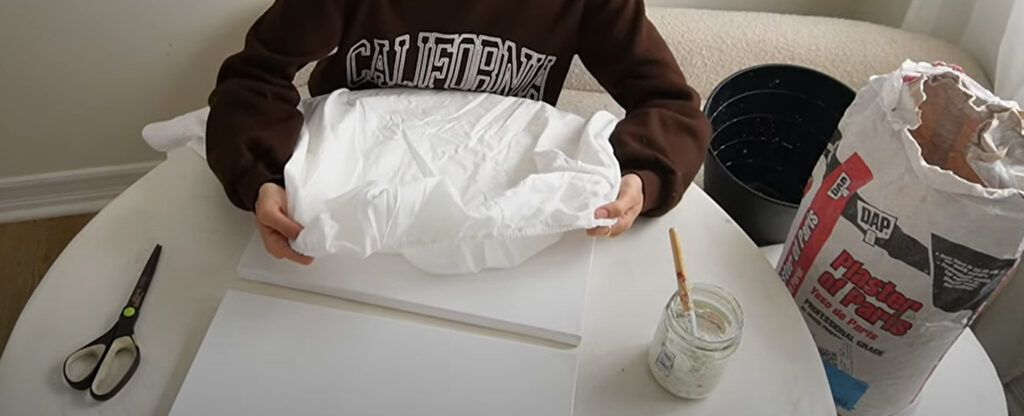
4. Apply Plaster Cloth Strips
Tear pre-cut plaster cloth strips into manageable pieces. Dip strips in warm water and apply over the sculpted form, smoothing out air pockets as you work. Apply 3-4 layers of strips for strength and stability. Let the plaster dry completely between layers to lock everything together securely.
5. Sand and Prep Plaster Surface
Once cured, use sandpaper to smooth the edges and any uneven areas. Brush off dust. Fill any small holes with acrylic gesso, let dry, then sand again. The smoother the surface, the better your paint will look.
6. Paint Your Plaster Wall Art
Following your creative vision, use acrylic paints to decorate your plaster art piece. Outline major elements first, then fill in with your color palette. Add fine details with small brushes. Allow each layer of paint to fully dry before adding more to prevent smearing.
7. Seal and Mount Your Finished Piece
For added durability and sheen, apply an acrylic sealer as a finishing coat. Once completely dry, use adhesive strips or wall hooks to mount your art on the desired wall, properly supporting the weight. Then stand back and admire your unique plaster wall creation!
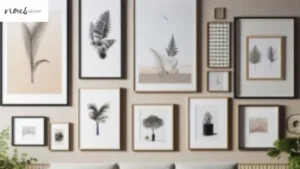
Inspiring Plaster Wall Art Ideas to Try
The possibilities for plaster wall art designs are endless. Here are some creative ideas for plaster canvas art to spark your creativity:
- Geometric wall plaques – Create circles, squares, triangles, or diamonds stacked or overlapping in cool modern patterns. Paint in bold colors or metallic sheens.
- Mountain landscape – Sculpt mountain peaks and valleys. Paint shades of greens, blues, and white to mimic an alpine scene.
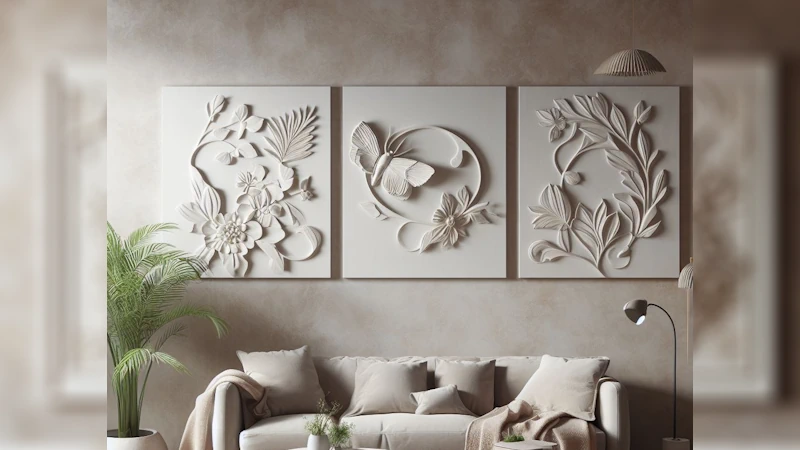
- Silhouette animal heads – Make side-profile outlines of animals like deer, birds, elephants or horses. Paint in realistic colors or go abstract.
- Inspirational words – Craft letter plaques spelling out uplifting words like “Hope”, “Creativity”, “Gratitude” or other phrases.
- Maps – Sculpt a 3D topographic map to highlight your favorite vacation spot or hometown.
- Abstract organic shapes – Come up with unique curving, spiraling forms. Paint in soothing tones for a relaxed vibe.
Let the kit instructions guide you, but don’t be afraid to put your own spin on the materials. Combine elements from different kits for further customization and make the plaster art truly personal.
Helpful Tools and Materials to Have
While plaster art kits include the main supplies needed, having some additional items on hand can be useful:
- Plastic table covering or drop cloth – Protect work surfaces from drips and spills
- Containers for water – For soaking plaster cloth strips
- Soft paintbrushes – For smoother acrylic paint application
- Fine-tip paint pens – To outline elements or add fine details
- Acrylic paint palette – For mixing custom colors as desired
- Sandpaper – To smooth plaster or shapes before painting
- Gesso – For filling any small holes or gaps in the plaster surface
Tips for Mounting and Displaying Plaster Wall Art
Once your plaster art creation is complete, you’ll want to proudly put it on display. Here are some tips to mount inspiring wall plaster art snapshots:
- Let pieces fully cure and dry first – Allow several days for plaster and paint to harden before mounting to prevent cracking or chipping.
- Use wall anchors suited for weight – Adhesive strips can work for smaller pieces, but medium-large pieces need anchors that can support heavier weight of plaster.
- Find the right spot – Decide on the perfect wall space to show off your art while also keeping it safe from damage. Overbeds, sofas, or side tables are ideal spots.
- Arrange lighting – Consider adding nearby lighting like sconces or picture lights to really highlight dimensional details.
- Fill the space – Scale your plaque size to properly fit and fill the wall area for the best visual impact.
- Hang at proper height – Mount large pieces about 57-60 inches high at eye level. Hang smaller pieces lower, like 48 inches high.
Frequently Asked Questions
Conclusion
Creating custom plaster wall art using affordable DIY kits is an easy and engaging project for all skill levels. The endless design possibilities allow you to produce unique art to show off your personal style.
Learning the simple process of sculpting with clay, applying plaster cloth, painting designs, and mounting the finished pieces lets you make stylish wall art for every home on any budget. With the right inspiration and materials, you can create stunning focal point pieces to beautify your home decor.
Plaster wall kits provide an artistic outlet to relax and unwind with a fun, hands-on activity. Displaying your custom wall creations makes a satisfying statement. So grab a weekend and your creativity and try making your own plaster masterpiece to adorn those blank walls.