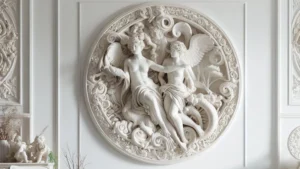
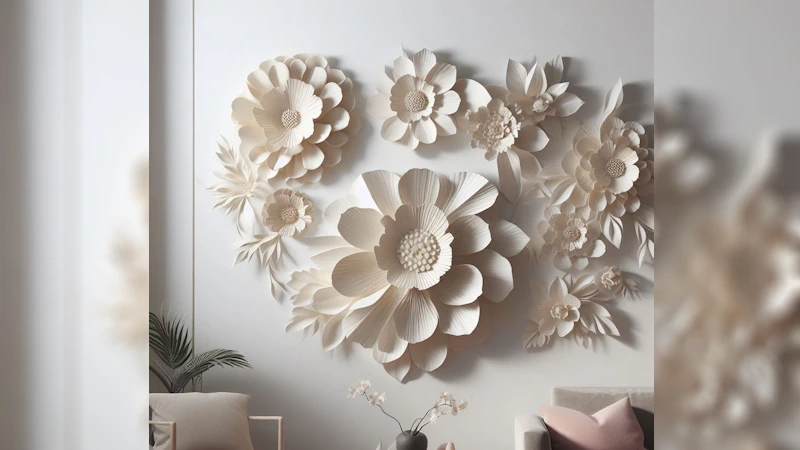
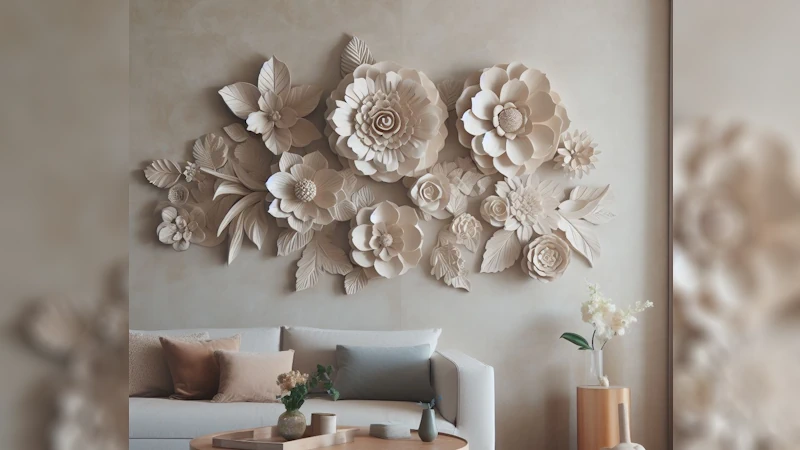
Looking to add some aesthetic flair to your home? Plaster Flower Wall Art DIY is an easy, budget-friendly way to decorate any blank wall. With just a few simple materials and tools, you can create a stunning focal point that looks professionally done.
In this comprehensive Nousdecor guide, I, Mark Cutler, will walk you through every step of the plaster flower wall art decor process. You’ll learn how to make flower-shaped molds, mix up plaster, add color, and attach your finished flowers to the wall.
With a bit of creativity, you can design beautiful botanical works of art to complement any decor style.
Key Takeaways
- Greenery makes easy molds for shaping wet plaster into floral designs. Coat the undersides with petroleum jelly so they release.
- Mix plaster of Paris and water until a thick, lump-free consistency is achieved. Pour carefully over molds.
- Acrylic craft paints add vibrant colors and details. Metallics make accents pop. Let the paint fully dry before mounting.
- Use strong putty or adhesives to securely attach the lightweight plaster flowers on your wall. Fill holes and repaint the wall for a clean backdrop.
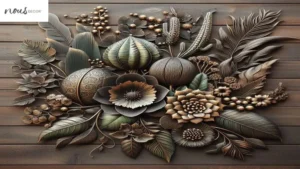
- With imagination, you can create any floral-inspired art with this plaster technique. Have fun and make it your own!
Materials Needed for Plaster Flower Wall Art DIY
To start your plaster flower project, you’ll need to gather these basic supplies:
- Plaster of Paris
- Disposable plastic cups or bowls
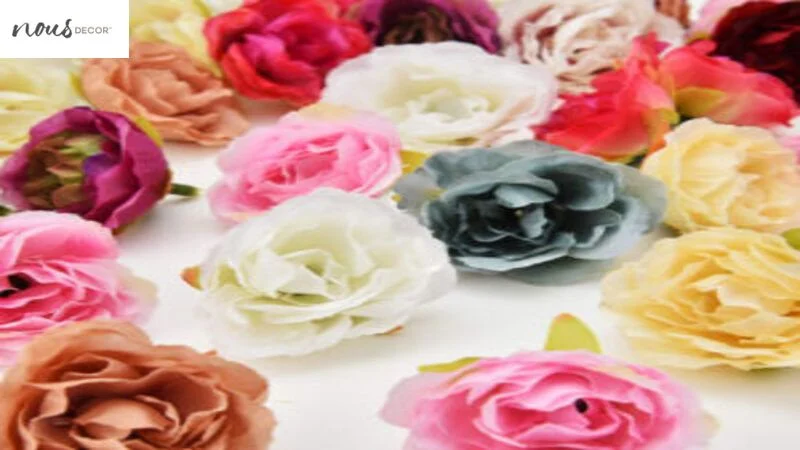
- Plastic flowers, leaves, ferns or other greenery
- Petroleum jelly
- Acrylic paint
- Paintbrushes
- Containers for mixing plaster
- Bucket or tray for pouring leftover plaster
- Drop cloths
- Sandpaper
- Primer and paint
- Heavy-duty mounting putty or construction adhesive
The plaster, paint, putty, and adhesive are absolute necessities. The rest of the materials can be substituted if needed. For example, you can use silicone molds instead of greenery to create flower shapes and enhance with wall plaques.
Step-by-Step Instructions for DIY Plaster Flowers
Follow these simple steps to craft your own 3D plaster wall art flowers:
Make the Flower Molds
- Choose plastic flowers, leaves, or ferns to use as molds. The size and shape are up to you!
- Remove any stems or extras so you just have the flower/leaf itself.
- Coat the underside (the side that will touch the plaster) with a thin layer of petroleum jelly. This will help release the mold later.
Mix the Plaster
- Plan how much plaster you’ll need based on the number and size of molds. Follow the package directions.
- Pour measured water into a mixing container first, then gradually add plaster powder while stirring.
- Stir vigorously for 2-3 minutes until lump-free. The consistency should be like a thick pancake batter.
Pour the Plaster
- Pour a thin layer of plaster into each mold-shaped cup, about 1/4 inch deep.
- Place the greenery mold face down onto the plaster. Gently press down.
- Slowly pour plaster over the back of the mold, filling the cup.
- Tap the cup to help the plaster settle. Smooth the top if needed.
- Allow the plaster to set and harden completely, about 30-60 minutes. Longer times are OK.
- Once hardened, flex the cup to pop out the flower mold. Peel off any residual greenery.
- Repeat for all flowers. Let them finish drying for 6-12 hours.
Add Color and Detail
- Lightly sand each flower’s edges if needed to smooth for enhancing your space with colorful plaster wall decor. Wipe away dust.
- Paint the flowers and leaves with acrylic paints. Use multiple colors to add detail and depth.
- Add lines, dots, or designs for extra dimension. Accent with metallic paints like gold or silver.
- Allow the acrylic paint to fully dry before continuing.
Mount the Plaster Flowers
- Arrange the painted flowers on the wall in how you want them displayed. Mark spots.
- Apply blobs of strong mounting putty or adhesive to the wall where the marks are.
- Press the back of each plaster flower into the putty or adhesive. Hold for 30 seconds.
- Let the adhesive cure fully per package directions so connections are secure.
Finish the Wall
- Fill any cracks or holes in the wall with spackle compound and sand smooth.
- Clean the wall then apply a coat of primer and let dry.
- Paint the wall your desired background color and allow it to dry fully before hanging other decor.
And that’s it! Now stand back and admire your beautiful, customizable plaster flower art.
Frequently Asked Questions
Conclusion
DIY plaster flower wall art makes a lovely decorative statement in any room. With inexpensive materials on hand, you can create botanically inspired works of art.
Use real flowers, leaves, and ferns as molds or craft-store silicone molds for shaping the plaster. Paint with acrylics and attach securely with adhesives on a clean, painted wall.
Let your creativity flourish! This easy plaster craft adds natural beauty to your space.