Hello there, I’m Mark Cutler, and I love finding unique ways to decorate my home with DIY projects. As someone who appreciates art and creative expression, cement screen décor has become one of my favorite affordable home decor solutions. The texture and dimension that cement adds create such an interesting focal point.
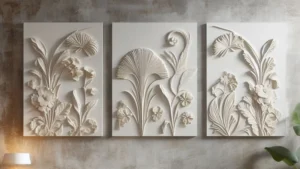
In this Nousdecor article, I’ll walk through my tips for making fabulous 3D Plaster Wall Art DIY pieces to liven up any blank wall space.
Key Takeaways
- Making your own 3-D cement screen décor allows you to add affordable texture and dimension to your home’s decor.
- With simple materials like cement and paint, you can make customized pieces that match your style.
- The texture possibilities are endless when you experiment with cement.
- This easy DIY art project is beginner-friendly and fun to get creative with.
Gather Your Supplies for 3D Plaster Wall Art DIY
The beauty of cement screen décor is that you likely already have most of the supplies on hand. Here’s what you’ll need to make your own 3-D cement art:
- Plaster – Plaster of Paris is commonly used. You’ll need about 2 cups for a medium-sized project.
- Canvas or wood surface – This will be your base. Stretch canvas works great.
- Paint brushes – Have a few sizes for detail work.
- Acrylic paints – Choosing the perfect colors for plaster wall art that fit your room’s aesthetic like creative green plaster wall decor.
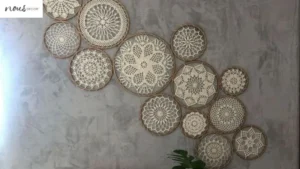
- Textured items – To press into the wet cement for texture, like lace, burlap, plastic nets, etc.
- Water – To mix the cement.
- Containers – For mixing and holding cement.
- Drop cloth – For protecting work surfaces.
Mixing and Applying the Textured Plaster 3D Art Canvas
Mixing cement is an important first step. Be sure to use a ratio of about 2 parts cement to 1 part water. Mix it to a thick, workable consistency. Working quickly, press a layer of cement about 1/4-1/2 inch thick onto your canvas or wood surface.
While the cement is still wet, add texture by pressing your textured items into it. Try lace or burlap for subtle patterns, or plastic nets and bubble wrap for bolder designs. Get creative with the materials – anything with an interesting texture will impress into the soft cement.
Allow the cement to fully dry and harden before moving on to the painting stage. Depending on thickness, drying time can take a few hours or overnight. Be patient – you don’t want cracks from rushing this step.
Painting and Finishing Your Textured 3D Plaster Art
Once dry, it’s time to add color! Painting cement screen décor allows you to incorporate any colors and designs you like.
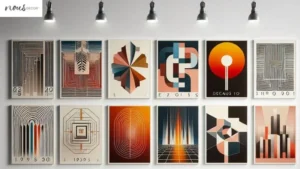
Basecoat the entire piece with acrylic paint in a neutral shade, like white or gray. This provides a blank canvas for adding details. Use a brush to add fun pops of color, abstract shapes, and geometric patterns – get creative with the paint designs.
Add dimension by doing alternating coats of thick cement and smooth paint in certain areas. This creates varied texture and depth. Consider using a basic color palette with pops of an accent color. This creates a cohesive, artistic look.
Seal your finished piece with a clear acrylic sealer spray. This protects the paint and cement. Now your unique work of art is ready to mount and display!
Displaying Your Fabulous Textured Art Creation
The great thing about DIY cement screen décor is that it can be displayed in any room. Here are some creative cement screen décor ideas:
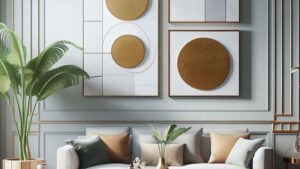
- Hang it like a painting for the living room, bedroom, or office.
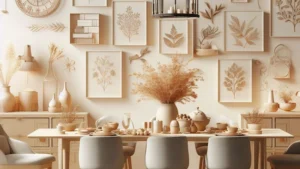
- Create coordinating pieces for a gallery wall display.
- Use small plaster wall plaques decor for kitchen or bathroom wall decor.
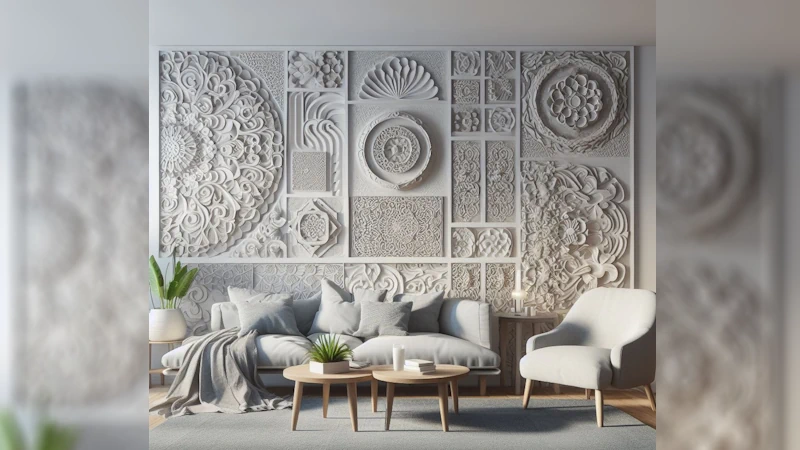
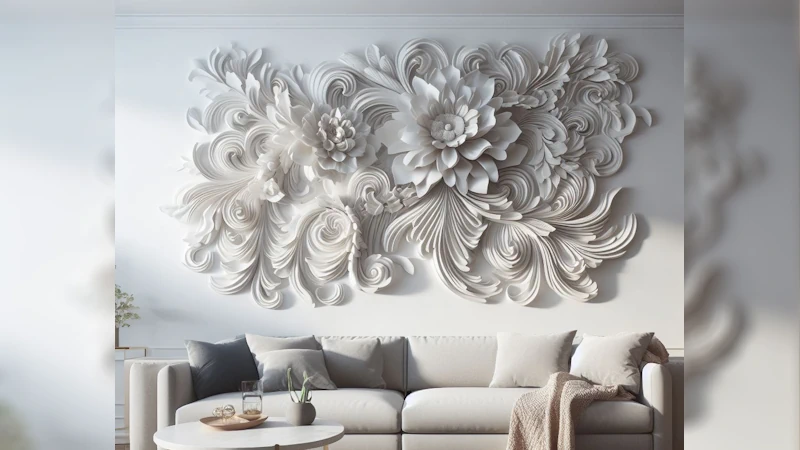
- Make abstract sculptural screen décor for an artistic statement.
- Craft-themed cement silhouettes for the nursery or kids’ rooms.
- Display over the mantel or console table as the focal point.
- Give homemade gifts for birthdays, holidays, and weddings.
Really, you can proudly exhibit your cement art creation anywhere you desire. It will certainly become a conversation piece!
Plaster Wall Art Tips and Tricks
Through trial and error over the years, I’ve discovered some useful tips for making plaster wall art at home go smoothly:
- Make sure your base surface is sealed – Paint the canvas, wood, or other base with acrylic sealer so the cement won’t cause it to warp.
- Mix cement properly – Follow package directions and don’t make it too thin and runny.
- Work quickly – Plaster starts drying fast, so have your design plan ready to go.
- Avoid air bubbles – Carefully smooth the cement as you apply it.
- Consider adding food coloring – For a colored cement background instead of painting later.
- Use proper cementing tools – This helps get clean lines and smooth surfaces.
- Sand away drips or rough edges – Once dry, use sandpaper to refine the shape.
- Seal when finished – This protects your art from damage and fading over time.
Troubleshooting Common Problems When Making Textured Plaster Decor
Don’t get frustrated if your first few cement projects don’t come out perfectly. There is definitely a learning curve with working in this medium. Here are some common issues and how to avoid them:
| Problem | Solution |
| Cracking or crumbling cement | Make sure to let it fully dry before handling. Don’t make the cement too thin when mixing. |
| Bubbles or cracks form as cement dries | Carefully smooth with a spatula right after applying cement. |
| Plaster won’t adhere to surface | Always seal porous surfaces like wood or canvas with acrylic sealer first. |
| Messy cement drips everywhere | Work over a drop cloth and have wet wipes handy to quickly clean hands and tools. |
Frequently Asked Questions
Conclusion
I hope this post has inspired you to try your hand at making custom 3-D cement screen décor as one of the affordable home wall art solutions! With a few basic tools and materials, this easy yet satisfying DIY project allows you to create unique focal point pieces to decorate your home.
The whole process – mixing cement, adding texture, painting colorful designs – is incredibly rewarding for both beginners and experts. Let your inner artist run free and make screen décor that’s distinctly yours. Just be sure to seal the final piece so you can enjoy showing it off for years to come!
What will you make for your blank wall? With cement, the creative possibilities are endless.