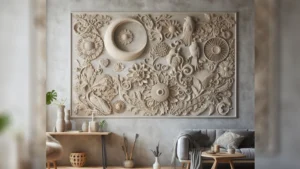
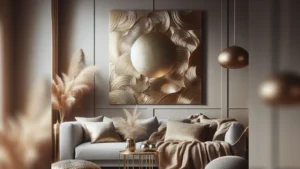
Looking to add some personality and visual interest to your home’s interior walls? Making your own plaster wall art is a fun, affordable way to decorate and express your unique style.
As a long-time interior decorator and crafter at Nousdecor, I, Mark Cutler, have discovered simple techniques for creating gorgeous works of plaster wall art with minimal time and effort.
In this comprehensive guide, I’ll share my tips on How To Make Plaster Wall Art, from choosing the right supplies to applying creative finishing touches. With the help of this DIY plaster wall art tutorial, you’ll be ready to craft beautiful accent pieces that make any room pop.
Key Takeaways
- Choose quick-drying plaster of Paris and silicone molds for ease of use
- Properly prep your workspace and mix the plaster to a smooth, thick consistency
- Gently pour plaster into molds, tapping lightly to remove air bubbles
- Allow plaster shapes to fully dry for at least 6-12 hours before decorating
- Paint with acrylics and embellish as desired with creative additions
- Secure lightweight pieces to walls using strong adhesive or plaster hooks
Supplies for How To Make Plaster Wall Art
The great thing about plaster crafts is that they require only a few basic, inexpensive materials as the best materials for creating plaster wall art. Here are the essential supplies for plaster canvas art:
- Plaster – Purchase plaster of Paris compound, which is easy to mix and sets up quickly. A 2 lb package is plenty for multiple small to medium wallhangings.
- Mold – This will shape your wet plaster. Silicone molds allow for intricate shapes and easy release. Plastic containers or cardboard work too.
- Mixing container – Use a plastic bowl or bucket for mixing up your plaster.
- Stir sticks – Plastic spoons or popsicle sticks are ideal.
- Water – To mix your plaster compound.
- Acrylic paints – For adding color after the plaster dries. Have fun with metallic, neon, or glitter paints.
- Paintbrushes
- Quick-dry adhesive – For mounting your finished piece on the wall. E6000 or hot glue works well.
- Decorative embellishments – Try jewels, seashells, beads, sand, or seeds to decorate.
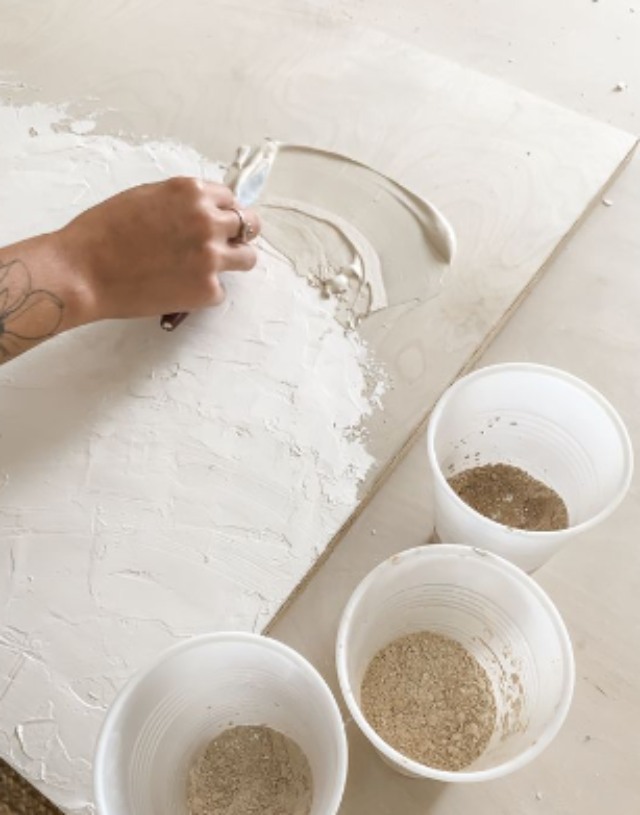
Prep Your Workspace and Mix the Plaster
Minimalist plaster wall art begins drying quickly once mixed, so it’s key to have your workspace set up ahead of time. Cover your work surface with newspaper or a plastic tablecloth. Prepare your mold(s) and place them nearby.
When you’re ready, put on rubber gloves and slowly add the plaster powder to your mixing container while gradually stirring in water. Mix just enough plaster for your project. The consistency should resemble a thick pancake batter that holds its shape when scooped.

Shape and Dry Your Plaster Wall Art
Working quickly but gently, pour the plaster batter into your molds. Lightly tap the sides to release air bubbles. Insert any decorative objects you want to be embedded into the plaster, pressing lightly so they adhere.
Depending on thickness, plaster usually fully sets within 30-60 minutes. Carefully remove hardened plaster shapes from the molds. Let your plaster wall art pieces continue drying for 6-12 hours before painting or embellishing further. Retain unused plaster in an airtight container for future projects.
Get Creative With Paints and Embellishments
Now for the fun part! Paint your dried plaster shapes using acrylic craft paints in any design you choose. Add visual interest by incorporating patterns, textures, words, or shapes. Metallic or pearlized paints produce cool dimensional effects.
Once painted, feel free to embellish your wall art further with decorative elements like faux gems, seashells, dried flowers, beads, sand, glitter, or other found objects using quick-dry adhesive. The options are endless, so unleash your creativity!
Here are some easy DIY contemporary plaster wall art ideas to try:
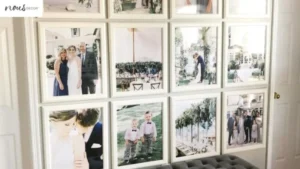
- Family silhouettes or handprints
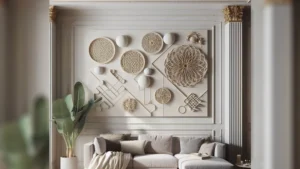
- Geometric shapes or mandalas
- Meaningful words, lyrics, or quotes
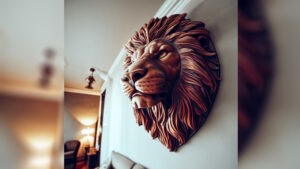
- Nature-inspired designs like leaves, trees, or animals
- Galaxies, suns, moons, and stars
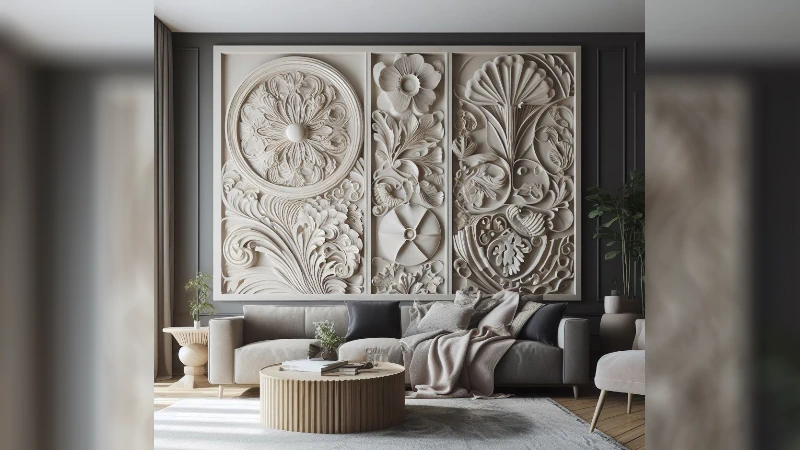
Mount Your Finished Plaster Wall Art
After allowing full drying time for paint and embellishments, decide where you’d like to display your new wall art that complements your home for maximum visual impact. Most quick-dry adhesives will affix plaster securely to any wall surface.
For heavier pieces, use special plaster wall hooks. Hot glue applied to the back also adheres lightweight plaster art to walls with a stronghold. Pro tip: Affix felt pads to the bottom edges first to prevent slipping and protect your walls.
Now stand back and admire your handcrafted plaster wall art! With an imaginative design and a few simple techniques, you can create an inexpensive yet beautiful focal point for any room.
Frequently Asked Questions
Conclusion
With the right materials and techniques, you can easily create stunning plaster wall art to decorate your home with artistic flair!
This thrifty craft allows you to dream up and produce unique art pieces that reflect your personal vision and style. I hope you’ll give DIY plaster wallhangings a try soon.
Happy crafting!