As an art enthusiast, I’m always searching for new ways to show off my pieces in a creative and stunning way. Picture Framing And Mounting Wall Art is a great way to bring out the beauty of my art, and I’m here to help you do just that!
Join me as I guide you through the process of selecting the right encasement, mat, and mounting materials for your art piece, and the best placement for your pieces.
Let’s discover the art of picture mounting and encasing wall art galleries together with Nousdecor!
Key Takeaways
- Consider encasement size, shape, material, and style when choosing an encasement for your exhibit wall.
- Use different encasement options for different types of art, such as deep encasements for paintings, thin encasements with mats for photos, encasements that reflect light for mirrors, and simple encasements for posters.
- Assemble an exhibit wall on the floor with painter’s tape before measuring and choosing the right encasement for your painting.
- When encasing photos, consider the influence of wall colors on psychology, use a stud for secure hanging, choose the right height, and decide between a sawtooth or wire for hanging.
Choosing the Right Frame for your Gallery Wall
When creating a wall exhibit, the correct encasement is essential for making a beautiful display. I need to consider encasement size and shape, encasement material, and encasement style to make the perfect selection.
With the wide variety of encasements available, I’m sure to find the one that speaks to my unique style.
Frame Size and Shape
I’m choosing the right encasement size and shape for my exhibit wall, considering the art and its purpose. Here’s a helpful tutorial:
- Measure the mural painting techniques and encasement size to get the best fit.
- Choose a picture encasement that complements the art piece.
- Secure the hanger to the back of the frame.
- Hang pictures with the help of a exhibit wall template.
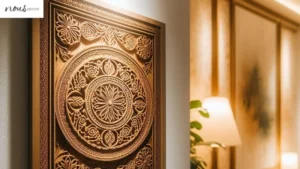
Frame Material
Frequently, I choose encasements that match the art piece and my exhibit wall décor, so I always consider the encasement material. Wood encasements are popular for their classic look, but I may opt for a metal encasement if I want a modern touch.
Custom encasing allows me to choose acid-free mats and foam core backing for my piece of art. I can also add picture hangers and picture wire for easy mounting.
No matter which art encasing option I choose, the result is always a stunning piece of art that complements my wall décor.
Frame Style
After considering the encasement material, I often select the encasement style that will best complement my exhibit wall. From textile art to large pictures, knowing how to hang art properly is an important part of creating a beautiful exhibit wall.
Companies like Framebridge can help you choose the right encasement for your piece of art. They also provide hanging hardware and even custom encasements from flea markets. With the right encasement and hanging supplies, you can make sure each piece of art in your exhibit looks its best.
Having the right encasement makes all the difference when it comes to displaying your art piece.
Now, let’s discuss wall art encasing for each different type.
Wall Art Framing for Each Different Type
I’m so excited to get started on my wall art exhibit!
One of the most important things is to make sure to get the right encasement for each different kind of art.
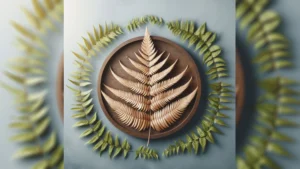
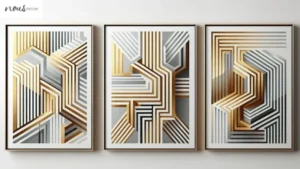
- For paintings, I’ll look for deep encasements that can accommodate canvas thickness and texture.
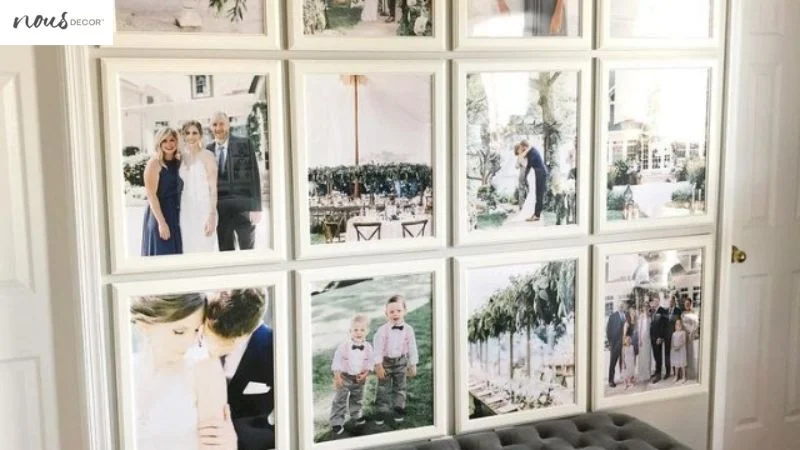
- For photos, a thin encasement with a mat will look great.
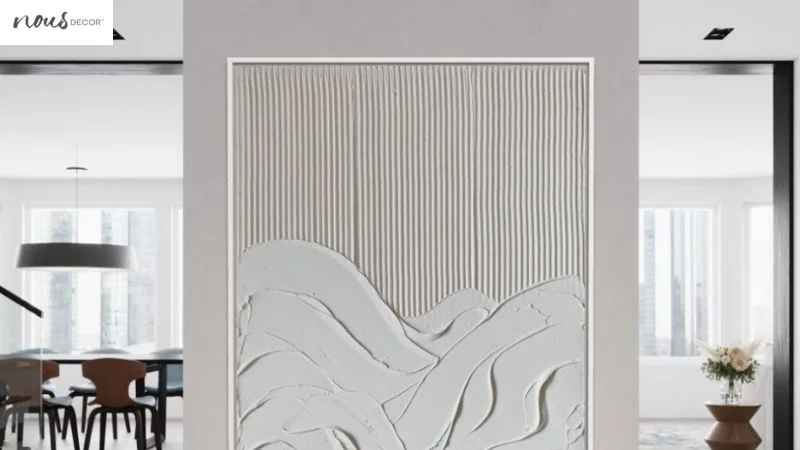
- For mirrors, an encasement that will reflect the light is key.
And for posters, a simple encasement that will let the art shine will be perfect.
Framing Paintings
I’m the one who can help you pick the right encasement for your painting, as I’m knowledgeable in the field of wall art encasing for each different type.
Here are a few tips to get you started:
- Start by assembling an exhibit wall on the floor with painter’s tape to hang your picture.
- Next, use a measuring tape to get the exact size of your encased piece.
- Choose an encasement with the right adhesive and molding.
- Find the perfect encasement at a thrift store or online with the right D-ring.
Now, let’s move on to encasing photos!
Framing Photos
I’ve got the expertise to help you encasement photos for your wall art exhibit, so let’s get started!
The influence of wall colors on psychology is essential when hanging pictures. A stud is the best way to hang pictures, and it’s important to make sure you’re hanging your art at the right height.
Once you’ve finished, you can choose to hang the art with a sawtooth or a wire. Now you’ll be able to transform your wall art exhibit with encased photos. You’ve finished the process and can now admire your work.
Let’s move on to encasing mirrors!
Framing Mirrors
Mirrors require special considerations when encasing for wall art, so let’s discuss what to keep in mind!
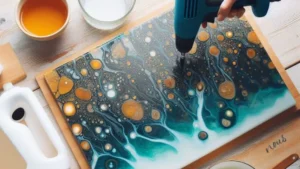
A drill is necessary to create holes in the wall for hanging mirrors, as well as to attach a sawtooth hanger or hanging wire to the top of the encasement.
Without spending a lot of money, try grouping several mirrors together for an exhibit effect, spacing each encasement between two and four inches apart.
Drill a pilot hole for each encasement to ensure proper placement and a secure fit on the wall.
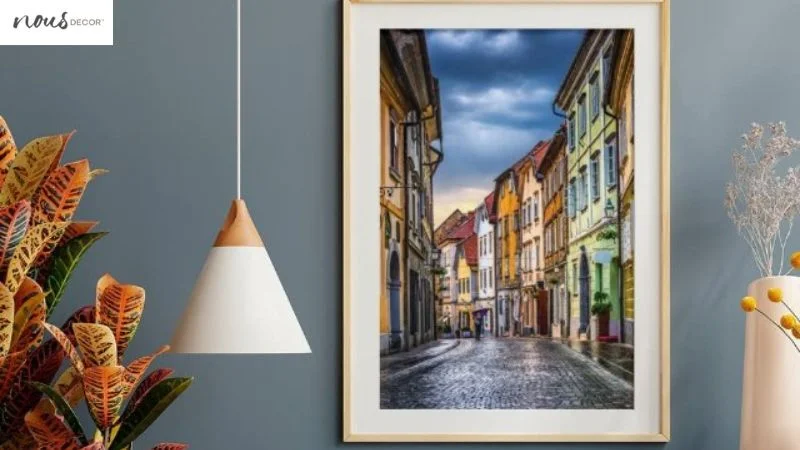
Framing Posters
Framing posters for wall art requires specific considerations for each different type. When building a wall art collection, adding handmade wall decor for a unique touch is a great idea, especially for children’s room wall decor ideas.
When deciding what to encasement, take into account the size, spacing, and fastener. Placement is also important; make sure the poster is at eye level and the distance from the top is accurate.
To find great pieces, check out flea markets or online stores. With these tips, your wall art will look stunning!
Custom Framing And Mounting Wall Art Tips and Tricks
When it comes to custom mounting and encasing wall art, it’s important to measure accurately in order to get the perfect fit.
Preparing your art piece for encasing and mounting involves taking into account the type of art piece and the material you’ll be using.
How to Measure for a Frame
I carefully measure for an encasement, making sure I get the perfect fit for my custom mounting and encasing wall art.
You’ve finished encasing and mounting your unencased wall art – now you need to know how to arrange it!
First, find the right encasement size by scouring for measurements.
Then, measure the new encased piece and cut the backing board using tape.
Lastly, make sure your art is UV-protected.
How to Prepare Your Artwork for Framing And Mounting
Before I begin custom encasing and mounting my wall art, I want to make sure my art piece is properly prepared to ensure the best results.
For hanging on drywall or plaster walls, I find the midpoint of the wall and mark it as a reference point.
For heavier work, I use a rule of thumb to keep it secure and hold it in place.
It’s a transformative process that will take my favorite pieces from dull to dazzling.
Now, I’m ready to mount my encased art piece properly.
How to Mount Your Framed Artwork Properly
After properly preparing my art piece for encasing and mounting, I’m ready to securely hang my encased art piece with a few simple tips and tricks. You’ll be able to easily transform your home decor with a new look.
You’d like to find the best spot for your watercolor, so the average eye will be able to appreciate it. Play around to get your art piece hung perfectly.
- Measure the space
- Mark the wall
- Attach the mounting hardware
- Hang the art piece
Mounting Wall Art without a Frame
I’m exploring the creative possibility of mounting wall art without an encasement.
I’m discovering that I can use adhesive strips, nails or screws, and wall anchors for this task.
I’m excited to see how this project turns out!
Using Adhesive Strips
I’ve found adhesive strips to be an easy and efficient way to mount wall art without an encasement. Artists wanting to hang pieces without an encasement will find adhesive strips to be an ideal solution. They’re secure, easy to use, and can be used with almost any furnishing. Plus, if done well, art hanging with adhesive strips may even earn you some compliments.
Here are 4 ways to get started:
- Measure your walls and art pieces.
- Choose the right type of adhesive.
- Secure the adhesive to the wall.
- Hang the art piece and enjoy!
Using Nails or Screws
My walls can’t handle adhesive strips, so I’m opting to use nails or screws to mount my wall art without an encasement. I’m selecting a nail or screw size that will support the weight of the art piece and adequately secure it to the wall.
I’m also considering the wall material – drywall requires a different type of nail or screw than wood or brick. I’m also taking into account the art piece’s size and weight – a heavier piece requires a bigger nail or screw.
With these considerations in mind, I’m confident my wall art will stay securely in place.
Using Wall Anchors
Choosing wall anchors is a great way to mount my wall art without an encasement. Here are some tips to help me get started:
- Choose the right size wall anchor for the weight of the wall art.
- Use a drill to create a hole in the wall the same size as the wall anchor.
- Put the wall anchor into the hole and tap it in with a hammer until it’s flush against the wall.
- Use a screwdriver to insert the screw into the wall anchor and tighten it. This will securely mount my wall art to the wall.
Frequently Asked Questions
Conclusion
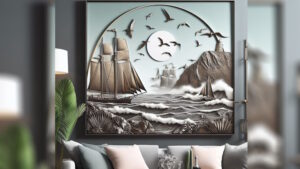
Picture mounting and encasing wall art is a great way to bring out the beauty of your art piece and create a stunning exhibit wall. With the right encasement, mat, and mounting materials, you can create a stunning visual masterpiece that will be the envy of all your friends.
Picture mounting and encasing wall art is truly an art in and of itself, and with a little practice and knowledge, you can create a exhibit wall that’s out of this world – literally, your art piece will look like it’s in a different galaxy!