Home decor can feel daunting, but with a little know-how, anyone can turn lackluster walls into a showstopping feature. As a veteran of do-it-yourself projects, I know firsthand how a fresh coat of paint can revive tired rooms. So, Can You Paint Old Plaster Walls?
Plaster walls were common in homes built before the 1950s. While beautiful, they can present some challenges when it comes time to paint. Over time, plaster can become cracked, damaged by water leaks, or stained from cigarette smoke and cooking grease. But there’s no need to tear it all out!
With proper preparation and products, you can paint over plaster successfully. I am here with Nousdecor to show you how to do it. Read on as I, Mark Cutler, cover everything you need to know to successfully paint old plaster walls and get the stunning look you crave.
Key Takeaways
- Preparation is crucial when painting plaster walls – cleaning, repairing cracks, priming, etc.
- Choose the right paint and tools for the job like high adhesion primer and Purdy paint brushes.
- Proper painting techniques for plaster include painting in sections, maintaining a wet edge, and backrolling.
- Patience leads to the best results – allow proper dry times between coats.
- With the right prep and products, even old, damaged walls can be given new life!
Can You Paint Old Plaster Walls?
Yes, you can paint old plaster walls to give them new life! With proper preparation like cleaning, priming, and repairing cracks, even damaged and discolored plaster can be revived with a fresh coat of high-quality paint.
Use an adhesion-promoting primer, quality brushes, and proper technique to ensure a smooth, durable finish. With patience and the right products, painting plaster can transform a dull, dated room into your dream space.
Prep Is Half the Battle
The key to great results starts before you ever open a can of paint. Preparing plaster walls properly will help the new paint adhere and give a smooth, attractive finish.
Here are my top tips for prepping walls before painting:
- Clean thoroughly – Remove any dirt, grease, or soap residue with an all-purpose cleaner like TSP. This helps the paint stick.
- Fill cracks – Use lightweight spackle to patch small holes and cracks in the plaster’s surface. Allow to dry fully before sanding smooth.
- Sand rough areas – Gently sand any bumps, ridges, or uneven areas in the plaster to create a uniform surface.
- Prime – Priming seals the plaster and provides extra adhesion for the new paint. Use a high-quality acrylic primer formulated for plaster and masonry.
- Caulk – Fill any gaps around trim and moldings with the painter’s caulk after priming. This gives a neatly finished look.
Don’t skip these important steps – good prep now means the paint will turn out beautifully!
Pick the Right Paint and Tools
Choosing the right materials ensures a successful painting project on old plaster walls. Here are my go-to plaster wall art kit products:
- High adhesion primer – As mentioned, a primer made for plaster and masonry is a must. My favorite is Zinsser Bulls Eye 1-2-3.
- High-quality paint – I recommend using an interior latex paint with high adhesion properties. Behr and Benjamin Moore’s paint works very well on plaster.
- Purdy paint brushes – When it comes to brushes, Purdy is the brand I trust for smooth, flawless results on tricky surfaces like plaster. Their nylon/polyester blend bristles provide excellent paint pickup and release.
- Low-nap roller – A 3/8″ nap roller sleeve is ideal for smoothly coating flat plaster walls without creating texture.
Investing in the right supplies makes an annoying painting job much more enjoyable. Don’t skimp on primer and brushes – it makes a difference!
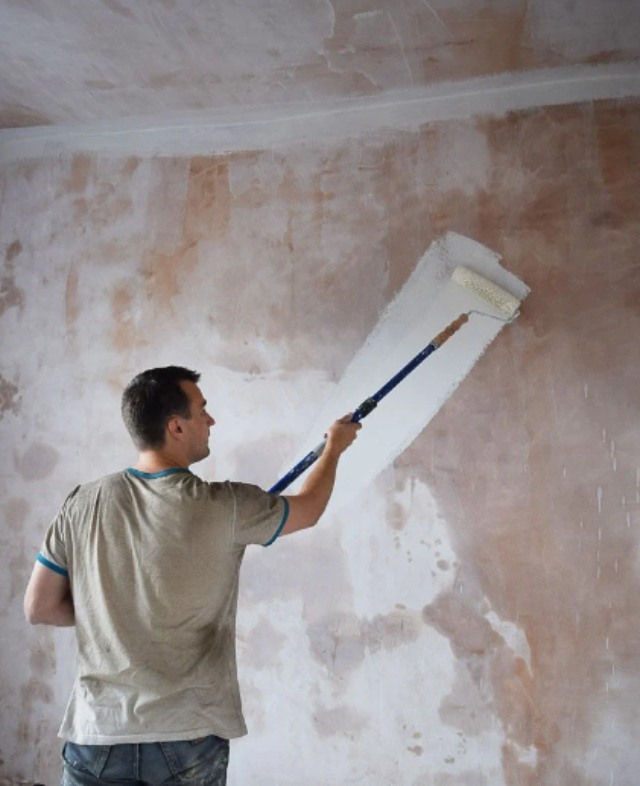
Paint Like A Pro
Now for the fun part: actually painting! With old plaster walls, technique is just as crucial as preparation. Follow these professional tips for your exquisite plaster wall ornaments:
- Work in small sections so the edges don’t dry before you finish the wall. Paint 2-3 square feet at a time.
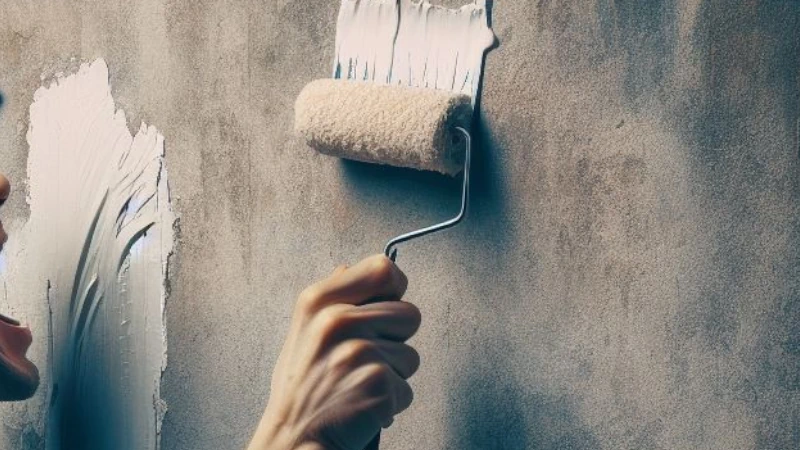
- Maintain a “wet edge” – overlap sections slightly as you paint so there are no lap marks or visible boundaries between painted and unpainted plaster.
- Backroll after brushing – go over the entire section with a roller to even out the finish and fill any pinholes or cracks. This prevents pores in the plaster from showing through.
- Work quickly and diligently to get each section coated before moving on. Rushing leads to sloppy results.
- Apply two coats of paint for best coverage and durability. Let the first coat dry fully before adding the second.
With some patience and careful technique, you can achieve a smooth, consistent finish on temperamental old plaster. Take your time and don’t cut corners like inspiring plaster painting on canvas.
Patience Is a Virtue
When tackling a plaster painting project, it’s important to follow the recommended dry times between coats for creating art with plaster wall hangings:
- Allow at least 24 hours for the primer to fully cure before painting. This prevents bubbling or peeling.
- Wait 4-6 hours between paint coats. Plaster needs extra time to dry compared to drywall.
- 30 days after painting, the plaster has fully cured and the paint will reach maximum hardness and durability. Handle gently during this period.
I know it’s hard to wait when you’re eager to see the finished results! However, allowing proper dry times helps the paint properly bond to the plaster for a long-lasting facelift.

Frequently Asked Questions
Conclusion
Painting over damaged or stained plaster walls may seem daunting, but with the right prep work, materials, and painting approach, you can achieve gorgeous results. Proper cleaning, patching, priming, and careful technique allow even old, abused walls to be revived.
While it requires more patience and effort than painting over drywall, a fresh coat of paint can make ugly plaster walls look brand new again. With a little know-how, you can tackle painting plaster with confidence.
Just focus on the prep work, use quality paint and tools, and take your time to do the job right. Before you know it, you’ll have beautiful walls to enjoy for years to come after decorating your space with wall art.