Are you looking to add some personality and style to your home? One easy way to do this is by adding wall decor. However, if you’ve never installed it before, it can seem like a daunting task. But fear not! With the right tools and a little bit of know-how, anyone can learn how to install with ease.
In this article, Nousdecor will guide you through the simple steps for Wall Art Installation. From gathering the necessary tools to adding the finishing touches, you’ll be provided with detailed explanations and tips to ensure your final result looks absolutely perfect. So let’s get started!
Takeaways
- Wall Art Installation is an intricate process that involves careful consideration and technique.
- Homeowners often seek the expertise of professional installers to ensure that their cherished pieces are safely and aesthetically displayed.
- Artworks, ranging from canvases to metal sculptures, require specific tools and methods for secure mounting.
- Meanwhile, the placement of these pieces plays a crucial role in enhancing the overall ambiance of a space.
- Thus, ensuring that the art is positioned at the right height and angle is paramount to achieving the desired visual impact.
Wall Art Installation Guide
- First, it is important to choose the Wall Art Decor that will be shown.
- Next, the wall needs to be checked and prepared.
- Once it is ready, consider the frame or canvas that will be used
- Once all the materials have been gathered, it is time to put the decor on.
- Finally, remember to keep in mind the overall design and aesthetic of the room during the installation process.
Whether it’s a single handmade print or a gallery-style installation, following these steps will allow more stunning features in your place.
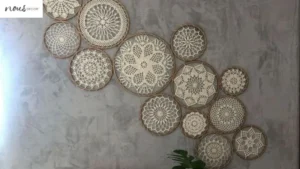
Choose your desired Wall Decor
- You can opt for a classic and timeless painting or a vibrant and modern print.
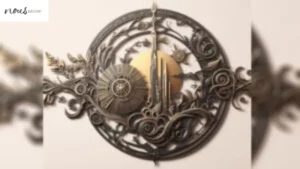
- For a more unique touch, a wall sculpture or a 3D installation can add depth and texture to your space.
- If you’re looking for something fun and versatile, stickers provide a quick and easy way to change up your decor.
Whether you prefer a designer piece or something more basic or traditional, the choice is yours. With so many options available at the shop or wall decor concepts of your own, it’s easy to find the perfect decor in order to complement your preference and create a personalized space.
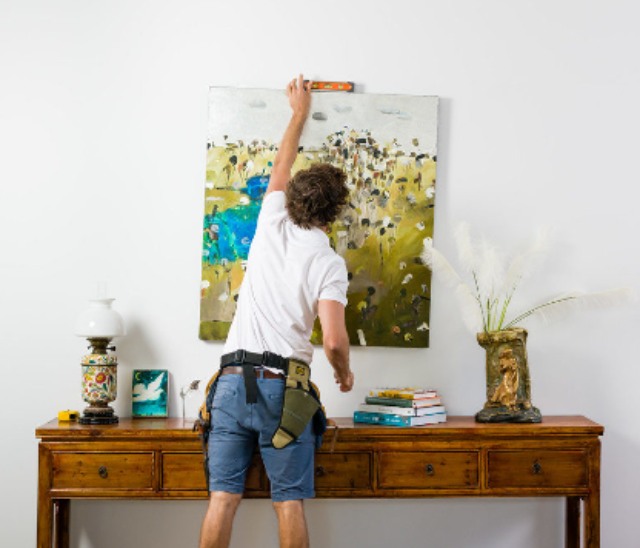
Making space for your Wall Installation
Wall preparation is vital as it ensures the adhesive used for your work will stick properly and accurately.
- Before you start, make sure the wall is clean and free from any debris or dust.
- Next, select the appropriate tools for measuring such as tape measure, level, pencil, and painter’s tape.
- Start by using a tape measure to find the center point of your space for your work.
- Mark each spot where you plan to place your work with painter’s tape for precision.
This will allow you to step back and check if everything looks balanced before committing to drilling holes!

Deciding on the Frame or Canvas
- For modern space, a sleek and minimalist aesthetic may be preferable.
- Wood frames offer a timeless and versatile choice, while metal frames provide a more contemporary look.
- Additionally, multi-panel installations can add dimension and interest to the overall display of your work.
Before making a decision, remember to take accurate measurements to ensure the method of display will fit the designated space.
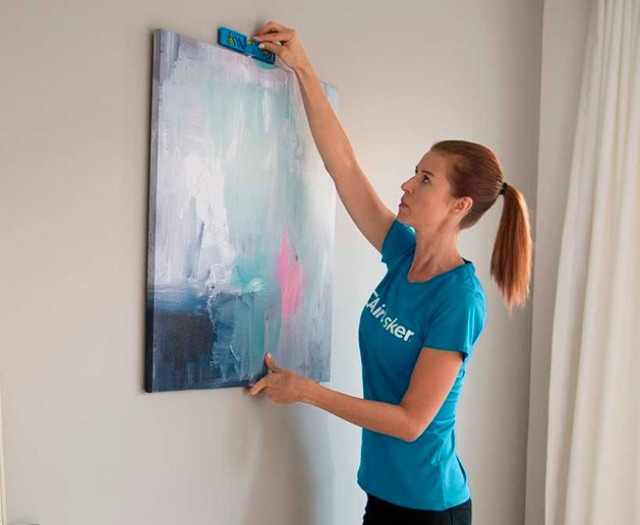
Hanging the work with Precision
- Now it’s time to bring your work to life by carefully positioning each frame.
- You’ll need to gather a few necessary tools before you can get started including a drill, level, measuring tape, hammers screws or nails, anchors for each piece, and manufacturer instructions to follow during installation.
- For multiple pieces, consider color coordination and frame styles by grouping similar pieces together.
After finding the ideal art placement, it’s time to add finishing touches and adjustments without disturbing its position.
Know the Design and Aesthetic of your room
Pay attention to the style and theme of the room, ensuring that the new addition complements the overall ambiance during installation.
- For example, if the room has a modern and minimalist vibe, opt for sleek and clean lines.
- On the other hand, for a cozy and rustic bedroom, perhaps a wooden panel will add warmth and charm.
Whether it’s for a panel or an empty space that needs filling, the design should enhance the room’s visual appeal.
Frequently Asked Questions
Conclusion
And there you have it! Wall Art Installation can be a fun and easy DIY project that can add personality and character to any room including public areas, business offices, or bedrooms. By following these simple steps, you can ensure that your art is hung with precision and care.
Remember to gather all necessary tools before sting, decide on the placement, measure every inch accurately, hang the work with precision, and make any finishing touches or adjustments as needed.
With these steps in mind, your place will soon be adorned with beautiful art that individually reflects your unique style and taste.
So go ahead – grab those tools, choose your favorite work, let your imagination run wild, and get ready to transform your space into a piece of custom art!