Are you tired of staring at your blank walls? Want to add some personality and style to your living space without breaking the bank? Look no further than DIY wall art projects! With just a few simple materials and a little creativity, you can transform any room into a personalized work of art.
Whether you’re an experienced crafter or just starting out, there’s something for everyone in this tutorial of simple DIY wall art ideas. From painting and collage to embroidery and upcycling, these projects are sure to inspire your inner artist and give every room a unique touch. So why wait? Grab your supplies and get ready to get crafty with Nousdecor!
Takeaways
- DIY Wall Art Projects provide an exciting avenue for crafting enthusiasts to unleash their creativity. Crafters, through these endeavors, find themselves exploring various artistic mediums.
- The resulting pieces, often unique and expressive, can effortlessly transform plain walls into personalized and visually appealing spaces.
- Whether it’s upcycling discarded materials, painting canvas art, or incorporating nature-inspired designs, these projects allow individuals to imbue their living environments with a touch of personal style.
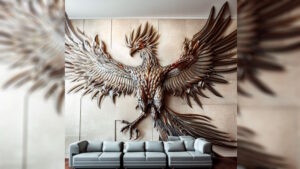
- Recycled metal art provides an industrial aesthetic, while family photo collages capture and display cherished memories.
- Through the construction of such diverse wall art pieces, homeowners can achieve a sense of pride and self-expression in their home decor, all while enjoying the creative process itself.
Top Fun DIY Wall Art Projects to Decorate
If you’re looking for creative and budget-friendly decorative wall choices, here are five DIY projects that will amp up your space.
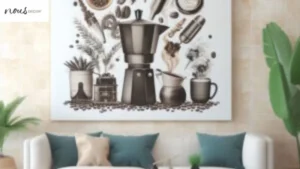
- Painting canvas wall art DIY projects allow you to unleash your artistic talent and create personalized pieces that reflect your style.
- Another great option is a magazine collage, where you can cut out your favorite images and arrange them on a canvas for a unique and vibrant piece.
- Scrapbook paper collage is also a fun and easy option, as it allows you to experiment with different patterns and colors.
- For a more eclectic look, try a mixed-media collage using various materials like paint, fabric, and buttons.
- Lastly, DIY embroidery projects can add a touch of texture and intricacy to your walls.
So, why not try these upcycling projects for wall art tutorials or explore the endless possibilities of DIY wall art painting ideas for hanging projects?
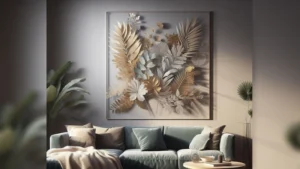
Painting Canvas Wall Art DIY Projects
You can add a personal touch to your home by painting unique designs on canvas or wood. Whether you want to create realistic or abstract art, the possibilities are endless.
- If you’re unsure of your painting style, start with stylish wall decor and experiment with different color combinations and brush strokes until you find something that speaks to you.
- Choosing between abstract and realistic painting styles depends on your personal preference and the overall aesthetic of your home. Abstract paintings tend to be more whimsical and free-flowing, while realistic paintings offer a more traditional feel.
- Painting with unconventional tools is an excellent way to add texture and depth to your artwork such as sponges, toothbrushes, spray paint, or even cardboard cutouts in place of a brush for added dimensionality.
By experimenting with various painting styles and techniques, you’ll be able to create beautiful homemade wall art that’s not only unique but also reflective of who you are as an artist. Don’t be afraid to try new things – after all, there’s no right or wrong way when it comes to expressing yourself through art!
Magazine Collage
Creating a unique magazine collage can add a touch of personalization to any room and inspire creativity. With some DIY techniques and other art decor factors, you can easily create art using old magazines. Here’s how:
- Choose a color scheme: Look for magazines with colors that complement each other or match the room decor.
- Cut out interesting shapes: Use scissors to cut out shapes such as circles, triangles, or squares from pages with bold patterns or colors.
- Experiment with layout: Arrange the cutouts on a blank canvas or paper until you have a design that you like.
Don’t be afraid to get creative and mix different touches and styles of magazine pages for an eclectic look. Your finished piece will be both eye-catching and unique, adding personality to your space while also showcasing your creative inspiration.
Scrapbook Paper Collage
This piece of DIY is perfect for those who love crafting and want to make something beautiful for their bedroom walls or any large walls. With just a few supplies, you can create a stunning piece of art that will brighten up any room, such as your living room.
To get started, gather the following materials:
| Supplies |
|---|
| Scrapbook paper frame |
| Assorted scrapbook paper |
| Scissors |
| Glue |
| Canvas or poster board |
- Once you have all of your supplies ready, cut the scrapbook paper into different shapes and sizes.
- Then, arrange them on the geometric art piece canvas or stencil in a way that is visually appealing to you. You can create a pattern or choose a random placement – it’s up to you!
- Once you’re happy with the layout, glue each piece down onto the canvas or poster board.
- When finished, let it dry completely before displaying your beautiful new paper mosaic art for everyone to see!
Mixed Media Collage
Mixed media collage techniques allow you to use different types of creative materials, such as paint, paper, fabric scraps, buttons, beads, and any other small trinkets you may have that look great. The possibilities are endless!
- To start your mixed media collage project, gather all your desired materials and lay them out on a clean surface.
- Begin by painting the background canvas or paper craft in your preferred color scheme. You can then add layers of texture by gluing on pieces of scrapbook paper or fabric using Mod Podge glue.
- Add more visual interest by incorporating small objects like buttons or beads that complement the overall theme of your artwork.
Keep building up layers until you achieve the desired effect, then step back and admire your one-of-a-kind masterpiece!
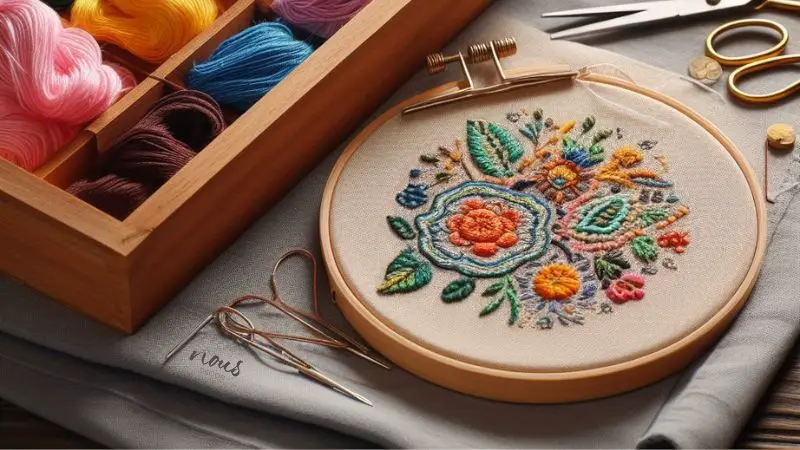
DIY Embroidery Projects
Want to make something to decorate your kitchen? Embroidery wall art is a popular DIY idea to decorate that allows you to create beautiful string art using different types of thread. You can also use cross-stitch patterns to make wall art that looks like it was professionally done.
- To get started on an embroidery project, you will need some basic supplies such as embroidery hoops, needles, fabric, and threads of various colors.
- Once you have gathered all the necessary materials, look for inspiration online or in craft books. You can find many free cross-stitch patterns online or come up with your own design.
Creating embroidery hoop art is a great way to unwind after a long day at work or school while creating something beautiful for your home. With just a little bit of practice and patience, you’ll soon be creating stunning pieces of accent wall art that everyone will admire.
Upcycling Projects for Wall Art Tutorial
If you’re looking to add a unique touch to your home décor and reduce waste, upcycling projects are a great way to repurpose items such as scrap wood and give them new life. Thrift store finds are perfect for these projects since they can be transformed into something completely different with just a little creativity.
- To get started on an upcycling project for your home decor, consider repurposing old picture frames. With some acrylic paint, washi tape, or faux metal leaf wall art, you can turn them into unique wall hangings that are both personal and eco-friendly.
- Another idea is to use old book pages, maps, or newspaper clippings as the background for your art – this gives it a vintage look while also reducing paper waste. You can create a bold statement piece by using large blank canvases and cans of spray paint in geometric patterns or color blocks.
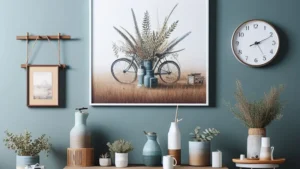
- In addition to DIY framed pictures, there are many other items that can be upcycled into wall art such as old pallets or window shutters. These materials can be painted in ombre tones or furnished with butterfly wall art using hot glue and make your walls look completely new. Paint swatches, herringbone arrangements, and rustic wood also create charming upcycled wall art.
Upcycling projects not only offer endless possibilities for creativity but also allow you to make a positive impact on the environment by reusing what otherwise might have ended up in a landfill.
DIY wall art painting ideas for Hanging Projects
Creating unique hanging art for your walls is a great way to add a personalized touch to your home decor and showcase your creativity. Easy DIY wall art ideas for projects look sophisticated without requiring any special skills or tools – just a bit of time and patience.
- One of our favorite easy DIY projects is creating a gallery wall showcasing geometric paintings, pop art prints, or rustic wood pieces. Use a pencil to lightly sketch out the layout and letters as a guide.
- Then use paint swatches, map art, and painter’s tape to create clean lines and borders. This makes it look professionally designed and makes a bold statement.
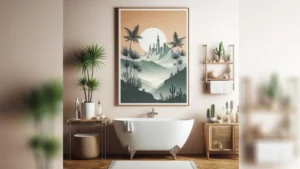
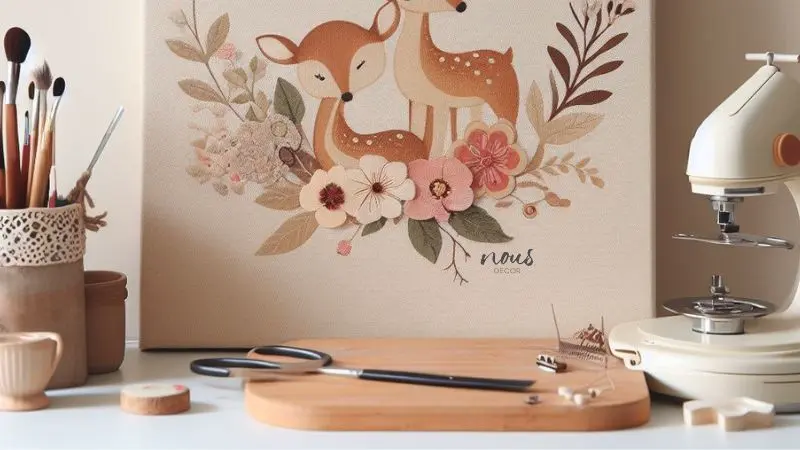
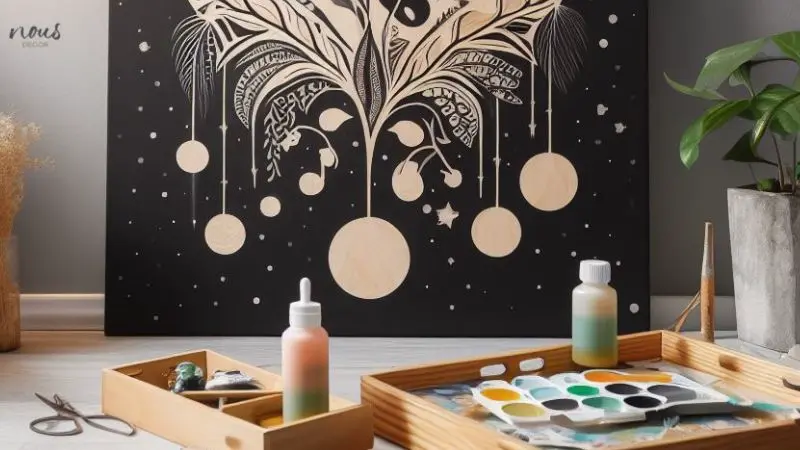
- For a nature-inspired statement piece, try painting a tree art silhouette in black on a white canvas. Use a brush to paint on delicate flowers or leaves.
- You can use any paint colors and textures you want to create a charming floral or DIY floral piece.
- Another fun idea is creating paper or wood walls featuring inspirational quotes or photos. Print out photos, words, or designs and glue them to attach. Trim along the edges for a clean, finished look.
The possibilities are endless for easy yet unique wall art ideas!
Frequently Asked Questions
Conclusion
Well done! Now that you have completed these easy and fun DIY wall art projects, you will make your home even more stylish and personalized. By using your own creativity and imagination, you can transform any plain wall into a unique work of art that reflects your personality.
Whether you choose to paint, collage, embroider, hang, or upcycle materials for your project, the end result will be something beautiful that you can be proud of. Not only did you save money by creating your own artwork, but also gained a sense of accomplishment knowing that it was all made by you. Keep exploring different techniques and styles to continue adding new pieces to your collection. Happy