Do you want to spruce up your home with unique decorative art but don’t want to spend a fortune? Plaster canvas art is an affordable DIY craft that allows you to unleash your creativity and make personalized wall hangings to display around your home.
In this comprehensive guide, Mark Cutler will walk you through everything you need to know on Plaster Canvas Art How To, from choosing materials to painting techniques.
With just a few simple supplies and a dash of creativity, you’ll be able to create beautiful works of art to hang on your walls with Nousdecor.
Key Takeaways
- Plaster canvas provides an inexpensive surface to paint and create textured art.
- Acrylic paints work best for plaster canvas as they stick to the surface well.
- Using a base coat of gesso ensures the paint adheres properly.
- Stencils, stamps, and textures can add dimensional details.
- With some simple techniques, even beginners can make artwork they’ll love.
Plaster Canvas Art How To Gather the Supplies that You’ll Need
To make plaster canvas art, you only need a few inexpensive and readily available supplies:
- Plaster canvas – Pre-primed and ready to paint. Available in art supply stores or online in a variety of sizes.
- Acrylic paints – Provide vivid color and adhere well to plaster. Liquitex and Craft Smart are good brands.
- Paintbrushes – Get a variety of brush types and sizes for versatility.
- Gesso – Serves as a base coat so paint sticks to the canvas. Liquitex works well.
- Palette – For mixing paint colors. Can be plastic or disposable.
- Cups of water – For cleaning brushes and thinning paints.
- Paper towels – For blotting brushes and wiping up spills.
Optional supplies that can add interesting details:
- Stencils – Reusable plastic or cardboard stencils in fun patterns.
- Stamps – Rubber stamps with words, images, or textures. Craft stores have many options.
- Sponges – For dabbing and stamping paint textures.
- Pencil – For sketching an outline if desired. Use a soft lead that erases easily.
Preparing the Plaster Canvas Surface
Before painting, it’s important to prepare the plaster canvas so the paint properly adheres:
- Wipe off any debris or dust with a clean, dry cloth.
- Apply a thin layer of gesso as a base coat. Use a wide brush to fully coat the entire surface. Let the gesso dry completely.
- Lightly sand the dry gesso layer to create some tooth for the paint. Be careful not to sand off too much.
- Wipe away any sanding dust with a dry cloth. The canvas is now ready for painting!
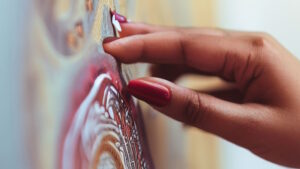
Painting Techniques for Plaster Canvas Art
Now for the fun part! With the surface prepped, you can start bringing your plaster canvas art to life with color and texture using these techniques:
Solid Base Colors
Paint solid base colors over the entire canvas to provide a background. This gives you a foundation to layer more colors and details on top.
- Use flat or satin finish acrylic paints which adhere best.
- Mix enough of each color to fully cover the canvas.
- Apply colors with a medium-sized brush using long, even strokes.
Layering Colors
Add visual interest by layering colors on top of the base coats. Try complimentary or contrasting hues.
- Let base coats dry fully before layering more paint.
- Use a dry brush or very thin paint for a translucent effect.
- Brush, sponge, or splatter paints to blend and soften edges.
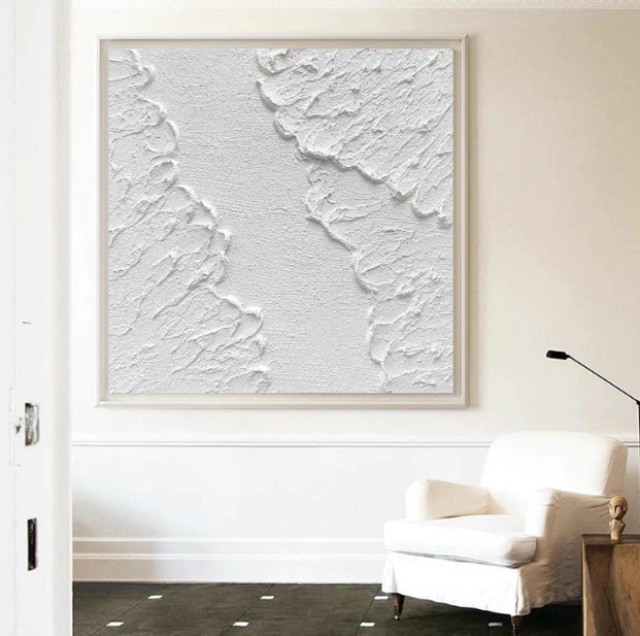
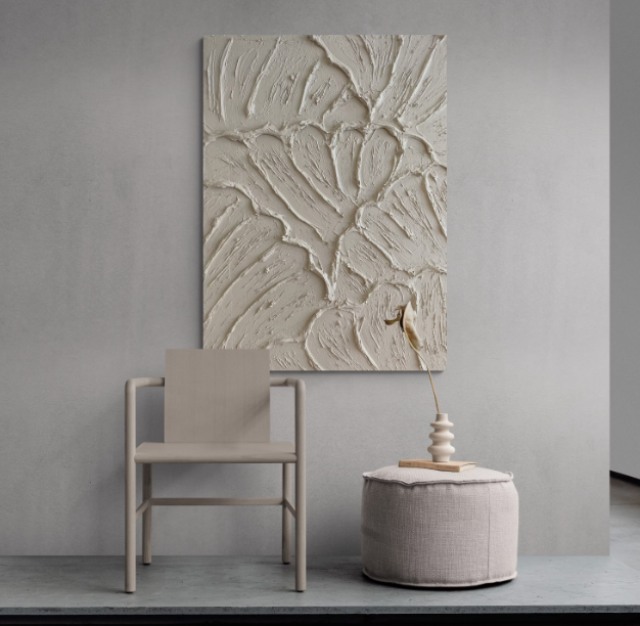
Textures and Dimension
Bring tactile life to your art using stamps, stencils, and painting tools to create textures.
- Press crumpled plastic wrap into wet paint for irregular patterns.
- Dab with sponges, rags, or foam stamps to add detailed spots.
- Drag a comb through the paint to make stripe textures.
- Use stencils and dry brushing to create highlighted shapes and designs.
Finishing Details
Finish your plaster canvas art by outlining key details and defining focal points.
- Sketch designs first with a pencil if desired, then trace over lines with paint.
- Use a small brush to outline shapes or add fine details like stars, flowers, etc.
- Add handwritten words using a small script brush and acrylic paint.
- Sprinkle sand into wet paint for an organic, textured look.
Let your artwork fully dry before displaying. Add hangers or wire to the back for hanging.
Project Inspiration
Not sure where to start? Here are a few easy plaster canvas projects for beginners to try:
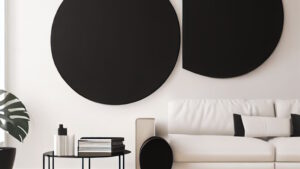
Abstract art
Slap brush strokes of contrasting colors and break up edges by dabbing with sponges. Outline shapes with black paint.
Landscape scene
Paint a solid blue base for a sky. Use a fan brush to dab white paint as clouds. Add green and brown for the ground and stamp or stencil for trees and grass textures.
Patterned art
Paint overlapping solid shapes in two or three colors. Use foam stamps to create patterns like polka dots, stripes, chevrons, etc. Fill in some stamps with a black outline.
Stenciled names or words
Paint a solid color background. Position stencils and use a dry brush to add names, inspiring words, or quotes by stenciling over the base color.
Map or constellation art
Find an outline map, plan out a route or constellation shape with a pencil, and trace over lines with paint. Fill in land or sky colors around it.
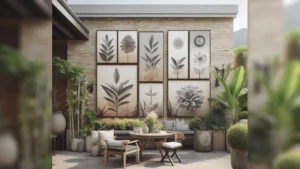
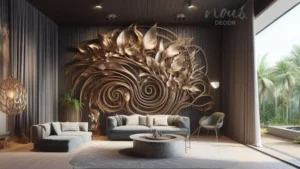
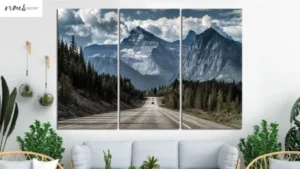
Displaying Your Plaster Canvas Artwork
The finishing touches for your plaster canvas art are hanging it proudly on display. Here are tips for showcasing your homemade art around your home:
- Hang on walls with nails, hooks, or plaque hangers using picture hanging wire.
- Lean against shelves, furniture, or the mantle for casual display.
- Stack canvases together for a gallery-style wall arrangement.
- Arrange multiple small plaster canvases in a mosaic pattern.
- Hang with command strips for easy installation and removal.
- Add an accent light above to draw attention to your artwork.
- Display in entryways, hallways, bedrooms, or as part of a gallery wall.
- Switch out frequently for fresh inspirational art.
Frequently Asked Questions
Conclusion
Crafting DIY plaster canvas art is an enjoyable way to create attractive, unique wall art decor even if you have no previous painting experience.
With the help of this guide, you now have all the tips and techniques you need to design your own abstract artworks, landscapes, patterned designs, or anything else you can dream up.
Get creative with paints and textures to make personalized art pieces to display around your home. In no time, you’ll be proudly showing off your homemade plaster canvas masterpieces!
For more plaster guides, check out our articles on plaster wall hanging hooks, exploring the history of plaster wall art, creating textured wall art with plaster, and elegant gold wall art with plaster.