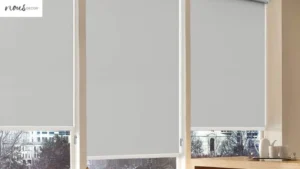
The Installation process of a Window Covering may seem like a daunting task, but it doesn’t have to be! In fact, over 85% of people who attempt to install their own Coverings for Windows report that it’s easier than they expected.
We at Nousdecor are here to show you just how simple the process can be with our step-by-step guide on How To Window Treatment Installation on your own. With the right supplies and a little bit of patience, you’ll have your windows looking great in no time.
So let’s get started!
Key Takeaways of How To Window Treatment Installation
- The Installation process of Coverings for Windows is easier than expected for over 85% of people who try it themselves.
- Measure twice for proper fitting and consider additional hardware/tools like brackets or anchors.
- Securely fasten each component before moving on and hang the Window Covering using the provided mounting hardware or curtain rod holder.
- Pay attention to detail, ensuring the treatment is level, straight, and stable, and make necessary adjustments for optimal coverage and light control.
Measurement and Installation: Gather the Necessary Supplies for Installing
Gathering the supplies you need for Window Covering installation is easy and fun! Depending on the type of Window Covering you’re in the installation process, you’ll likely need a power drill (for drill pilot holes), screws, a level, a screwdriver, an electric saw (for some treatments) and/or nails.
Measure twice so that your materials are cut to fit properly; gettin’ this right at the start will save time later. Consider any extra hardware or tools that may be needed such as brackets or anchors. Yer gonna want plenty of masking tape too – it’s always useful when it comes to hangin’ things!

With yer supplies at hand, you’re ready to assemble your stylish window treatments. And if your window treatment is a plantation one, check out our article on plantation shutter installation guide instead!
Assemble the Window Frames, Vertical Blinds, Mount Blinds, and More
Assemble your new stylish home decorations – it’s a breeze! Now that you have all the necessary supplies, it’s time to assemble and accessorize your window treatments.
Depending on the type of Window Covering you’ve purchased, this may be as simple as unfolding and setting up the new room-darkening blinds and shades. Or, if you have curtains or drapes, there are several components that need to be connected in order for them to hang properly.
| Component | Assembly Instructions |
|---|---|
| Lining Fabric | Connect lining fabric pieces together and then sew onto main curtain panel. |
| Curtain Rings | Attach rings along back side of main curtain panel at even intervals. |
| Corded Tracks/Rods | Slide end flanges into place over track or rod and attach screws with screwdriver. |
| Valance | Hang valance over rod or track using clips or pockets included in packaging. |
Follow instructions such as Instructions For Restringing Pleated Shades provided with your purchase carefully, making sure each component is securely fastened before moving on to the next step in installation process. Once assembled, you’re ready to move onto hanging your gorgeous new Window Covering!
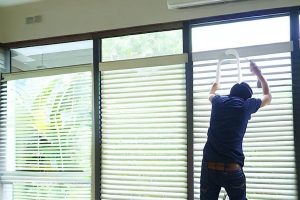
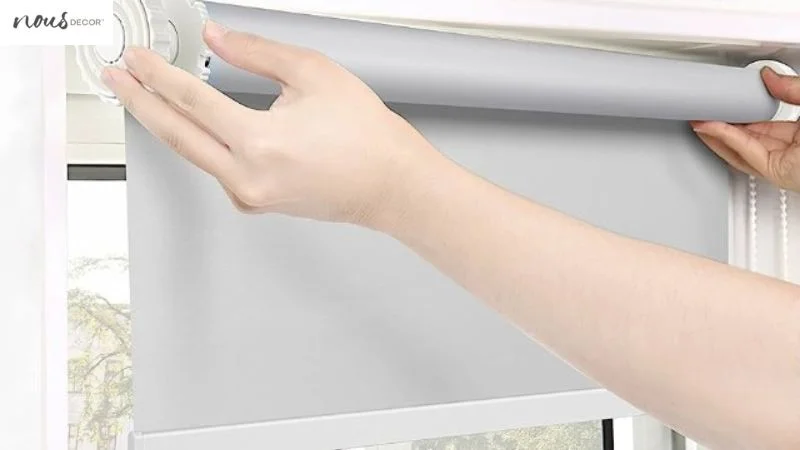
Hang the Easy to Install Window Covering with Mounting Brackets
Now that you’ve put it all together, it’s time to hang your beautiful new home decor and transform your space! Locate the mounting hardware that came with your Window Covering. If you don’t have any hardware, look for a curtain rod holder that fits your style and design.
Follow the instructions on the back of the packaging to ensure proper installation. If needed, use a leveler to make sure everything is even before securing your Window Covering in place. Use screws to outside mount or inside mount the brackets onto either side of the wall.
Gently slide inside the Window Covering rod into each bracket and secure with screws when necessary for an increased home value. Once it’s securely mounted, add any decorative finials or tiebacks if desired.
Finally, adjust as needed until you reach the perfect height and angle for optimal coverage and light control while still allowing plenty of natural light into your space.
With that complete you can move on to checking for levelness and stability! And if your treatments are roller shades, consider visiting our articles on Roller Shades Vs Solar Shades, How To Measure For Roller Shades, and comparing roller shades and roman shades now!
Check for Levelness and Stability
We double-check that our window decor is level and secure by giving it a gentle shake.
- We make sure the fabric or wooden slats hang straight:
- We adjust them so they’re parallel to each other.
- We adjust them so their distance from the frame is even on both ends.
- We adjust the pulleys, cords, or chains if necessary.
- To secure the treatment:
- We tighten screws and bolts.
- We add extra support brackets if needed.
- We use adhesive strips to keep panels in place if necessary.
Finally, we inspect for any imperfections before moving on to final adjustments and cleanup.
And if your coverings are the Venetian ones, check out our article on How To Venetian Blinds Installation instead!
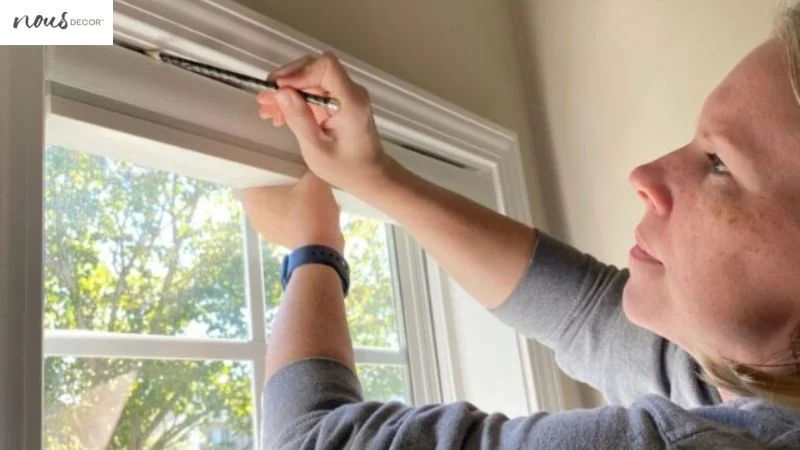
Final Adjustments and Cleanup for Blinds Installation
Before calling it a day, we give the center of the window decor one final once-over to put the icing on the cake. We make sure all screws, bolts and brackets are tight and secure. We adjust any misaligned parts so that everything is even and symmetrical.
We check for obstructions or gaps between the window casing and blinds come or cellular shades or valances that need to be sealed off with caulk. Finally, we clean up any mess made during installation, making sure all tools are accounted for and put away properly.
For more info about installing blinds, consider check out our article on easy window blinds installation guide! Our attention to detail makes our work stand out from the rest!
Frequently Asked Questions
Conclusion
We’ve done it! We’ve finished guiding you How To Window Treatment Installation and it looks absolutely stunning. Our hard work has paid off, and this window looks better than we ever imagined! It’s so level that you could balance a cup of water on its edge without spilling a drop.
And the colors are just perfect – they really pop against the wall. We can finally sit back and enjoy the view with our beautiful new Window Covering!