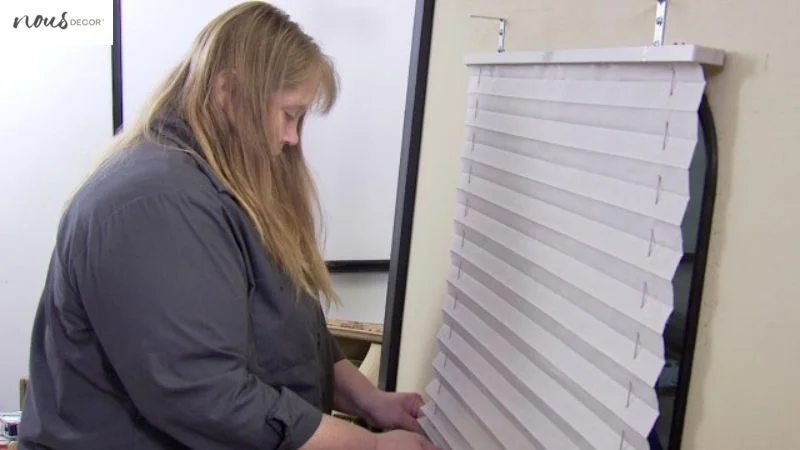
Restringing pleated shades can be a complicated process, but with the right supplies and detailed instructions, it can be done easily. I’m here with Nousdecor to help make these Instructions For Restringing Pleated Shades a breeze.
With my step-by-step guide, you’ll soon have your pleated shades looking like new in no time. Let’s get started!
Key Takeaways of Instructions For Restringing Pleated Shades
- Restringing pleated shades requires specific supplies and detailed instructions, as well as safety precautions.
- Measuring, cutting, and attaching new strings involves unhooking and removing old strings, tying off with an overhand knot, and threading through clips and locks.
- Thorough inspection of all parts is necessary before use or storage, and replacing tension springs is essential for proper functioning.
- Enhancements like decorative trim or custom patterns can be added, and finishing touches like stapling or gluing unsecured areas should be done for longevity.
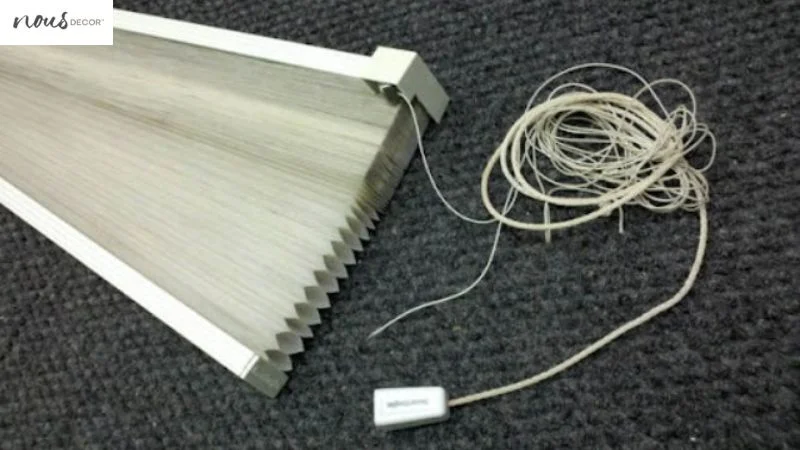
Gathering the Necessary Supplies
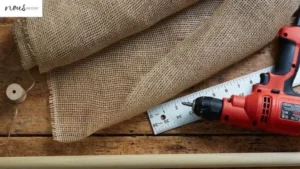
Gather up all the supplies you’ll need–like strings, tape measure, and scissors–so you can get started restringing your pleated shades – one of the traditional window treatment styles out there! Make sure to double-check that the length of string is long enough to cover the full width of your window.
Measure the width from side to side and then add a few extra inches for knotting or overlapping at either end. If you don’t have any spare strings, check with your local hardware store or online retailer for replacement parts. Once you have everything in place, it’s time to begin the process of restringing your pleated shades.
Before getting started on this project, it’s important to note that safety should always come first. Take precautions when using sharp tools like scissors and make sure they are kept out of reach from children and pets. Additionally, be mindful of any potential hazards such as cords becoming tangled during the process.
With these safety tips in mind, let’s move on to removing the old strings…

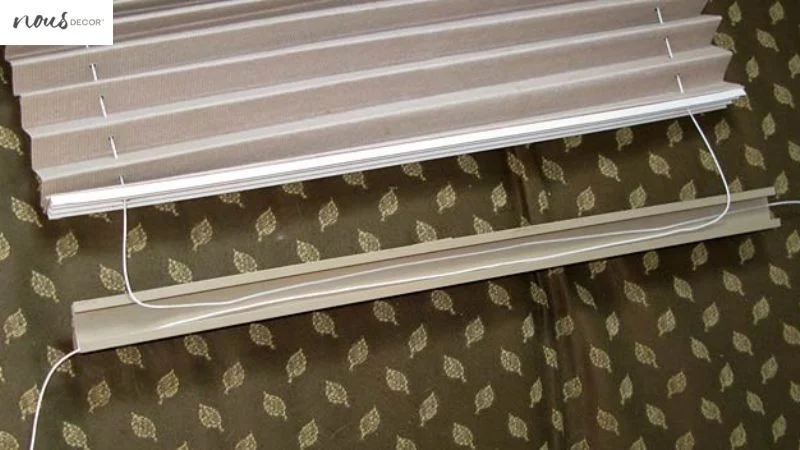
Removing the Old Strings
Unhook the old strings and get ready to update your affordable window treatment ideas. Start by removing any decorative tassels from the bottom of each shade. Then, open the shade so you can access the pulley system in the center of it. To remove the old strings, use these steps:
- Carefully untie or cut off the string that connects to one side of the shade’s bottom bar.
- Remove any other pieces attached to that same side and discard them as necessary.
- Pull out all of the existing string from both sides until it’s all removed from within the shade’s frame.
Once you have removed all of your existing strings, take a moment to make sure everything is clean and free from dust or dirt before you begin installing new ones. With a clear space, now is a good time to move on to securing new strings for your pleated shades.
Securing the New Strings
Replacing the strings is an exciting step toward your refreshed pleated shades – let’s get started! You’ll need to secure the new strings in place before you can move on to measuring the length.
First, begin at the end of one string and thread it into the hole in a shade slat. Pull it through until both ends are equal in length and then repeat this process with all of the remaining holes. When finished, tie off each end with an overhand knot for extra security.
Next, feed a long piece of cord through each of the strings that were just tied off and pull it tight to ensure they stay securely in place. This will keep your new strings from slipping out while you’re measuring or adjusting them later on.
Finally, take care to go over every connection one more time to make sure everything is nice and snug. With that done, you’re ready to move onto making sure each string has exactly the right amount of tension when you start measuring out lengths – no easy feat!
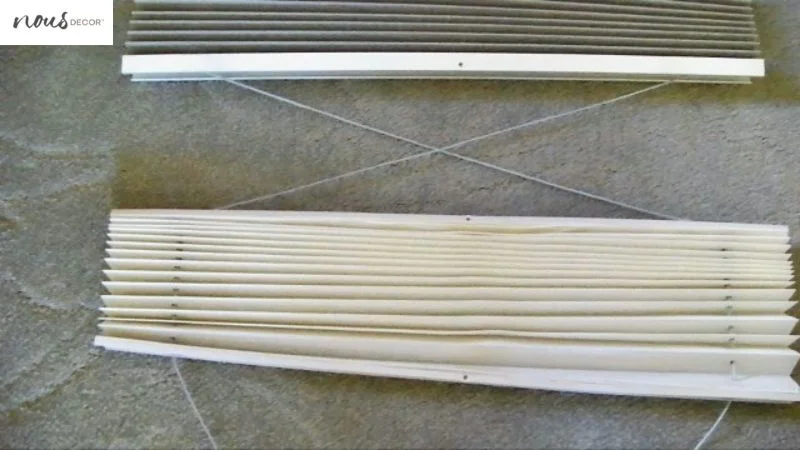
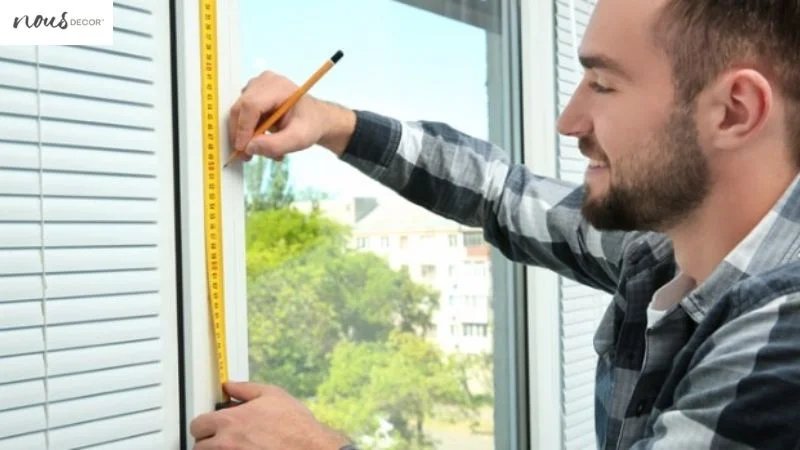
Measuring the Strings
Now that your strings are secure, it’s time to measure them so they fit perfectly! Depending on the size of the pleated shade, you may need more than one length of string.
The most important thing is to make sure the strings are all the same length and securely attached at each end. Start by measuring from one end of the shade (the left or right side) and up to where you want the string to tie off.
For example, if you have a standard-sized pleated shade with a width of 24 inches, then you will likely need two sections of string that each measure 12 inches in length.
| Component | Measurement |
|---|---|
| String Length | 12 Inches |
| Shade Width | 24 Inches |
Once all measurements are complete, double check your work before cutting any extra string off. This will ensure that no mistakes have been made and that everything is cut correctly. Be careful not to pull too hard as this could damage your new strings or cause them to come undone from where they have been tied onto the shade.
If necessary, use a ruler or tape measure when taking these measurements for accuracy purposes.
Using scissors, cut each section of string into two equal lengths and attach it securely to either side of your pleated shades using knots or other fastening methods such as tying loops through eyelets already affixed onto the fabric itself.
Make sure both sides are even so that once hung back up, your pleated shades look neat and tidy with no excess hanging down on either side.
With all pieces now measured correctly and attached properly, it’s time to move onto attaching them back onto their respective fixtures for proper easy pleated shade installation steps!
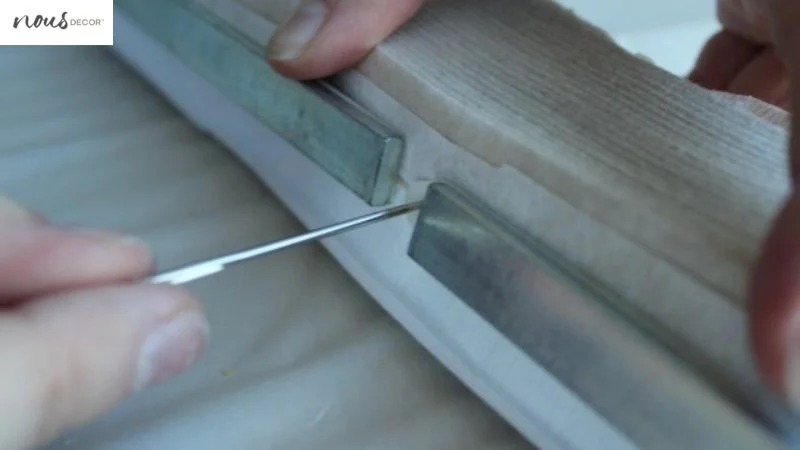
Attaching the Strings to the Shade
Now that you’ve measured the strings, it’s time to attach them securely to your shade as this is some modern home decor essentials! Begin by threading one end of each string through the back side of a clip. Securely tie a knot at the end of each string.
Once both strings are knotted, it’s time to attach them to your pleated shade. Start with the first clip on the topmost row and then work your way down. Make sure that there is an even amount of slack in both sides before attaching each clip, this will ensure that you don’t have any issues when locking the new strings into place.
Next, fold the pleats over themselves so that they cover up the clips and secure them with glue or tape if necessary. Repeat these steps for all remaining clips until both strings are firmly attached to your shade from top to bottom. With everything now in place, it’s smooth sailing ahead as you move on to locking your new strings into place.
Locking the New Strings into Place
Securely locking your new strings into place is the final step to giving your shade a fresh look. Let’s get those pleats tucked away and make sure everything stays in place!
To begin, start by threading one of the locks through one side of each ring located at either end of the shade. Next, with both hands firmly hold the ends of both strings and pull them taut down towards the bottom.
Once you have a good grip on both sides, loop each string over its respective lock and tie a knot to secure it. Make sure that all knots are tight so they don’t come undone when opening or closing the blinds.
Finally, cut any extra string off from above the knots so that there is no excess hanging from them. With your newly secured strings in place you can now move onto testing them out for full functionality before enjoying your refreshed pleated shades!
Testing the New Strings
Now that you have securely locked your new strings into place, let’s test them out to make sure everything is working properly. To begin, lift the bottom rail of the pleated shade and gently pull each string in a downward motion. This should cause the shade to fold or pleat together as it did before.
Next, hold one of the side rails and raise it slightly. If your strings are properly locked in place, you should see a uniformed movement throughout the entire shade. If not, there may be an issue with one or more of your lock knots.
To further test if all of your strings are working as intended, slowly lower the side rail and observe how each string releases from its lock knot as it rises back up to its original position. The tension on each string should remain consistent as they move up and down – any variations could mean a problem with some of your lock knots.
At this point you can be confident that you have successfully restrung your pleated shades! Now let’s move onto addressing common problems that may arise when restringing these types of shades.
Addressing Common Problems
While restringing your window coverings, you may encounter some common problems that can be easily fixed. One problem you may run into is the strings not feeding through the pulleys correctly – this will cause the strings to become tangled and knotted.
To avoid this issue, make sure to pull each string evenly while threading them through the pulleys. Additionally, if you find that your strings are too short for your window covering, simply tie a knot at one end of the string and use it as a handle to help guide it through the pulley system. This should give you enough slack in order to properly restring your shades.
Another common problem is when old parts of the shade don’t fit with new ones – this can be especially problematic when replacing tension springs. If this happens, try checking for compatibility between old and new parts before attempting any repairs or replacements.
If everything looks compatible but still doesn’t work, contact an expert who specializes in window coverings for advice on how to fix it properly.
It’s also important to check that all parts of the shade have been securely tightened after reattaching them – otherwise they may come loose over time which could lead to unexpected accidents or even further damages down the line. Check each part thoroughly before using or storing your newly strung shade.
These are just a few things to keep in mind while restringing pleated shades; however, there may be other unique issues depending on how worn out or outdated certain components are. In any case, being aware of these potential issues can help ensure that you’re able to safely and successfully restring your pleated shades without any major problems arising afterwards.
With that said, let’s move onto replacing tension springs…
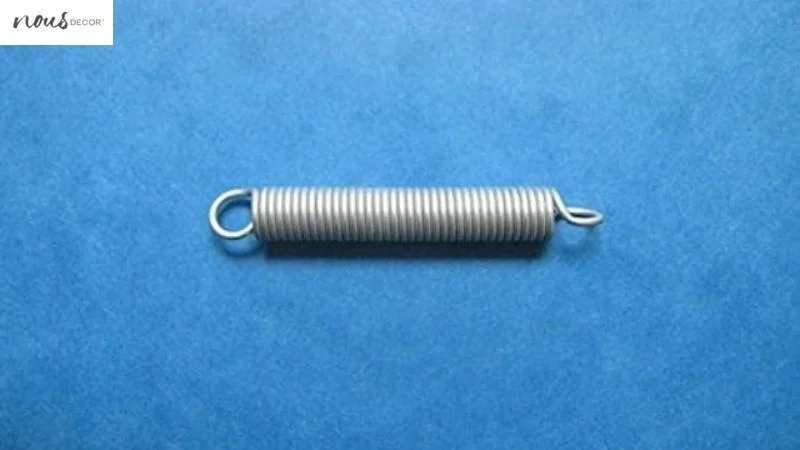
Replacing the Tension Springs
Replacing the tension springs in your window coverings is essential to keep them functioning properly, so you’ll want to make sure it’s done correctly. Here’s what you need to know:
- Materials
- replacement parts
- screwdriver
- pliers
- Instructions
- Remove any existing tension springs by using a screwdriver or pliers.
- Install new springs into the designated slots on each side of the covering. Make sure they are securely fastened and won’t come loose.
- Replace all other necessary components such as string locks and brackets, if needed.
Once you’re finished replacing all of the tension springs, you can move on to fixing any broken strings that may be present in your pleated shades.
This step is equally important since proper functioning strings will help ensure that your shades are easy to open and close without getting stuck or tangled.
Fixing Broken Strings
If the strings on your window coverings are broken, you’ll want to fix them quickly so they don’t get tangled and cause any further issues. Here’s what you need to do:
| Step 1 | Step 2 | Step 3 | |
|---|---|---|---|
| Prepare | Cut two new pieces of string that are each at least 10 inches longer than the original strings. Tie a knot in each end of both strings. Insert one knotted end through the hole at the bottom of the shade, then thread it up through all of the slats until it reaches the top. Tie a knot close to the top slat on one side to secure it in place. Repeat this step with the other string, tying a knot near the top slat on opposite side of shade when done. | Thread one piece of string down through all holes in shade until it reaches bottom; tie a knot in this end too, close to bottom slat. Make sure there is some slack in both strings so that when tension springs are installed later, they will be able pull up enough fabric for cordless operation. | Secure tension springs onto remaining ends of string by looping them around twice and pulling tight; trim off excess length if necessary. |
Once you’ve completed these three steps, your pleated shades should now have new cords which can be used for years without issue! To make sure everything works properly before using, gently tug down on shade from top while pushing up against sides to check that tension springs retract as needed. If all looks good, then you’re ready to add detail to your newly restrung shades!
Adding Detail to the Shade
Now that you’ve successfully restrung your shade, it’s time to add some detail to make it look just the way you want! There are several options available for enhancing the look of your pleated shade.
You can purchase decorative trim from your local craft store, which comes in a variety of colors and styles. If you’d prefer something more unique, consider adding ribbons or fabric strips along the edges of each pleat. This will give your shade a touch of color and texture without being overbearing.
Another option is to use decorative tassels on the bottom edge of the shade for an elegant flair.
If you’re feeling crafty, why not create something yourself? Paint thin stripes along each pleat in complimentary colors or try using decoupage glue and bits of tissue paper to create a custom pattern.
The possibilities are endless when it comes to making your pleated shades stand out! Just be sure that whatever you use doesn’t interfere with how the shade operates; otherwise, it won’t close correctly once installed.
You can also take advantage of any existing features on your shades when adding details like ruffles or scalloped edging along the top and bottom hems. Be sure not to cover up any labels or instructions printed on them as these are important safety information that must remain visible at all times.
Finally, if you’re looking for inspiration, browse through online photos for ideas on how other people have decorated their shades.
With so many ways to decorate your pleated shades, now is a great time to let your imagination run wild! After finding what works best for your style and budget, all that’s left is to finish off with some finishing touches before putting everything back together again.
Finishing Touches
Once you’ve added all the desired details to your shade, it’s time to finish up with some finishing touches. The last step is vital to ensure that your project looks professional and lasts for a long time. Here are some things that may help:
- Carefully staple or glue any remaining unsecured areas of fabric onto the shade’s frame.
- Make sure the cord pulley system is securely tied off at both the top and bottom of the shade so it won’t come undone or cause any issues down the line.
- Check all connection points on your pleated shade for any gaps or holes in construction and close them off if needed.
- If you’ve used different materials during this process, seal them together with craft glue or an adhesive product designed for fabrics so they don’t fray or come apart over time.
Now your restringing job is complete! Your custom-made pleated shades will look amazing and provide years of quality use if you take care of them properly.
Frequently Asked Questions
Conclusion
I’m done! After all my hard work, the pleated shade looks like new. It’s been a long process, but I’m proud of myself for sticking with it. My shade now has two neat rows of strings that look great and will last for years to come. I think I’ll take a break and admire my work for just a few minutes before moving on to other projects.
It’s amazing what you can accomplish when you put your mind to it. Restringing shades may have seemed intimidating at first, but with this step-by-step guide, I was able to do it easily. Now that I know the Instructions For Restringing Pleated Shades, I can tackle similar projects in the future without hesitation!