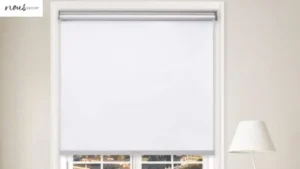
Roller shades are a great way to add privacy and style to any room in your home. I’m here to show you how easy it is to make your own DIY roller shades.
With the right materials, tools, and know-how you can create custom window treatments that not only look good but are also functional.
Not only we at Nousdecor will teach you how to make a diy roller shade, but we’ll also provide troubleshooting tips, fabric choices, and cleaning advice so that your roller shade looks great for years to come!
Key Takeaways
- Roller shades can be made as a DIY project with the right materials, tools, and know-how, and are an economical way to add privacy and style to any room.
- Materials needed for DIY roller shades include fabric, foam core board or cardboard, manual cutting tool, scissors, measuring tape or ruler, ribbon trim (optional).
- Troubleshooting tips include ensuring proper measurement, checking for loose parts or snags, and inspecting for damage, while regular cleaning and maintenance is essential to keep roller shades looking their best.
- DIY curtains and roller blinds are other affordable options for customizing window treatments, with materials including fabric, sewing machine or needle and thread, curtain rods, rings or clips, dowel rod, and thin batting material for insulation. Adding decorative touches like trim or buttons can add visual interest to these DIY projects.
Gather Necessary Materials and Tools
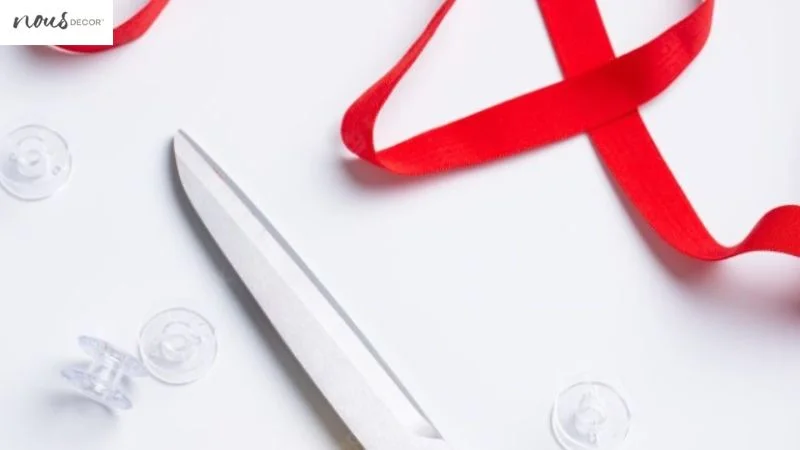
To complete your roller shades, you’ll need to gather the necessary materials and tools; fortunately, they shouldn’t be too difficult to source. You’ll need fabric for the shade itself, as well as enough foam core board or cardboard to cover the size of the window.
Additionally, you’ll need a manual cutting tool and scissors to cut the fabric. You’ll also need a measuring tape or ruler to ensure that everything is cut with precision and accuracy. Lastly, you could choose to add ribbon trim along either edge of your shade for extra flair; this material will depend on your own taste and preference.
With these items collected, you are ready to begin constructing your DIY roller shades!
How to make a DIY Roller Shades
I’m going to show you how to make your own DIY stylish window covering solutions.
To begin, measure and cut your fabric. Next, attach hem tape to the edges of the fabric. After that, create your roller tube and attach the fabric to it. Finally, install the roller mechanism and you’re done! Now you have a custom-made diy roller shade for your home.
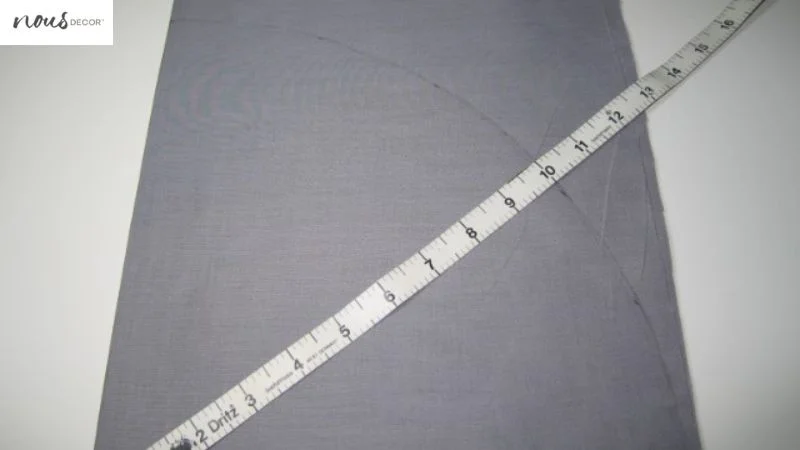
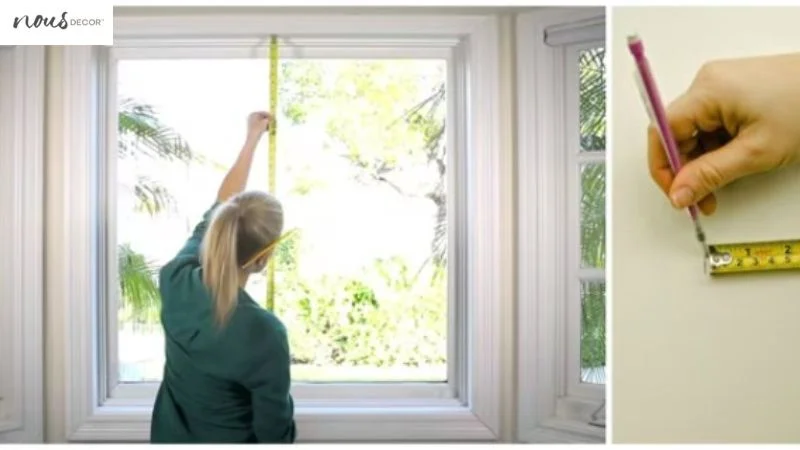
Measure and Cut Your Fabric
Using a measuring tape, carefully measure the width and height of your window to determine how much fabric you’ll need for your roller shade. To ensure that the shade operates properly, it’s important to factor in an extra two inches on each side for hemming:
- For the width:
- Measure from left to right at the top, middle, and bottom of the window frame and record all three measurements.
- Add 2” to the longest measurement and use this as your width.
- For the height:
- Measure from top to bottom along both sides of the window frame and record both measurements.
- Add 2” onto one side only; this will be where you install your brackets later on. The other side can stay as is since it won’t be showing once installed.
- Cut out your fabric according to these measurements using scissors or a rotary cutter. This will be used as your main roller shade material.
With all necessary measurements taken care of, you are now ready to attach hem tape to fabric in order move forward with completing your DIY roller shades project!
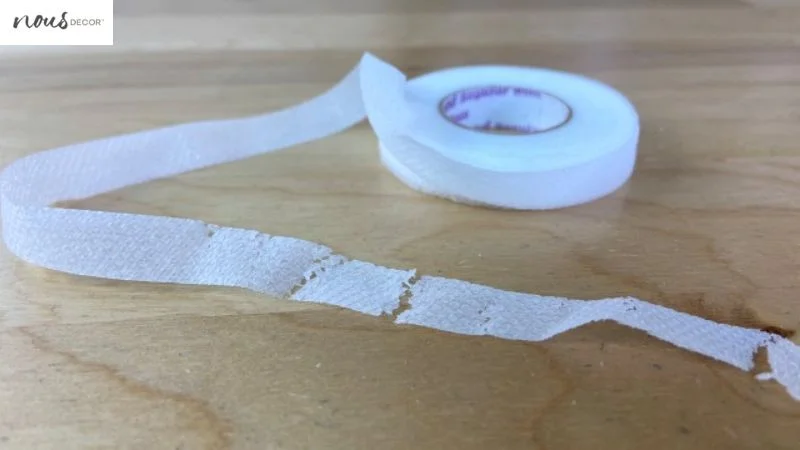
Attach Hem Tape to Fabric
Now it’s time to give your roller shade a finished look – attach hem tape to the fabric for a professional touch! Hem tape is an adhesive material that adds stability and strength to the edge of the fabric.
To begin, measure your hem tape and cut it to fit the length of your fabric. Make sure to leave extra at either end so you can wrap it around the sides. Now apply one side of the hem tape onto your fabric, using iron on its lowest setting.
When finished, press down firmly with a cloth or paper towel until it sticks securely in place. Next, fold over each side of the fabric towards the back, so that only half of the width is visible from the front – this will create a neat finish once you have attached all four sides.
Finally, attach each side of the hem tape so that they meet in the middle, then press firmly on both ends for a secure hold. With this step complete, you’re now ready to create your roller tube!
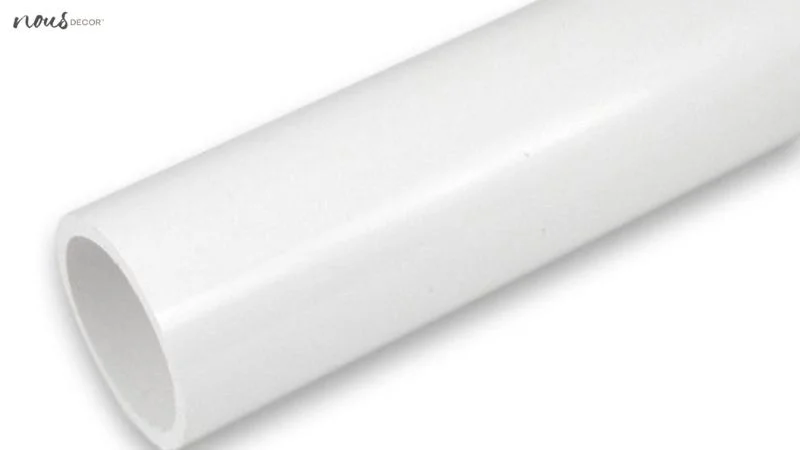
Create Your Roller Tube
Your roller shade is about to take shape – get ready for a truly professional finish! Begin by measuring your fabric against the window, ensuring that it is wide enough for the tube. To make the tube, you’ll need:
- A PVC pipe cut to size
- Two end caps for each end of the pipe
- Adhesive caulk or sealant
- Pipe insulation wrap
After all of your supplies are gathered and prepped, start by attaching the end caps with adhesive caulk. Make sure they’re secure so that when you roll up your shade, it doesn’t come apart.
Wrap a layer of insulation around the entire tube and adhere with tape to keep air from passing through. Finally, slide your fabric onto the roller tube and you’re almost ready to attach it to your window!
Now you can move on to affixing your fabric securely in place.
Attach Your Fabric to the Tube
Securely affix your fabric to the tube with a few strategically placed pieces of tape, so it rolls up and down smoothly like a professional. To do this, start by laying the fabric out in front of you.
Gently place the tube on top of the fabric with an even amount of overhang around all sides. Then use small pieces of tape at regular intervals to secure the fabric in place – don’t forget to leave some extra slack near each end for easier rolling!
Once everything is in place, you should have a neat bundle that looks great from all angles.
| Task | Materials Needed | Difficulty |
|---|---|---|
| Attach Fabric | Tape | Easy |
| Install Roller Mechanism | Roller kit | Moderate |
With some simple supplies and a bit of patience, it’s easy to achieve a professional-looking roller shade with an impressive finish. Now it’s time to install your roller mechanism and get ready to enjoy your homemade masterpiece!
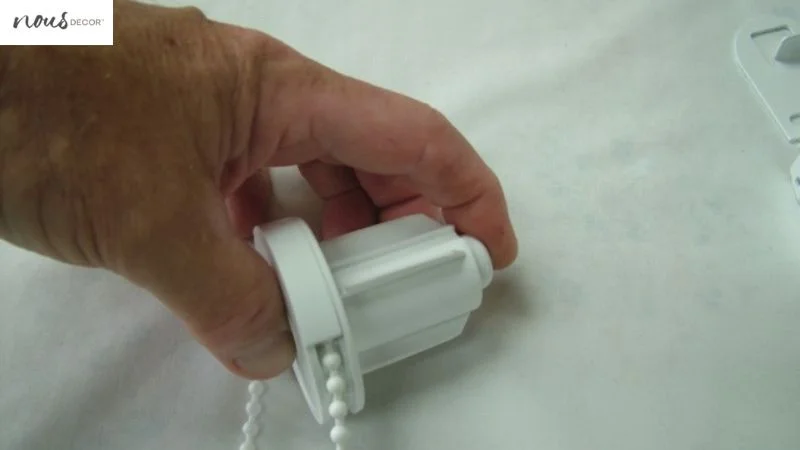
Install Your Roller Mechanism
Carefully attach the roller kit to your fabric and tube, so you can easily adjust the shade with a simple pull. Securely fix it in place by using screws or brackets for extra support.
Make sure that all the components are firmly attached and aligned properly; this will ensure that your roller shade works smoothly when you’re ready to use it. With everything securely in place, it’s time to test out your new DIY roller shade.
Test Your Roller Shade
Now that you’ve got everything installed, it’s time to test out your handiwork! Before you attach the bottom hem bar, make sure the roller mechanism is working properly.
Start by closing the shade completely and then opening it again. If there are any issues with the mechanisms during this process, it’s best to address them now before proceeding. Check for any new areas where adjustments may need to be made to ensure everything is running smoothly.
Once you’re satisfied with the operation of your roller shades, you can move on to adding the bottom hem bar…
Add Bottom Hem Bar
It’s time to finish up your project and add the final touches by attaching the bottom hem bar! Make sure everything is secure and ready before you move forward.
- Gather all of your supplies: the bottom hem bar, a measuring tape, pins, thread, needle or sewing machine.
- Carefully measure the length of fabric needed for the bottom hem bar and cut accordingly.
- Sew or pin the bottom hem bar in place with precise accuracy.
This is an important step to ensure your roller shade will fit perfectly when it’s finished! Once everything is secured securely, you can now customize your roller shade with trim or design.
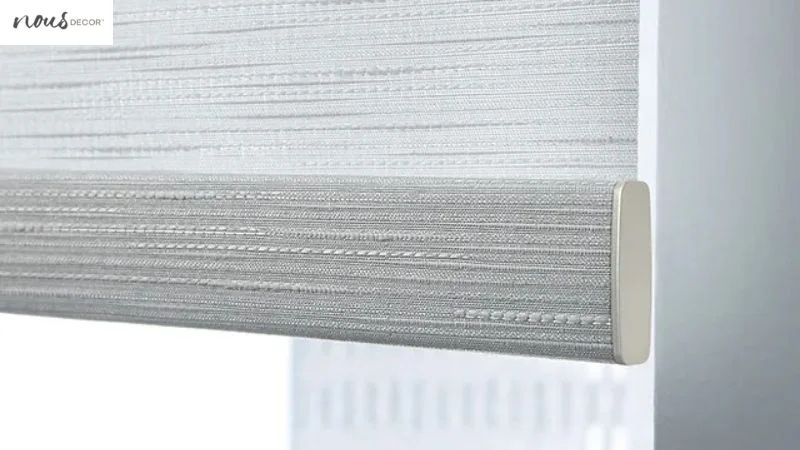
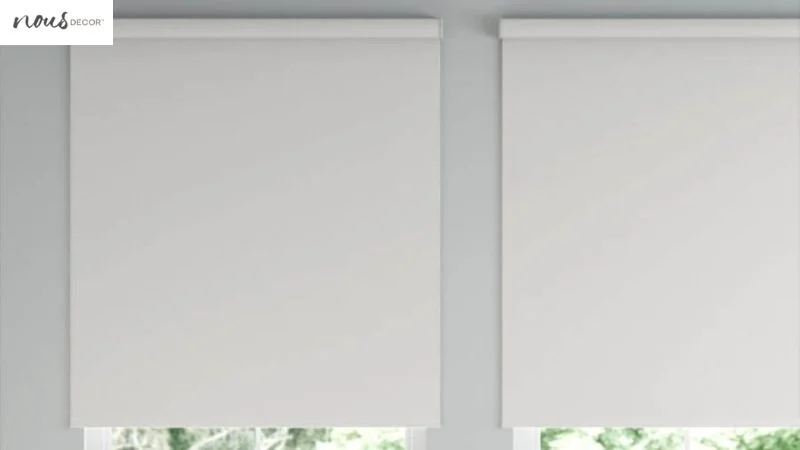
Customize Your Roller Shade with Trim or Design
Give your roller shade an extra touch of style by customizing it with trim or design. You can use a variety of trims, such as tassels, fabric-covered braid, scalloped edging, or even small pompoms to give your DIY creation a unique look.
Depending on the type of material used for your roller shade and the kind of trim you choose, you may need to sew the trim onto the fabric before mounting it onto its bracket. However, if you’re using lightweight materials like cotton muslin and cotton lace then you can simply attach them with glue.
After adding your desired trim or design to create a personalized window treatment that reflects your own style, carefully hang the roller shade in place for everyone to admire!
With that said however, it’s not always smooth sailing when making roller shades yourself; there are certain issues which can arise during the process so be sure to read up on troubleshooting common issues next.
Troubleshooting Common Issues
Troubleshooting common issues with your DIY practical window treatment choices can be a tricky process. It’s important to check the instructions and determine if you’ve followed them properly. Be sure your window is measured correctly so that the shade fits snugly in the frame without any gaps.
If there are gaps, you may need to make adjustments to the sides of the roller shade or add extra fabric as needed. You should also check for any loose parts or snags in the fabric that might interfere with its operation. If possible, try to repair these problems yourself before seeking professional help.
If your roller shades don’t seem to operate correctly, it could be due to an improper installation or a worn-out chain or mechanism inside the headrail.
Make sure all connections are secure and inspect for any damage that may have occurred during installation or use. Replace broken parts as necessary and test again for proper functioning of your DIY roller shades.
In order to keep your roller shades looking their best over time, regular cleaning and maintenance is essential.
Dust buildup can cause friction on moving parts, while dirt and other debris can settle into fabrics over time causing discoloration and staining if not treated promptly…
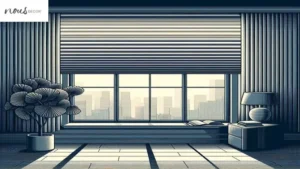
Cleaning and Maintenance Tips
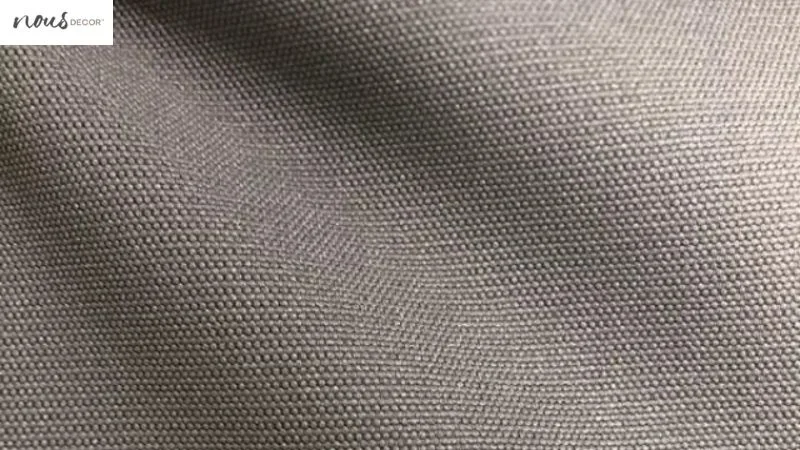
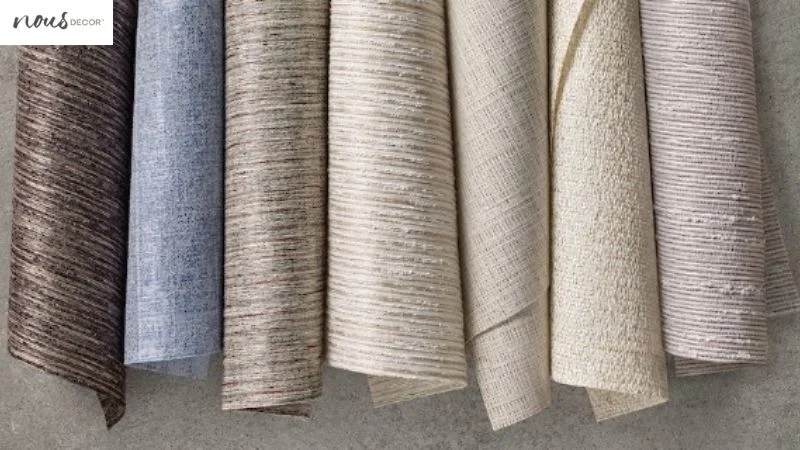
Keep your window treatments looking sharp and vibrant with regular cleaning and maintenance! Your personalized home decor options DIY rollers are usually made with polyester, vinyl, linen, or cotton fabrics. To keep them looking great for years to come, it’s important to follow a few simple tips.
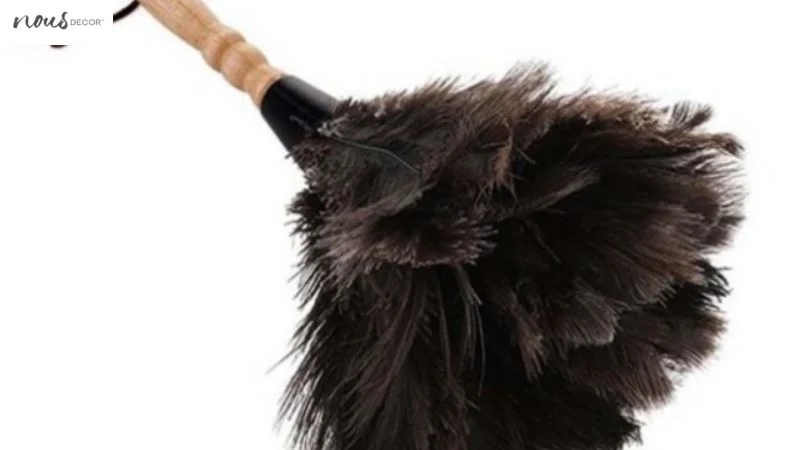
First of all, don’t let dust accumulate on the fabric – use a feather duster or vacuum attachment to gently remove the dust particles. If there are any spills or stains on the fabric, you should act quickly and spot-clean them with lukewarm water and mild detergent.
Be sure to test the solution in an inconspicuous area before using it on larger surfaces. Additionally, roller shades should be kept away from direct sunlight as much as possible since prolonged exposure can cause fading over time.
Now that you know how to clean and maintain your roller shades, what type of fabric is used for them?
What type of fabric is used for roller shades?
Roller shades are often made from materials like polyester, vinyl, linen, or cotton for a soft and stylish look.
Polyester is a great option if you are looking for something durable that will last a long time. Vinyl is also an affordable choice that offers good insulation and light control. Linen and cotton provide an elegant look with excellent breathability.
All of these fabrics can be used to make beautiful roller shades that will fit any room in the house.
No matter what type of fabric you choose for your roller shades, it’s important to make sure they are properly maintained to ensure they last as long as possible. Regularly dusting them off and vacuuming away debris can help keep them looking their best.
For deeper cleaning, gently use warm water mixed with a mild detergent on the fabric itself or its backing material. To further protect the fabric from fading due to sun exposure, consider applying a UV resistant sealant once in awhile.
Making roller shades yourself is not only economical but also allows you to customize them according to your own taste and needs.
With just some basic sewing skills and supplies like fabric scissors, thread, hem tape, rod pocket tape, dowel rods or tension rods (depending on the design), you can easily create cute DIY curtains!
How to Sew A Cute DIY Curtains
Creating your own curtains can be an incredibly satisfying and rewarding experience, allowing you to customize them to perfectly fit your home’s style. To start sewing a cute DIY curtain, there are a few things you’ll need:
- Materials:
- Fabric of your choice
- Sewing machine or needle and thread
- Iron and ironing board
- Measuring tape or ruler
- Tools:
- Scissors
- Seam ripper (optional)
Once you have all the materials gathered up, it’s time to get started! First measure the window for accurate measurements.
Cut out fabric for the curtain panels based on these measurements, adding in extra inches for seam allowance. Then fold over one edge of each cut piece 1/2 inch twice and press with iron to create a hem at the top of each panel.
After that sew along the hem line using either a sewing machine or hand stitch it with needle and thread. Once done repeat this step with other edges of the curtain panels until finished. It may take some practice but eventually you’ll get better at it as you go along!
Without much effort, you can now proudly hang up your new DIY curtains that reflect your personal style. In no time at all, guests will be admiring them!
Can you make your own roller blind?
After learning how to sew cute DIY curtains, you might be wondering if you can make your own roller blind. The answer is yes! You can make Roller blinds as your stylish kitchen window treatments or whatever and it is not as difficult as it may seem. With a few basic tools and materials, anyone can create their own custom roller shade at home.
The first step in making your own roller shade is to decide on the size of the window that needs to be covered. This will help guide you in determining what type of fabric and hardware you’ll need for your project.
Once you have the dimensions figured out, it’s time to buy the necessary supplies from a store or online retailer. You will need fabric, curtain rods, rings or clips, a dowel rod and some thin batting material for insulation.
With all the materials gathered together, start by cutting the fabric according to your measurements and hemming the edges using an iron-on hem tape or machine stitching them with appropriate thread color.
Then line up the edges of two pieces of batting material together with one piece slightly overlapping another before placing them on top of the fabric panel and sewing them together along three sides using a straight stitch setting.
Now attach curtain rings or clips along either side of this panel before slipping it over a dowel rod so that it hangs down evenly across its length when drawn up completely. Finally, mount this prepared assembly into place within your window frame using screws or any other suitable mounting hardware available at hand.
Making one’s own roller blinds can be an enjoyable creative experience plus offer significant savings compared to buying ready-made ones from stores or online retailers – so don’t hesitate to try it out!
With these instructions in mind, let’s now explore how roller shades can be made from fabric?
Can roller shades be made from fabric?
Fabric can be an inexpensive and versatile material to use when crafting your own custom roller shades, allowing you to create a look that’s uniquely yours. With the right tools and supplies, it’s possible to make beautiful window treatments from fabric that will complement any decor.
Depending on the type of fabric used, it can provide privacy while still allowing light through, or block out all light for a darker room.
When making roller shades from fabric, you’ll need to choose the size and shape of the shade as well as what type of hardware you want to use for mounting it. You’ll also need enough fabric to cover your window plus additional width for hems and pockets for rods.
Once these elements are determined, you can cut your fabric pieces according to measurements and assemble them using either basic sewing skills or iron-on adhesive tape.
Adding decorative touches such as trim or buttons will add visual interest without too much effort.
If desired, lining can also be added between layers of fabric in order to create more insulation from heat or cold air coming through windows during extreme temperatures; this is especially useful if living in a climate with frequent temperature swings.
With careful attention paid to details like measuring correctly and choosing quality fabrics, handcrafted roller shades made from fabric can give any room an extra special touch!
Frequently Asked Questions
Conclusion
I’m satisfied with my DIY roller shades. They look great and were surprisingly easy to make. I’ve already gotten compliments from friends and family on them. If you’re looking for a creative way to spruce up your windows, diy roller shades are definitely worth considering.
With the right materials and tools, you can have custom-made window treatments in no time! Just remember to troubleshoot any issues that may arise during the process, as well as regular cleaning and maintenance tips so that your curtains last longer.