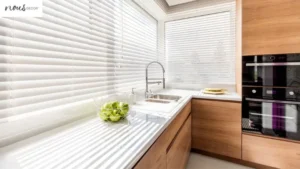
Venetian blinds can be quite intimidating to install, but it doesn’t have to be a nightmare. With the right tools and a bit of patience, you and your partner can get the job done with ease!
It may seem like an overwhelming task at first – we don’t blame you – but trust us when we say that it’s not as hard as it looks. In no time, you’ll have your windows looking beautiful with perfect Venetian aluminum blinds hanging from them.
Read on with Nousdecor to learn How To Venetian Blinds Installation in no time flat! The process is surprisingly simple: gather the tools needed, measure the window, install the blinds, mount the valance, and test the operation.
Key Takeaways of How To Venetian Blinds Installation
- Gather all necessary tools beforehand to prevent delays
- Measure the window height and width, leaving extra room on each end for clearance
- Secure blinds in window frame with brackets and screws, use a level for even hanging
- Test blinds operation, check cords, pulleys, tension, and slats
Gather the Necessary Easy to Install Tools
Gather the necessary tools for installation, such as affordable decor accessories or a drill and screwdriver, to ensure a successful outcome. Having all the right items on hand makes it easier to complete the job quickly and correctly.
Have an extra set of hands available when needed. Items like a level, measuring tape, screws, brackets, hooks and hanging hardware are essential for properly Venetian vertical blinds installation. You will also need a power saw if you plan to adjust or trim your blinds for custom fitting.
It is important to have all these tools handy so that you can proceed without any delays. Assembling the necessary materials beforehand ensures that you have everything you need and helps prevent any potential problems during installation.
With all the right equipment at your disposal, you can begin tackling the task with confidence knowing that everything is in order. Now it’s time to measure the window…
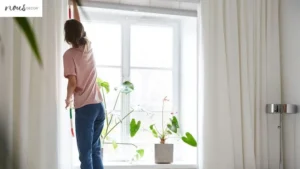
Measure the Window
Before you begin the How To Window Treatment Installation process, get your tape measure and check the dimensions of the window – make sure it’s an exact fit! Measure the height from top to bottom and side to side. Make sure that you have at least an inch of extra room on each end for clearance.
Mark the measurements on a piece of paper for reference later. If it’s an odd-sized window, list out all the measurements so you know exactly what size blinds to buy that will fit perfectly.
Be sure not to forget about measuring any obstructions like door handles or radiators that might be in the way during new blinds installation.
Once you’ve taken accurate measurements, you’re ready to move onto installation!
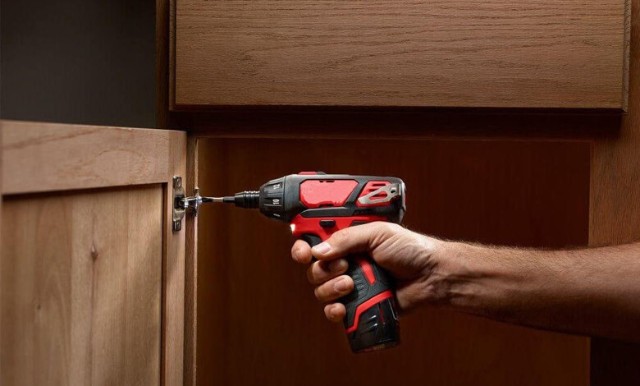
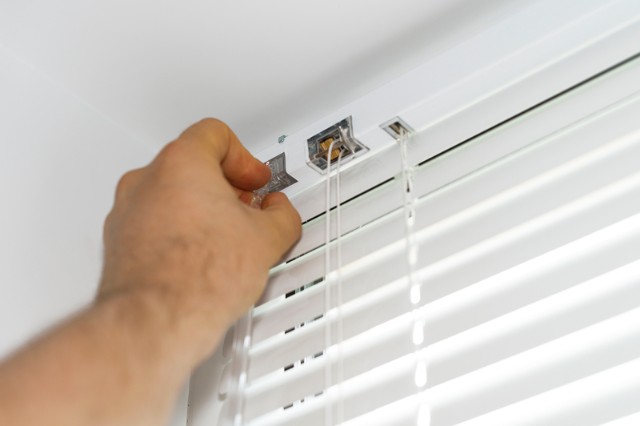
Install the Blinds: Attach The Brackets and Window Frame
Now, you’re ready to start the installation process for your functional window coverings! First, find the necessary tools: a level, measuring tape, drill and screws.
| Tool | Quantity |
|---|---|
| Level | 1 |
| Tape | 1 |
| Drill | 1 |
| Screws | Several |
Once you have all the materials gathered together, position the blinds in the window frame. Make sure that all of the brackets line up with your measurements from before. Secure each bracket in place using a drill and screws.
Finally, take a spirit level and check that your blinds are hung evenly and securely on both sides of the window frame. Don’t forget to consider window treatment hazard prevention as well!

Once everything is secure and stable, sit back and admire your handywork – you’ve just set up new Venetian mount blinds come!
Mount the Valance
Now that your top of the window treatment upkeep are being hanged, it’s time to finish off the look with a valance. Here’s what you’ll need:
- Valance brackets
- Measuring tape
- Pencil and level
- Screws and screwdriver
Position the valance brackets at each end of the headrail. Measure twice so you know the valance brackets are even, then mark their spots with a pencil. Use a level to make sure they’re straight before securing them in place with screws.
Finally, clip the valance onto the mounting bracket hooks and admire your handiwork! With that done, it’s time to test out your new blinds’ operation.
Test the Operation
Test out your handiwork and see how smoothly your work of art operates! Make sure to raise and lower the blinds a few times to make sure they are moving properly.
Check that all cords and pulleys are functioning correctly, ensuring that any tension is even across your setup. Take a moment to inspect each slat individually, ensuring no snags or irregularities in the pattern.
Finally, check for any loose screws that may need tightening or adjustments. Stand back and admire the beauty of your new Venetian aluminum blinds installation – you can be proud knowing you did it yourself!
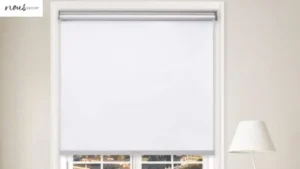
And that’s all of our step-by-step blinds installation process guide for you! If you’re interested in roller shades instead, check out our articles on advantages and disadvantages of roller shades, affordable roller shades prices, How To Fix Roller Shades, and Roller Shades Vs Roman Shades now!
Frequently Asked Questions
Conclusion
We’ve just finished showing you How To Venetian Blinds Installation, one of the popular window treatment styles! It’s been a long and winding road, but we made it to the end. We had to measure the window, inside mount the blinds, set up them, and outside mount the valance.
Now that all of our hard work has paid off, we can admire our handiwork: our room is now bathed in sunlight with beautiful shadows that dance across our walls like graceful ballerinas. Our windows are transformed into something magical thanks to these stunning Venetian blinds!
And if you’re interested in plantation shutters, check out our article on How To Plantation Shutter Installation now!