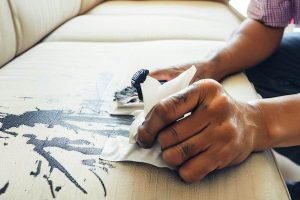
Coincidentally, I was looking for a new sofa and found one that I loved – except it was the wrong color. After some research, I discovered that it’s possible to paint affordable fabric couches and make them look great.
In this Nousdecor article, you’ll find out everything you need to know about How To Paint A Fabric Sofa. From cleaning the fabric before you start to apply the finishing touches, we’ll cover all the steps in detail so that you can successfully complete your project with confidence.
Key Takeaways of How To Paint A Fabric Sofa
- Vacuuming and scrubbing the sofa before painting is crucial for a clean and successful paint job.
- Choose an acrylic-based fabric upholstery paint that offers flexibility and coverage.
- Gather all the necessary supplies such as drop cloths, painter’s tape, and protective gear before starting.
- Use flat paint designed for fabric surfaces, work in small sections, and let the sofa dry overnight after painting.

Clean The Fabric Before You Start
Before you start painting your fabric sofa, it’s important to make sure it’s clean.
- Start by vacuuming the entire piece of furniture with a crevice tool attachment to remove any dust and debris from the cracks and seams.
- Next, use a brush or cloth to gently scrub any stains or dirt on the surface of the sofa using a mild soap solution.
- Remove any ink stains with our guide on How To Remove Ink From Fabric Sofa.
- Try some waterless fabric sofa cleaning methods if the need arises.
- Finally, let the sofa air dry completely to maintain your sofa’s fabric before applying any paint.
Preparing your fabric sofa for painting is an essential step to ensure that your new paint job will look its best and last for years to come. Unless your couch is a leather-made one, check out our article on painting leather sofas made simple now!
With the pre-painting steps complete, you can now move on to selecting the right type of paint for your project.
Picking the Paint
Choose the best color for your couch that will last and look great. If you’re unsure of what color to choose, consider a neutral shade like gray or taupe. This way, if you ever decide to change the look of the room in the future, your sofa won’t clash with any new colors or decor.
You can also pick a bolder hue such as red or blue to make more of a statement. For fabric upholstery paint, choose an acrylic-based formula that’s designed specifically for furniture and fabrics.
It should be slightly flexible so it doesn’t peel easily and it should provide coverage without seeping into the fabric.
Once you’ve selected your paint, gather all the supplies needed for painting – from drop cloths to painter’s tape – so you’re prepared before you start.

Gathering Supplies
Gather all the materials you’ll need, such as drop cloths, painter’s tape and an acrylic-based paint formula, to ensure a successful painting project.
It’s important to have the right supplies on hand in order to complete your sofa painting project with great results. Make sure you have clean rags or lint-free cloths for cleaning and wiping up any spills during the process.
You should also wear protective gear such as gloves, eyewear, and a face mask when working with potentially harmful chemicals like paint stripper or primer. Finally, be sure to have enough ventilation in the room where you’re completing your painting project so fumes don’t build up.
With all these supplies at hand, you can move onto the next step of tackling painting techniques.
Painting Techniques
Now that you have all the necessary supplies, it’s time to start tackling your painting techniques.
To begin, make sure you secure a drop cloth or tarp beneath and around your sofa to protect any flooring or furniture from painting spills. It’s important to use a flat paint that is designed specifically for fabric surfaces – this will ensure the best adhesion and coverage.
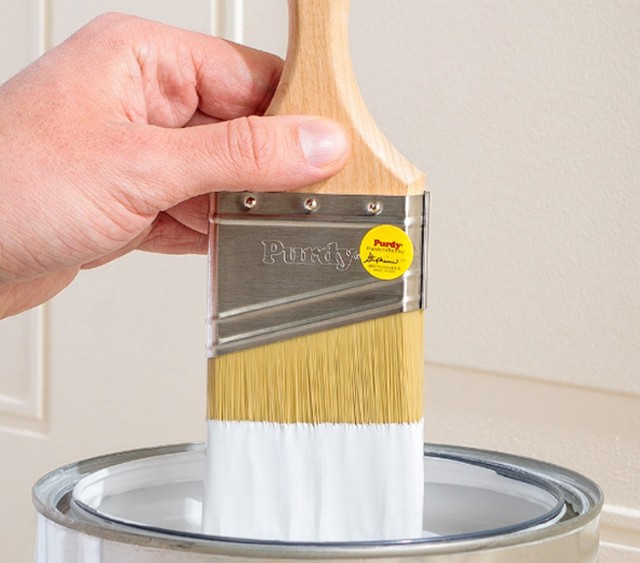
Before applying the paint, mix it with an extender so it has a smoother consistency and can cover more area. When you’re ready to start painting, use either a brush or roller depending on how much of an even finish you want.
Always work in small sections rather than large areas since the paint can dry too quickly if not properly blended in between sections. Once complete, let your sofa dry overnight before moving onto upholstering instructions.
Instructions for Upholstery
Once your painting is done and dry, it’s time to start upholstering! Preparing the sofa for reupholstery requires some skill, but with a few simple tips you can have a beautiful finished product. Here’s what to do:
- Remove all existing fabric and padding from the sofa, using a screwdriver or other small tool to get into tight spots.
- Check for any damage or weak spots in the frame and repair them as needed.
- Cut new pieces of foam to fit within the frame before replacing the old padding.
- Attach the new fabric to the frame using staples or tacks.
- Smooth out any wrinkles in the fabric and make sure everything is properly secured.
With these steps completed, you’ll be ready to move on to the finishing touches!
Finishing Touches
Finish up your project by adding the finishing touches to make it look like new! Make sure to check for any drips or smears of paint and clean them up with a damp cloth.
Once you have finished painting, evaluate how well the fabric has been covered and add another coat if necessary. To protect the sofa from wear and tear, apply a sealant or furniture wax once the paint is dry.
Use a lint-free cloth to apply a thin layer over the entire surface. This will also help keep dirt, dust, and other debris off your newly painted fabric sofa.
| Finish | Outcome |
|---|---|
| Check for drips/smears | Clean with damp cloth |
| Evaluate coverage | Apply second coat if needed |
| Protect from wear & tear | Apply sealant/furniture wax when dry |
| Keep dirt & debris away | Use lint-free cloth to apply thin layer over entire surface |
Frequently Asked Questions
Conclusion
I’ve painted my fabric sofa and the results are amazing! I’m so proud of myself for taking the time to make sure it was done right.
The end result is something that I can enjoy for years to come – a beautiful piece of furniture with a unique twist. It’s an accomplishment that gives me a sense of satisfaction, knowing that I was able to tackle such a challenging project on my own.
With this newfound knowledge, who knows what other DIY projects I’ll take on next? Unless you’re interested in a brand-new couch, check out our highly recommended sofas now!


