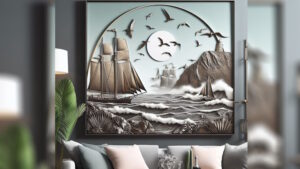
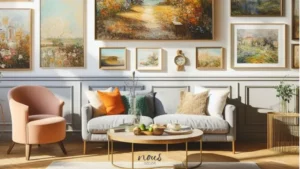
Did you know that over 90% of homeowners believe that art can enhance the ambiance of their living spaces? If you’re looking to add a touch of elegance and creativity to your walls, then mortar wall décor is the perfect solution. In this article, I will guide you through the step-by-step process of How To Do Plaster Wall Art that will transform any room into a masterpiece.
To begin, we’ll gather all the necessary materials and tools, ensuring you have everything you need for a successful project. Next, we’ll prepare the wall surface by cleaning it thoroughly and applying a suitable primer. Once the surface is ready, we’ll mix and apply the stucco using techniques that will ensure a smooth and even finish.
But why stop at plain stucco? I’ll also show you how to create patterns using various tools and techniques. This will add depth and visual interest to your artwork.
Finally, we’ll discuss adding finishing touches such as paint or sealants to protect your artwork from wear and tear. So get ready to unleash your inner artist as we embark on this exciting journey of creating beautiful DIY canvas mortar wall décor together with Nousdecor!
Key Takeaways of How To Do Plaster Wall Art Tutorial
- The DIY plaster wall art trend adds elegance and creativity to living spaces
- Choosing the right stucco mix and painting techniques are important for achieving desired results
- Proper preparation of the wall surface and filling of cracks and holes is necessary before applying stucco
- Adding finishing touches, sealants, and varnish can protect and enhance the longevity of mortar wall décor.
Gathering the Easy and Affordable Necessary Materials and Tools
Before you start, make sure you have all the materials and tools you’ll need for your DIY plaster art canvas project. Choosing the right stucco mix is crucial for achieving the desired pattern and durability of your artwork for some creative uses of plaster in art.
There are various types of stucco mixes available, such as lime-based or gypsum-based stuccos. Consider factors like drying time and ease of use when making your selection. Additionally, exploring different painting techniques can help enhance the overall look of your artwork.
You can experiment with techniques like sponging, stippling, or using a dry brush to create interesting patterns and effects on the stucco surface.
Once you have gathered all the necessary materials and tools, it’s time to move on to preparing the wall surface for your stucco artistry adventure.
Preparing the Wall Surface for Your DIY Artwork
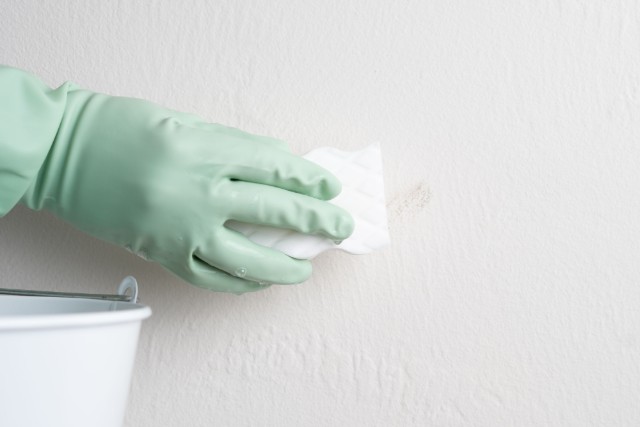
After ensuring the surface is smooth and clean as a freshly polished mirror, it’s time to move on to the next step of creating a captivating mortar wall décor canvas. The first thing to consider is choosing the right primer for stucco walls.
A high-quality primer specifically designed for stucco will help create a strong bond between the wall and the stucco, ensuring its longevity and durability. It’s important to follow the manufacturer’s instructions when applying the primer, making sure to cover every inch of the wall surface evenly.
Additionally, troubleshooting common wall surface issues is crucial before proceeding with stucco application. This includes addressing any cracks or holes by filling them with spackling compound and sanding them down until they are smooth and level with the rest of the wall.
If your wall is slanted, check out our article on How To Hanging Art On Slanted Walls for a more throughout guide instead!
Transitioning into mixing and applying the stucco, it’s essential to have a solid foundation in place by preparing the wall surface properly.
Mixing and Applying the DIY Plaster Compound Framed Canvas
Once the primer has been evenly applied, it’s time to dive into the exciting process of mixing and applying the captivating stucco for your artistic masterpiece. Choosing the right stucco consistency is crucial for achieving desired results.
Start by pouring a measured amount of water into a clean bucket, then gradually add stucco powder while stirring continuously. Aim for a creamy pattern that is easy to spread but not too runny. Once mixed, let the stucco sit for a few minutes to allow air bubbles to escape.
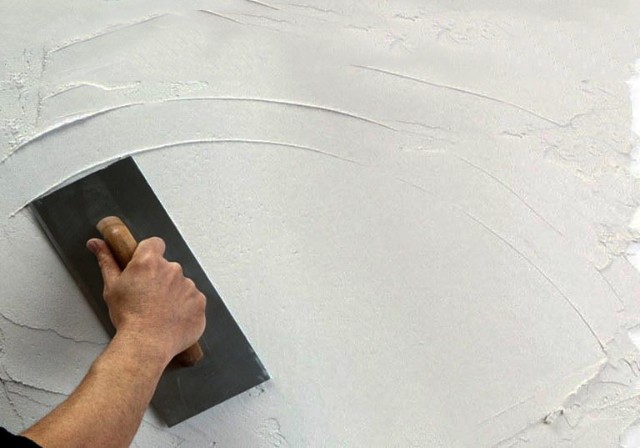
Now comes the fun part – exploring different stucco application techniques! You can use a trowel, sponge, or even your hands to create unique patterns and patterns on the wall surface. Experiment with swirling motions, stippling, or dragging tools across the wet stucco to achieve various effects. Remember to work efficiently as stucco dries quickly.
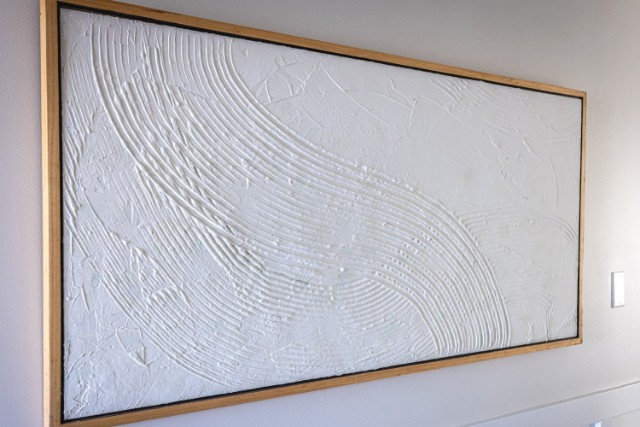
As you perfect your modern plaster art installations skills and begin creating texture and patterns on your textured canvas art, let your imagination guide you towards stunning visual compositions that will leave viewers in awe.
Creating Texture and Patterns
Get creative with your hands and stylish home decor items, exploring different techniques to create captivating patterns and mesmerizing patterns on your masterpiece. When it comes to framed mortar wall décor canvas, there are various types of stucco you can use, each offering unique properties that contribute to the overall effect.
For example, gypsum stucco is great for achieving a smooth finish, while lime stucco creates a more rustic and textured art look. To add depth and dimension to your art piece, consider using techniques like stippling, sgraffito, or combing.
Stippling involves using a brush or sponge to create small dots or bumps on the surface. Sgraffito involves scratching lines or shapes into the stucco before it dries completely. Combing creates interesting patterns by dragging a comb-like tool through the wet stucco. These techniques will enhance the visual appeal of your art projects and make it stand out even more.
For more wall art and techniques, check out our articles on trendy Houzz wall art collection and Over The Garden Wall Concept Art now!
As we move into adding finishing touches and sealants…
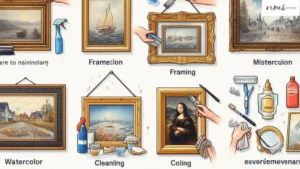
Adding Finishing Touches and Sealants into Your Abstract Artwork
To complete your masterpiece, don’t forget the final touches and sealants that will add protection and longevity to your stylish wall art decor. Did you know that using a high-quality sealant can increase the lifespan of your stucco creations by up to 10 years?
When choosing the right sealant for your mortar DIY wall art, consider factors such as durability, UV resistance, and compatibility with the materials used. Look for a sealant specifically designed for use on plaster art surfaces to ensure optimal results.
Now let’s explore different techniques for adding finishing touches to your mortar wall décor:
- Enhancing texture: Consider using a glaze or wash to highlight the intricate details of your piece.
- Adding metallic accents: Use metallic paints or leafing techniques to create eye-catching elements.
- Incorporating mixed media: Combine other materials like fabric or found objects to give your artwork depth and interest.
- Applying varnish: Protect your finished piece by applying a clear varnish that will enhance its colors while providing a protective layer.
By following these tips, you’ll be able to add those final touches and protect your mortar wall décor for years to come. And if you want some other unique touches, check out our articles on Doily Wall Art and Syroco Wall Art now!
Frequently Asked Questions
Conclusion
Congratulations! You’ve just learned How To Do Plaster Wall Art like a pro! This is a fun and easy way to add some personality and flair to your walls. You can create stunning designs that will impress your guests and make you feel proud of your home.
Stucco wall art is not only beautiful, but also durable and easy to maintain. With proper care, your artwork will last for years to come. You can also experiment with different colors, patterns, and textures to suit your style and mood.
So what are you waiting for? Grab your stucco mix, tools, and paint, and get ready to unleash your creativity. You’ll be amazed by what you can achieve with mortar wall décor. It’s time to turn your walls into works of art!
For more unique and creative wall art, check out our articles on creative crochet wall art, creative chakra wall art, family scrabble wall art generator, and LG art cool gallery wall mount now!