You may be wondering why someone would want to tighten leather on a sofa. After all, it’s not like you can simply sew a few stitches and expect the job to be done! However, there are several reasons why tightening leather is necessary, and if done properly it can prolong the life of your sofa.
In this Nousdecor article, I’ll explain How To Tighten Leather On Sofa as well as what considerations should be taken into account before doing so. Plus, I’ll share some tips for preventing sagging leather in the future.
Key Takeaways
- Take apart the hardware and remove each part from the frame to ensure all hardware is removed.
- Tighten each piece securely by screwing in bolts until the leather is taut, using a power drill to snugly tighten bolts.
- Check for alignment and adjust if needed before reattaching caps and washers.
- Regularly inspect for sagging, rotate cushions to prevent uneven wear, distribute weight evenly when sitting, and use quality leather conditioner every six months to prevent sagging leather.
Why Do We Need to Tighten Leather Sofa
You need to tighten your leather sofa to keep it looking great and lasting longer. The leather, as a natural material, will stretch over time with regular use. If you don’t take the necessary steps to keep the leather taut, it can quickly become saggy and unattractive. Plus, a loose fit can also create wrinkles and creases that are difficult to reverse without professional help.
Regularly tightening the leather on your sofa is an easy process that only requires basic tools and supplies. First, you’ll need a screwdriver or drill bit of the right size to reach any screws hidden under legs or armrests. You might also want a pair of scissors if there’s excess fabric or thread you need to trim away after tightening the frame.
Before starting, be sure to give your entire sofa a thorough cleaning first. Leather is porous and can soak up dirt and dust which not only looks bad but can damage the material over time too.
After cleaning, check for any signs of wear such as rips or tears in the material before beginning repairs as these should be addressed first before attempting any tightening procedures.
Once everything has been prepped correctly, go ahead and start loosening screws around the frame of your sofa until all pieces are loose enough for adjustment if needed. Now carefully pull each piece tight while securing them back into place with screws once again tightened firmly in place (but not too tightly).
Once finished check for any remaining fabric bunching along seams which can easily be addressed by snipping away excess material where needed with scissors before putting everything back together again for good measure!
Tightening up your leather sofa every few months is an important part of keeping it looking great while extending its life considerably – so make sure this task remains at top-of-mind when performing regular maintenance checks!
With just a few minutes spent here and there maintaining this important piece of furniture, you’ll enjoy years’ worth of comfort from having taken this extra step towards care in order obtain optimal results from your investment!
And if your sofa is made out of faux leather, check out our restoring faux leather furniture guide instead!
How To Tighten Leather On Sofa
Before beginning the process of tightening leather on a sofa, it is important to prepare the necessary materials. The materials required for this task are cleaning products and conditioners specifically designed for leather, a damp cloth or sponge, and a flat head screwdriver.
- Step one is to clean the leather using the appropriate cleaning product and then thoroughly dry it off.
- Step two is to apply an even layer of conditioner over the entire surface of the leather.
- Step three requires dampening a cloth or sponge with water and wiping down the sofa’s leather surfaces.
- Lastly, step four involves using a flathead screwdriver to tighten any visible screws that may be loose along the edges of the sofa’s frame.
Also, if your couch happened to be a burgundy one, consider checking out our article on decorating around burgundy leather couch!
Prepare Materials
Gather the necessary materials needed to tighten the leather on the sofa. To complete this task, you’ll need:
- A cloth or sponge
- Leather conditioner
- A soft bristle brush
Cleanliness and proper care are crucial for a successful job. Start by making sure all of the items you will be using are clean and free from dirt or debris. Take time to ensure that you have all of the items ready to use before beginning, as it will make your job easier and take less time in the end.
With all of your materials gathered and ready, it’s time to move onto cleaning the leather in preparation for tightening.
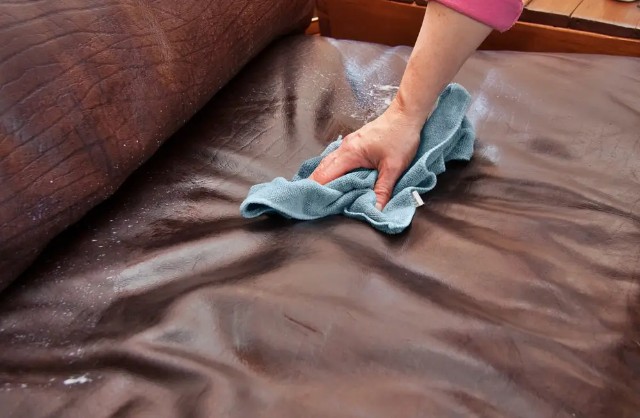
Step 1: Clean the leather
Start by cleaning the leather with a cloth or sponge and some leather conditioner. This will get it ready for tightening. Wipe down the surface of the leather to remove any dirt, dust, or residue.
Make sure you pay special attention to any creases or folds where dirt may be hidden. Once the surface is clean, use a damp cloth to wipe away the conditioner and leave your furniture with a nice sheen. You can even try cleaning leather couch with baby wipes tips!
After that, let it dry before moving onto conditioning the leather.
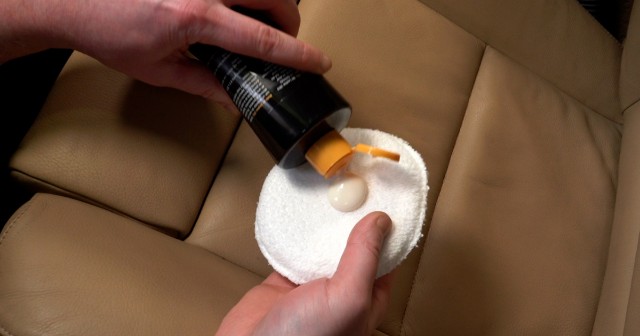
Step 2: Condition the leather
Apply a leather conditioner to your furniture with a cloth or sponge to moisturize and protect it. Make sure the leather is completely dry before proceeding. Conditioners come in various forms, such as:
- Creams and lotions
- Oils and waxes
- Sprays
Select the type of conditioner that best suits your furniture’s needs, following the instructions on the product label carefully. Work gently in small circular motions until you’ve covered all of the leather surfaces evenly.
Allow ample time for the conditioner to soak into the material before wiping off any excess residue with a clean cloth or paper towel. This will help keep your sofa soft and supple while preventing cracking, fading, and discoloration from occurring over time.
Going forward, conditioning should be done at least once a year for optimal results; this way you can ensure your sofa remains looking great for years to come! With proper conditioning complete, next up is dampening the leather…
Step 3: Dampen the leather
To keep your furniture looking its best, dampening the leather is an important step. Before you begin to tighten the leather, it must first be properly hydrated. This can easily be done by lightly misting a cloth with water and wiping down the area you wish to work on.
Be careful not to soak the leather, as this can cause damage or discoloration. Once you have dampened the leather, allow it to dry naturally before proceeding.
If your piece of furniture has been in direct sunlight for a long period of time, consider moving it away from direct contact with sunlight while it dries; too much sun exposure could also lead to discoloration or warping.
With proper care and preparation, however, you’ll be able to proceed confidently into tightening the leather.
Step 4: Tighten the leather
Once the leather has dried, you can begin to tighten it. Use a rubber mallet to carefully tap around the edges of the leather, stretching it tight as you go. You may need to repeat this process several times in order to get the desired result of tightness.
To ensure an even tension all around, alternate between tapping various sections across the piece of leather.
| Edge Covered | Tapped or Not |
|---|---|
| Top | Yes |
| Bottom | Yes |
| Left | No |
| Right | No |
| Corners | Yes |
It is also important to check that no creases or wrinkles have been left behind during this process and if so, use your hands to smooth them out. For small wrinkles, apply heat with a hair dryer and then press down with your fist until they disappear.
Now that the leather is tightened and smooth, let it dry before proceeding further.
Step 5: Let the leather dry
Once the tapping is finished, it’s important to let the leather dry. This allows for the adhesive to set and the repair to take hold. To ensure that this happens, consider doing these three things:
- Allow at least 24 hours for full drying time.
- Place a protective layer on top of the area while drying, such as a towel or piece of cardboard.
- Keep away from direct sunlight or heat sources so as not to warp or damage the leather.
The next consideration when tightening leather sofa is making sure that all remaining materials are secured properly.
What is the Consideration when Tightening Leather sofa
When tightening a leather sofa, it’s important to ensure that the right tools are used and that the hardware is taken apart. This allows for each piece to be properly tightened separately. Doing this ensures that the sofa will remain sturdy and secure over time.
Also, if there’s pen ink on your couch though, check out our article on how to remove pen ink from leather sofa now!
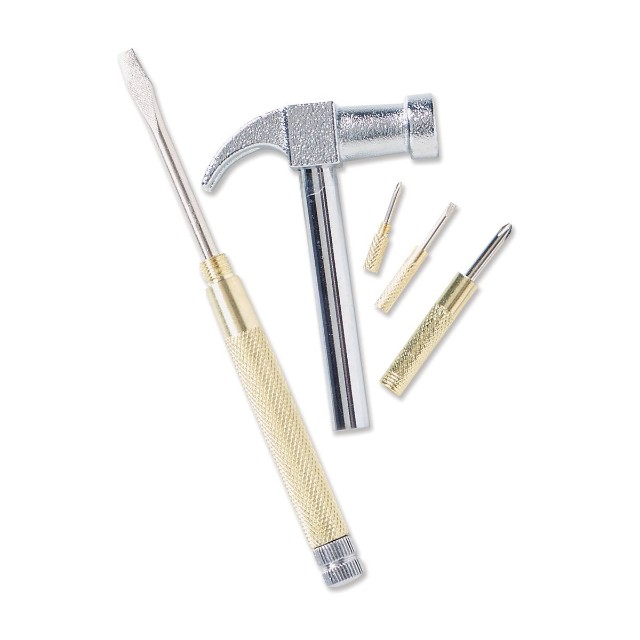
Use the right tools
You’ll need the right tools to tighten the leather on your sofa. Have a screwdriver handy, as it will come in handy for removing any screws attaching the furniture frame to the upholstery. You may also need pliers and wrenches if you have bolts that need to be loosened or tightened.
Additionally, you may require a hammer or mallet for pounding tacks into place after tightening them with pliers. The most important tool is a staple gun, which should be used to secure all of the leather around the frame of the couch.
Make sure you use staples that are designed specifically for leather so they won’t damage it while securing it in place. Once everything is tightened correctly, you can move onto taking apart pieces of hardware attached to your sofa frame in order to properly re-upholster it.
Take Apart the Hardware
Start by taking apart any hardware attached to your furniture frame. It’s important to remove any nails, screws, staples, and bolts before you begin. For each piece of hardware:
- Use a hammer or screwdriver to loosen the fasteners
- Carefully remove each part from the frame
- Set aside for later reassembly.
Once all hardware is taken off, it’s time to move on and tighten each piece that was removed from the sofa. With care and attention paid to detail, you’ll be able to make sure your comfortable and stylish leather sofas look like new again.
Tighten Each Piece
Once all hardware is removed, it’s time to get the pieces back together and make sure they’re secure. When tightening each piece, start by screwing in the bolts slightly until the leather is taut.
Then, use a power drill to securely tighten each bolt until it’s snug against the frame. Make sure not to over-tighten or you may cause damage to your sofa. It’s also important to check for alignment as you go along – if any pieces appear misaligned at this stage, adjust accordingly.
Once everything looks good, add back any caps and washers before moving onto the next step. With all hardware in place and tight, you can now move on with confidence that your sofa won’t be sagging anytime soon!
Tips for Preventing Sagging Leather
Regularly inspect your leather sofa for sagging, and if you notice any, take steps to prevent it. You can do this by frequently rotating the cushions. Moving them from one side of the couch to the other helps ensure even wear and tear, preventing an area from becoming sunken in.
Additionally, when you sit on the sofa, make sure that you’re evenly distributing your weight across the entire piece of furniture. It’s also important to use a quality leather conditioner every six months or so; this will keep the material supple and reduce its likelihood of sagging over time.
To further protect your furniture against wear and tear, consider investing in a slipcover – these are easy to put on and remove as needed so that they don’t obstruct your enjoyment of your lovely leather sofa.
Finally, try not to expose it to direct sunlight or heat sources such as radiators or air ducts; both can cause drying out of the leather which makes it more prone to sag over time. With proper care and attention, you can enjoy many years with a beautiful leather sofa free from sagging!
If your sofa has some water or oil stains on it though, check out our articles on How To Remove Old Water Stains From Leather Sofa and removing old oil stains from sofa now!
Frequently Asked Questions
Conclusion
It’s easy to tighten leather on a sofa so that you can enjoy it for years.
With just a few simple steps, your leather will be looking like new again. Plus, by taking the time to properly care for your leather furniture, you’ll extend its life and save money in the long run. However, some may worry that tightening their own leather is too difficult and complicated.
Don’t be intimidated – with a little patience and effort, anyone can do it! And if you do interested in getting a new sofa, check out our article on excellent sofa choices now!